byondpro Configuration
& Processing Guide
×
Menu

Groups & Mail Merge

 
The Mail Merge option of byondpro uses the Sage CRM function of groups.
 
Users can build groups of contacts for different purposes, such as e-mail or write to groups of people. 
 
To access the Groups feature, select My CRM from the toolbar.
 
Then, select Groups from the selection list.
 
Groups & Mail Merge
 
Access the group of your choice by clicking on the Name or Description hyperlink for the group.
 
 
The Group Details or content used to create the group will display with the following information:
 
 
Below the group criteria are the contacts which meet the group criteria.
 
 
Action buttons display on the right-hand side of the page, allowing users to complete a range of actions using the group records.
 
Groups & Mail Merge
1

Save As


The Save As button allows users to create a second group  or spin off group from the current group.
 
1. Save As
 
Press the button will open up a pop-up window, where you can name the group in the Name field.
 
 
Then, press the Save button.
 
 
Update the new group, by pressing the Change button on the right-hand side of the new group.
2

Change


The Change button allows users to make any changes to the following elements of the group:
 
  •  Group Name
  •  Group Description
  •  Who the group is available to
     
    Please note that users cannot change  the following on a group once saved:
     
  •  Entity
  •  Source View
 
2. Change
3

Delete


The Delete button allows users to delete the current group.
3. Delete
 
A pop-up window will display requesting you to confirm the group which is being deleted.
 
 
To confirm, press the Confirm Delete button on the right-hand side of the page.
 
4

Cancel


The Cancel button will cancel any changes made to the group which have not yet been saved.
 
It will bring the user back to the Groups page of byondpro.
 
 
4. Cancel
5

Merge to Word / Merge to PDF


The Merge to Word and Merge to PDF buttons allows users to create and format documents using the group content.
 
Details on how to use these features are explained more in the Merge to Word / PDF section.
 
5. Merge to Word / Merge to PDF
6

New Communication


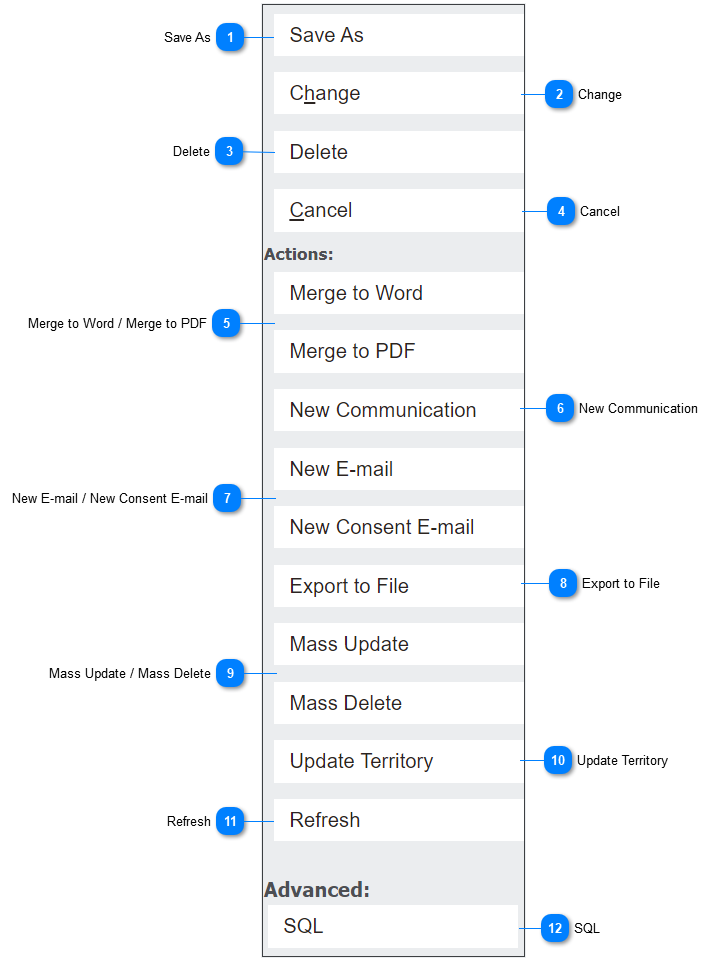
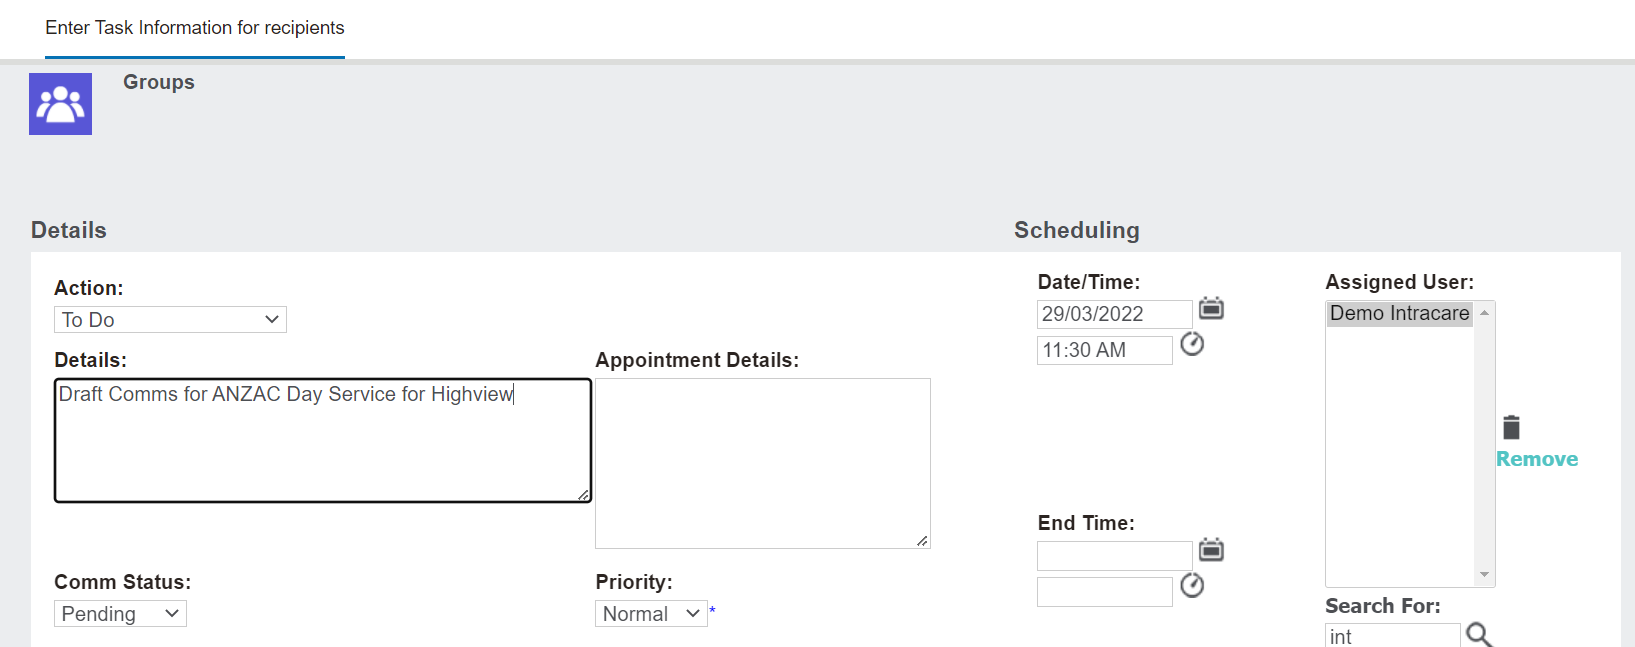
The New Communication button allows users to create a new communication or to do task with the group.
 
6. New Communication
 
Complete the necessary fields on the communication.
 
 
Then press the Save button on the right-hand side of the page.
 
 
byondpro will display a message, asking you to confirm if you want to continue. Press OK to move forward with creating the task
 
 
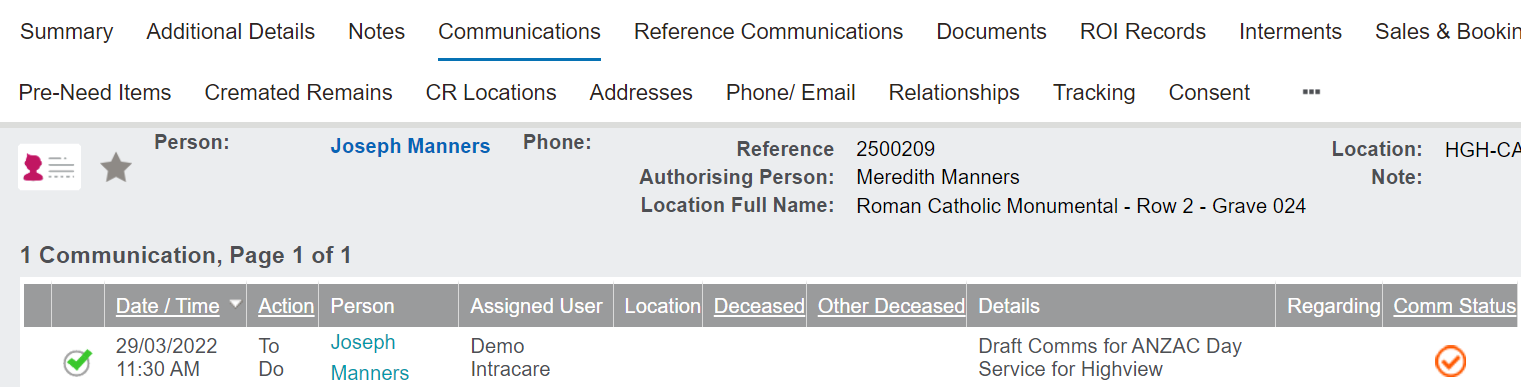
The communication or task will display on the Communications tab of the relevant records, and if not completed, will remind the user to action the task at the appropriate time.
 
7

New E-mail / New Consent E-mail


The New E-mail and New Consent E-mail buttons allows users to draft and send mail merged e-mails to the selected group of recipients.
 
This process is reviewed in further detail in the Send Merged E-mails section.
 
7. New E-mail / New Consent E-mail
 
The New Consent E-mail option will create an entry on the Consent tab of the selected records.
 
8

Export to File


The Export to File button allows users to create an excel or text file from the group contents.
 
This file can be used to review and update data prior to drafting a communication to the group.
 
 
8. Export to File
9

Mass Update / Mass Delete


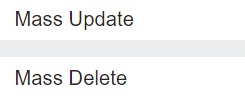
The Mass Update button allows users to perform complex batch updates on specific fields and the Mass Delete button may be useful for General Data Protection Regulation (GDPR) rulings, in which the company is  required to remove records, if there's been no contact for a period of time or no consent.
 
9. Mass Update / Mass Delete
 
These functions will be restricted from use in the out-of-the-box byondpro.
 
Should these functions be desired with your groups, please speak to your OpusXenta consultant about whether this function is right for your business.
10

Update Territory


The Update Territory button allows users to update the territory on every record within the group.
 
10. Update Territory
 
By pressing the button, a pop-up window displays, where users can select the new territory for the records in the Territory Name field.
 
 
Then press the Save button on the right-hand side of the page to update.
 
11

Refresh


Pressing the Refresh button will refresh the group with any changes that have been made to the group while on the record, such as a new record having been added to a static group by another user.
 
 
11. Refresh
12

SQL


The advanced SQL button will display a new pop-up window, which houses the Sequel statement for the group.
 
 
12. SQL
 
The online help was created with Dr.Explain