Adding Multiple Locations
To add more than one location, locate the area or sub-area the location is being added to.
From the area or sub-area record, visit the Locations tab.
On the right-hand side of the page, select the Create Multiple Location button.
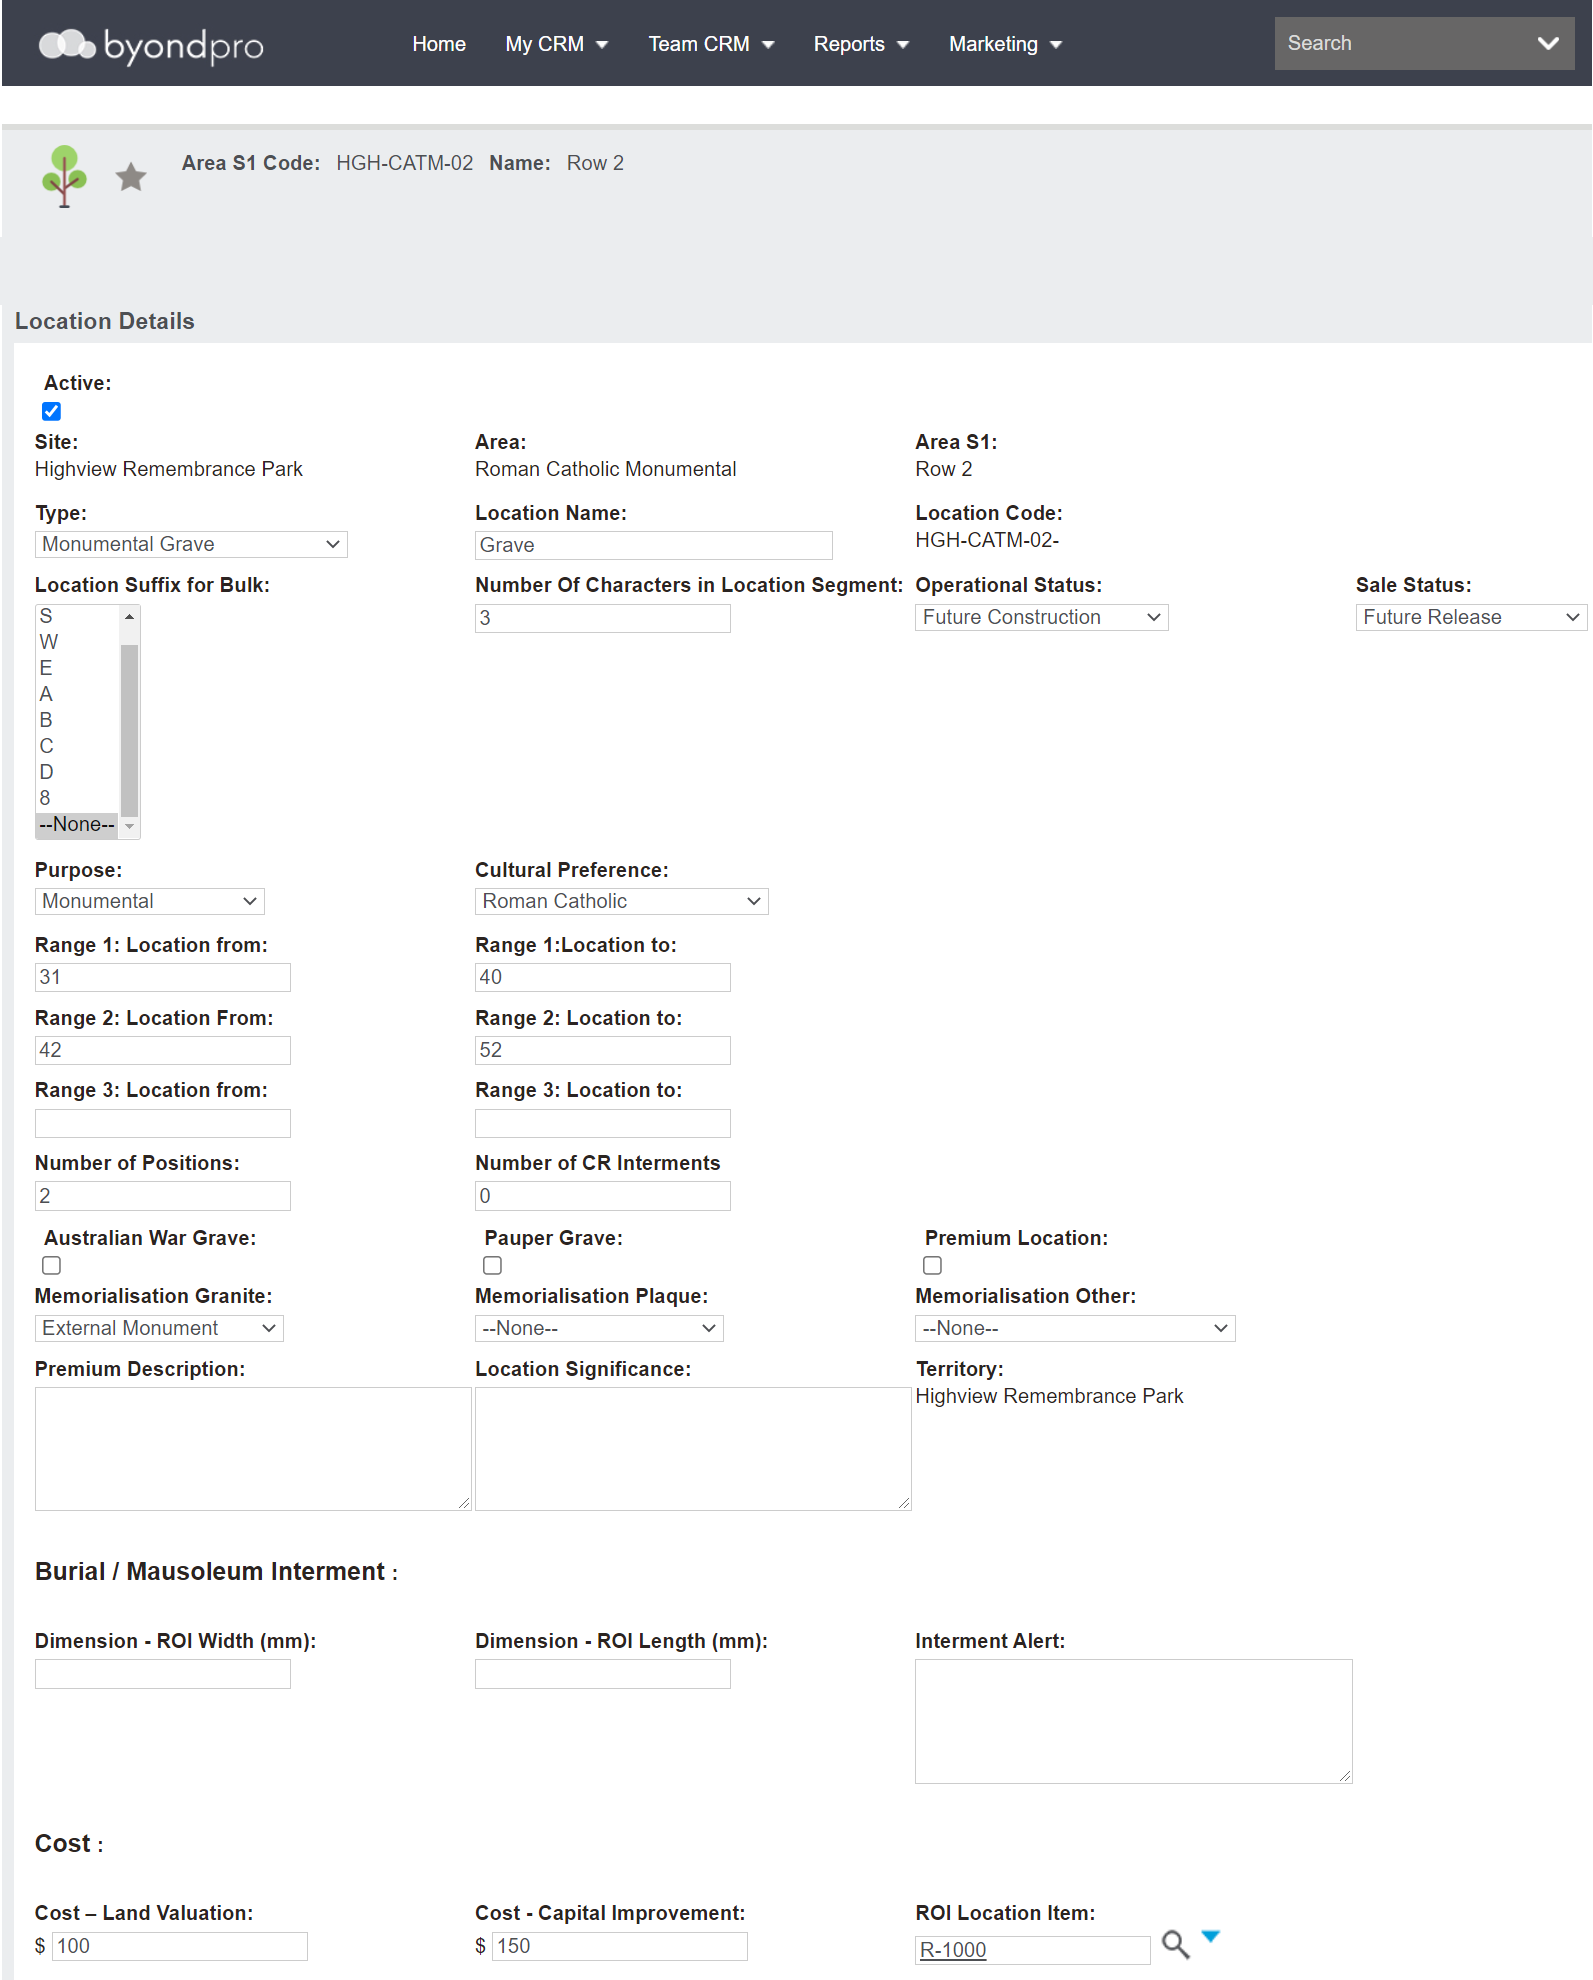
Complete the fields as necessary.
The Active tick box will be ticked, designating the locations will have an active status once created.
Site, Area, and any applicable Sub-area /s will flow through from the area record.
The Type will populate from the area record. Update the type if necessary.
In the Location Name field, type in what the location will be referred to such as grave, crypt, niche, or plot. For our example, the locations will be referred to as graves.
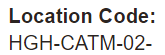
We can see in the Location Code field how the location codes are building.
Select a Location Suffix for Bulk from the selection list, if this is necessary. For example, you might choose an N for the North section of the row.
In the Number of Characters in Location Segment field, designate how many characters the location number pads to.
For example, if the code displays as 01, 001, 0001, etc.
If planning on having 100 or more locations in the area, you would likely want to add a 3 in this field, allowing for numbers from 001 all the way up to 999.
There is a configuration tool of
Loccodenumsegmentlength that determines the recommended minimum length. By entering a number in the field that differs from what is set in the configuration, this will override the configuration
.
Select the appropriate Operational Status and Sale Status for the locations from the selection lists.
Should these need to be changed, such as updating the Sale Status of our locatons from 'Future Release' to 'Available for Sale,' this change can be done using the
Batch Location Status Change tool.
Purpose and Cultural Preference flow through from the area record, however, can be changed or updated for these locations.
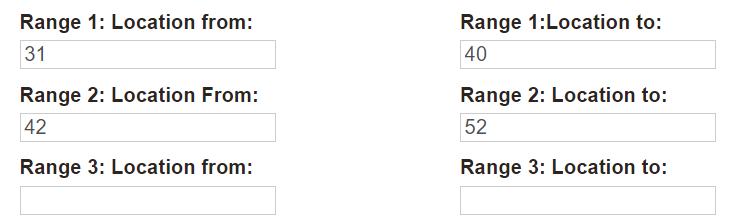
The range fields define the grave, crypt, or niche numbers.
For our example, in the Range 1: Location from field, we have entered the number 31, as the first location will be the 31st in the row.
In the Range 1: Location to field, we have entered in 40.
Based on these ranges, 9 grave locations will be added from Grave 31 to Grave 40.
We have added a 42 in the Range 2: Location From, leaving a space for a walkway in the row.
10 additional grave locations will be added with us adding the number 52 in the Range 2: Location to field.
byondpro allows up to three ranges of locations, as seen below.
Define the number of burial positions in the Number of Positions field and how many CR interments in the Number of CR Interments field.
Fields such as War Graves, Premium Locations, Memorialisation policies, etc., flow through from the area record and can be edited to meet the description of the locations being created.
If the locations being created were graves or crypts, enter in the maximum dimensions for the grave or crypt locations in the Dimension - ROI Width and Dimension ROI Length fields if your cemetery is capturing this information.
Add an Interment Alert, if applicable, intended for use for burial locations which will also print on burial schedules for grounds staff to be alerted to any potential site issues.
Add the Cost- Land Valuation and Cost- Capital Improvement values into these fields. At the time of sale of the location, these values will be automatically posted to the general ledger, reducing the amount held on the balance sheet and recording the cost of goods sold on the profit and loss.
Once you have completed all details for the locations, press Save on the right-hand side of the page.
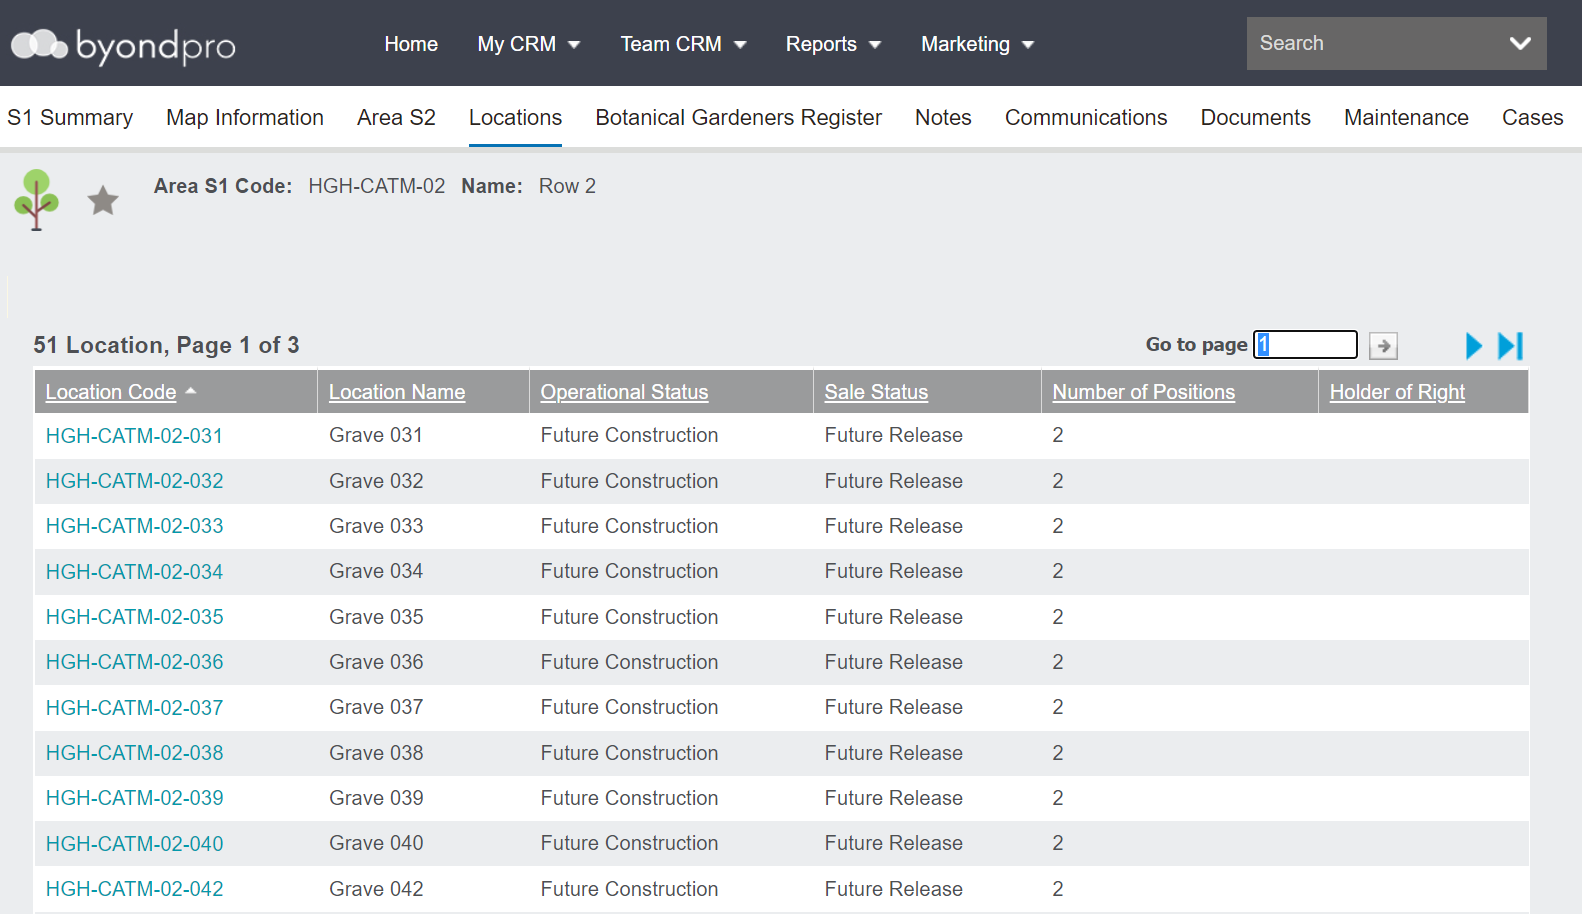
The locations will display on the Locations tab of the Area record.
To view one of the individual location records, click on the location code.
This is where changes can be made to each individual location by choosing the Change button on the right-hand side of the location record.
Should changes need to be made to multiple locations, users can use the batch location update tool which will be covered in detail in the Batch Location Update tool topic in this guide.
Additionally,
mapping can be added or adjusted on the tabs of each location record.