To add a new sub-area 1, visit the Area S1 tab of the Area record.
To add a new sub-area 2, visit the Area S2 tab of the Area S1 record.
To add a new sub-area 3, visit the
Area S3 tab of the
Area S2 record. Please note that to use this feature, the
Use Sub-Area 3 configuration must be switched on.
On the right-hand side of the page, click on the New button.
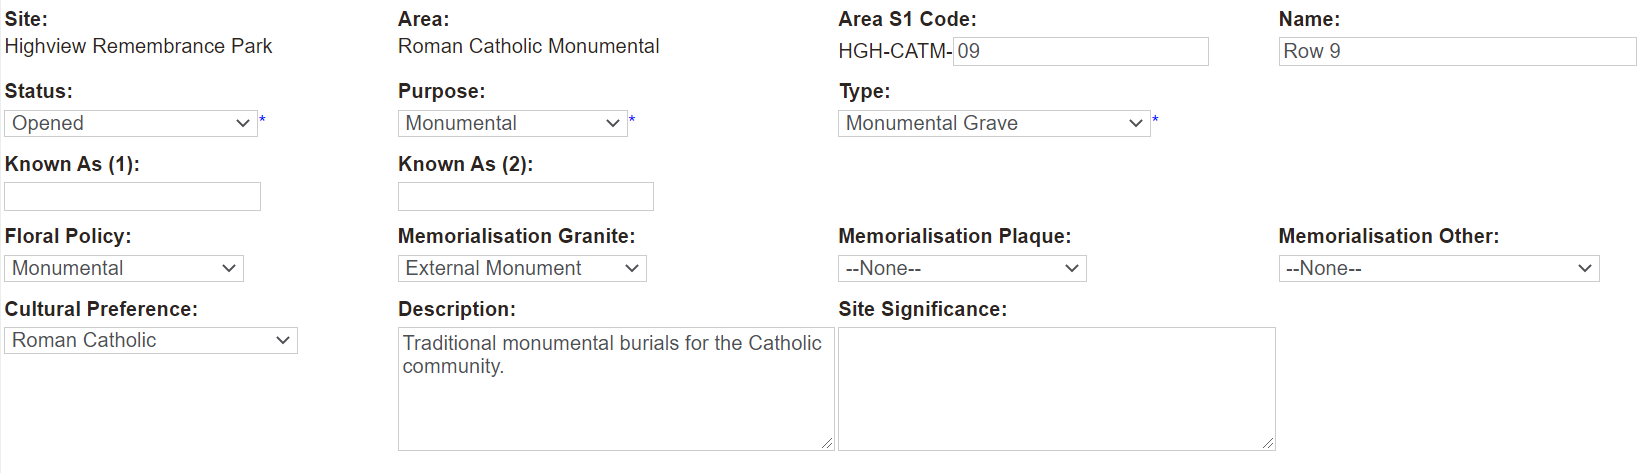
Complete the fields as necessary.
Site, Area, and any applicable sub-areas will flow through from the area record.
The Sub-area Code has started to build, in our example the Area S1 Code states HGH-CATM. Enter in the sub-area section of the code, which can be a maximum of 6 characters.
Type in the Name of the sub area, Row 9 being our example.
The Status will reflect the area or sub-area record you were on, however can be altered, if say this sub-area is under development.
The Purpose also flows throughs from the area record.
Choose the Type of sub-area from the selection list.
If the sub-area has a known as name, add this to the Known As fields.
The policies for flowers, memorialisation granite, memorialisation plaque, and memorialisation other flow through from the area, if these have been captured against the area.
Should the sub-area require any changes or to add further policies to the sub-area, select the appropriate option from the selection lists in these fields.
Additionally, select a Cultural Preference, if necessary.
Enter in any appropriate Description or Site Significance into these fields.
Once completed, press Save on the right-hand side of the page.
The new sub-area will now display.
Should you want to record Land and Construction costs to the sub-area at this time, press Change on the right-hand side of the Summary tab of the Area record.
In the Cost Information Block, type in the values in the Cost - Land and Cost - Construction fields.
Then, press the Save button again.