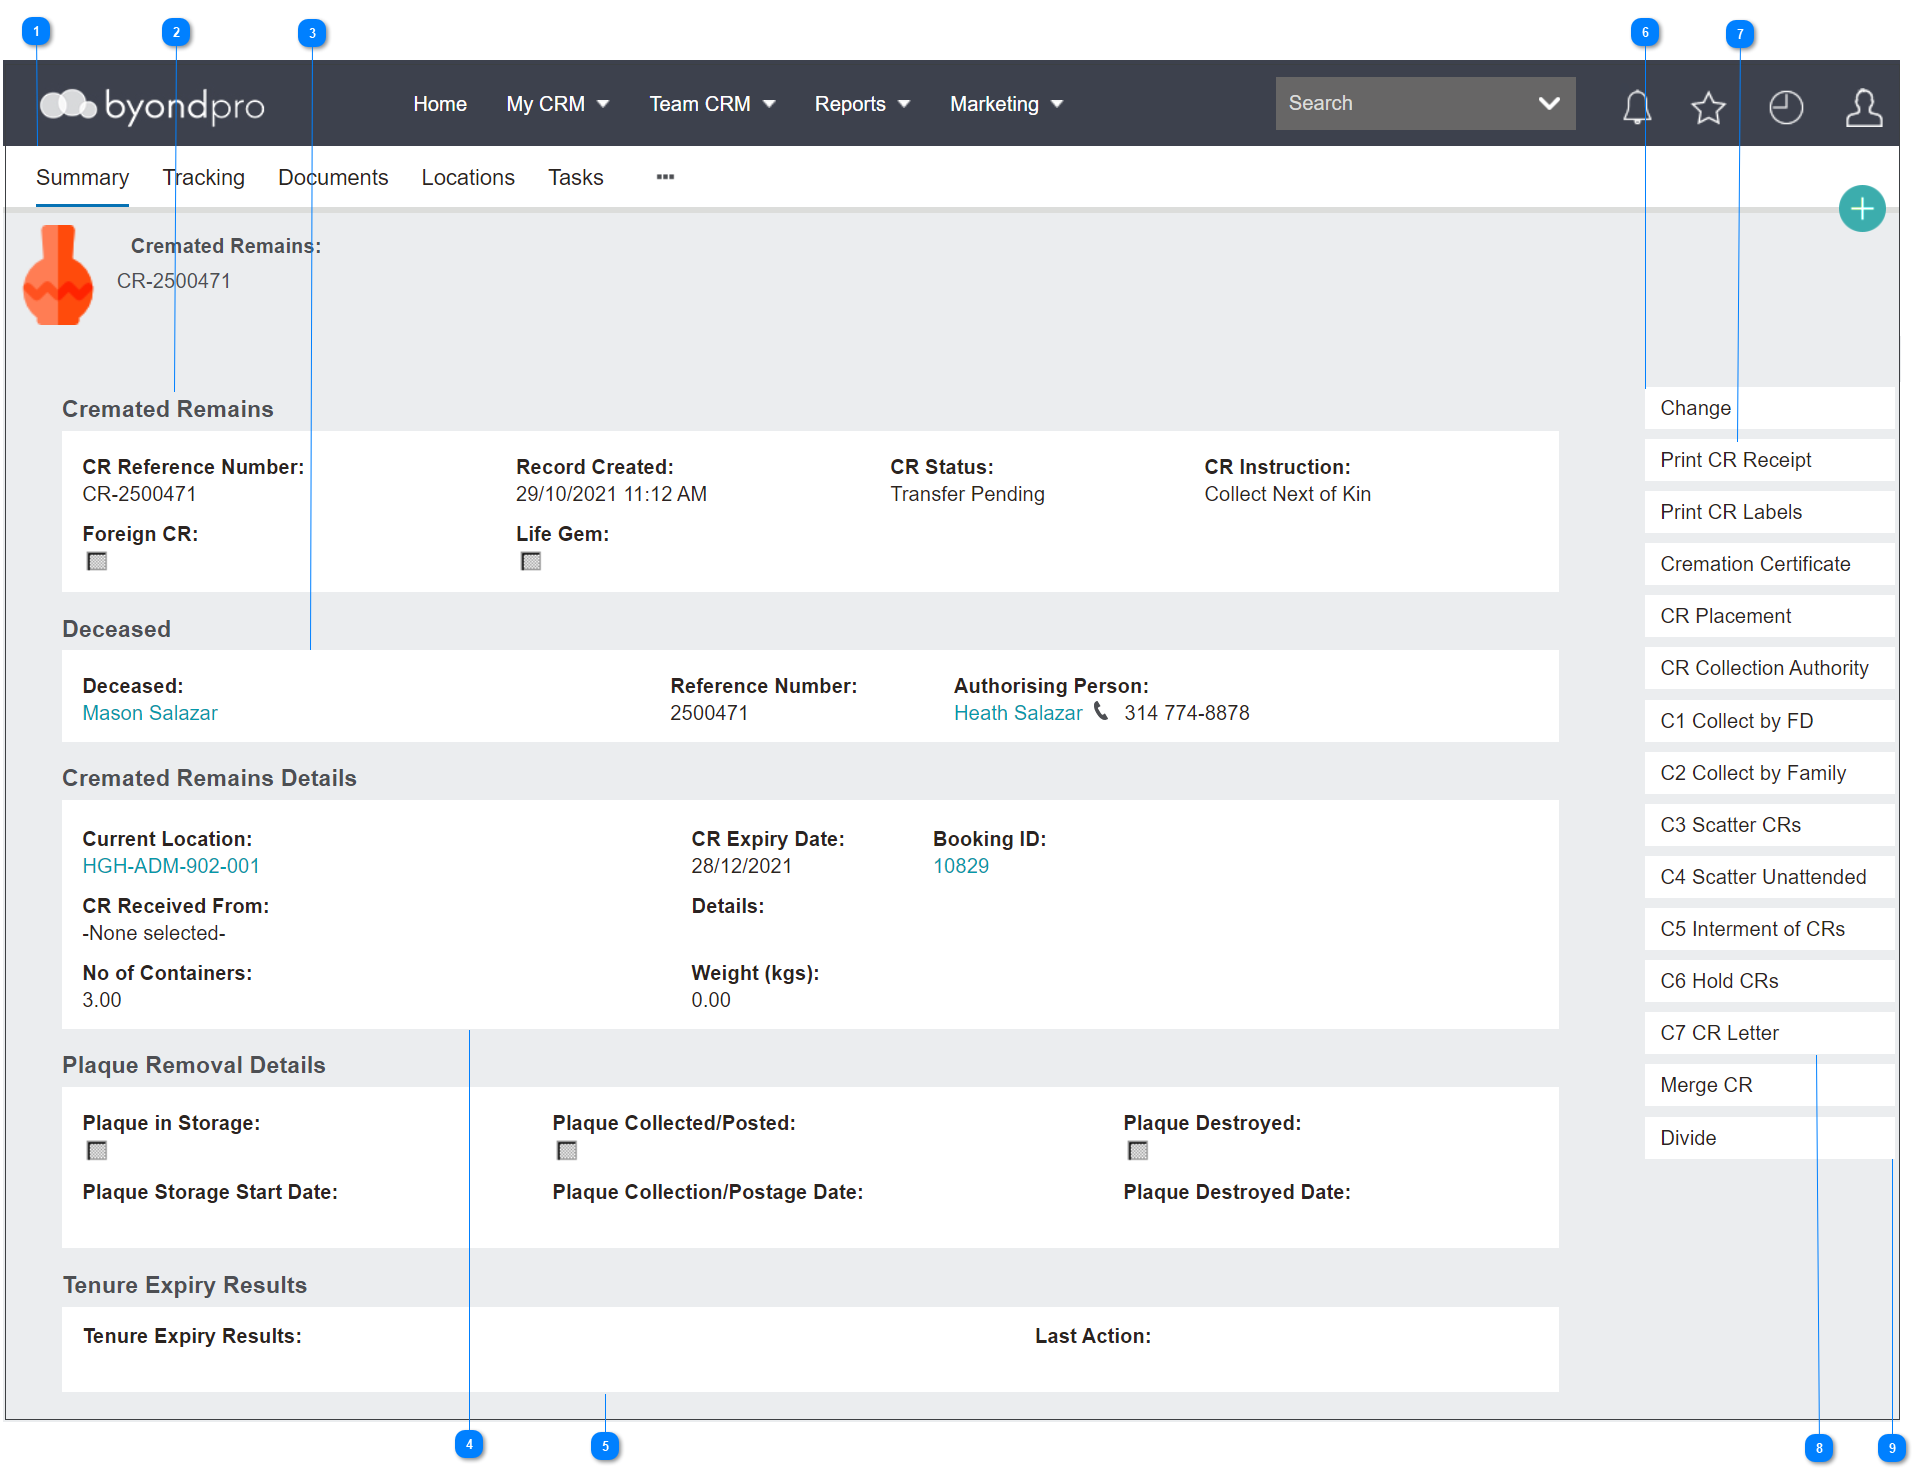
Let’s review the contents of the page to get a sense of what information can be found here.
The Cremated Remains record has multiple tabs that can be used to complete and track actions on a CR record and will be explored in the next sections of this guide.
In the Cremated Remains information block, there is basic information about the cremated remains record you are viewing.
The field of CR Reference Number is the number allocated at the time of creating the cremated remains record, is system generated and cannot be edited.
The Record Created field provides the date and time the record was created for tracking purposes.
The CR Status and CR Instruction fields show the status and last task instruction and can only be edited through creating tasks.
The Foreign CR field flags if the record was cremated outside of the cemetery trust. On our example, the cremated remains were cremated on site and therefore is not flagged.
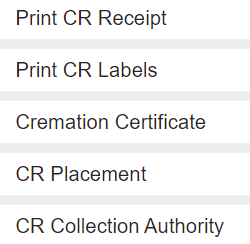
Below the Change button are various buttons with printable documents for different uses.
In the case of Foreign CRs, users might want to send a receipt confirming the CRs have been received by the cemetery by clicking on the Print CR Receipt button.
Crematorium staff may use the Print CR Labels button to add labels to the CR containers and paperwork.
Once the cremation has occurred, click on the Cremation Certificate button to send a copy to the relevant parties.
The CR Placement form can be used for the authorising person to confirm the placement of the cremated remains in a location on the cemetery grounds.
Should the CRs be collected, perhaps a CR Collection Authority form needs to be completed for the authorising person to confirm someone else may be picking up the cremated remains.
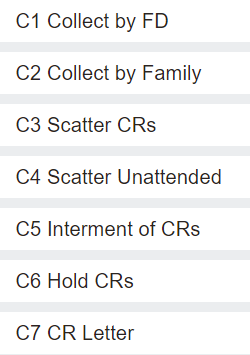
The action buttons of C1-C7 contain various pro forma forms that OpusXenta offers for customers to follow up on requested actions regarding the cremated remains.
The letters and how the buttons display may vary from customer to customer depending on their needs.