For our first example, we will look at creating tasks in bulk.
To start, you will first need to locate the cremated remains which require a task.
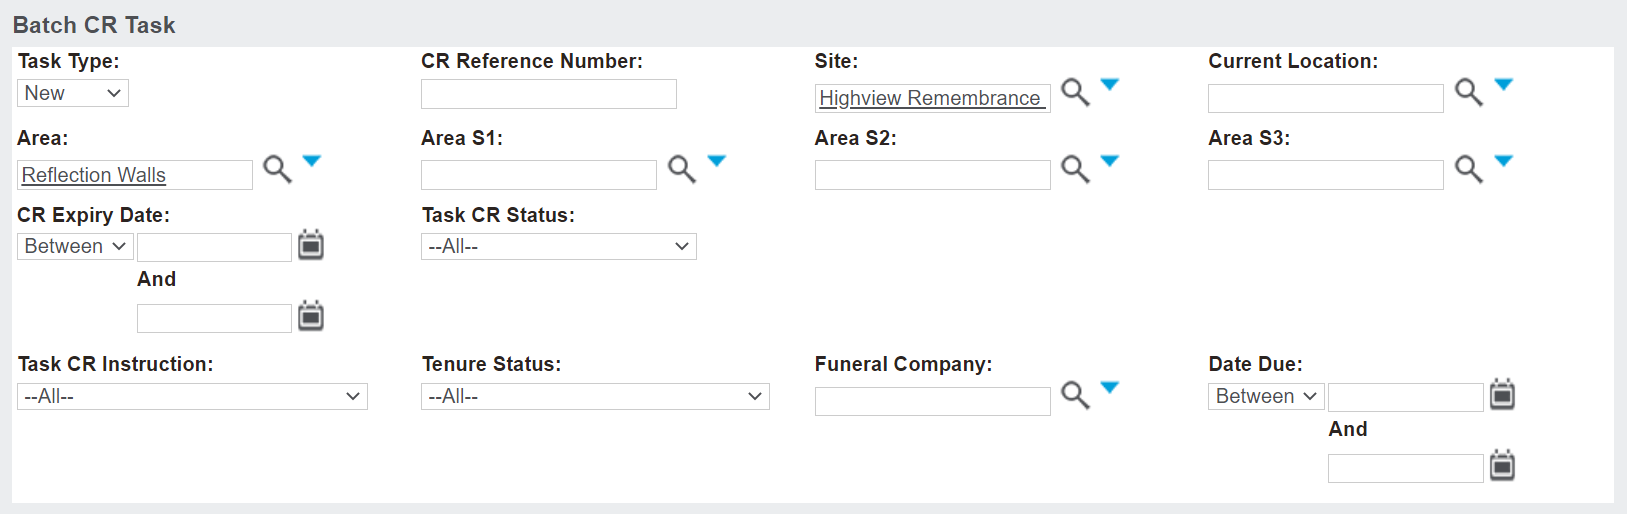
In the Task Type field, choose the selection of New as we will be creating a new task.
The remaining fields that you might complete are up to your needs at the time. For our example, we will choose all cremated remains in the Reflection Walls area of the Highview Remembrance Park.
Once you have entered in your criteria, press the Find button on the right-hand side of the page.
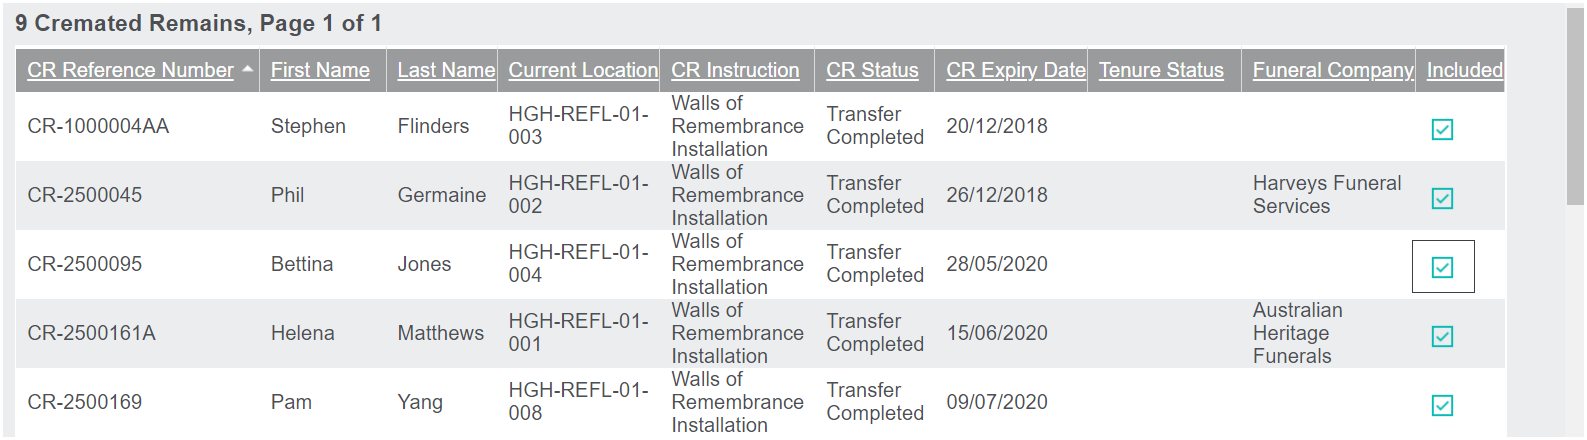
All cremated remains which meet your search criteria will display below.
Should the results provide the expected list of cremated remains records, press the Confirm the Selection button on the right-hand side of the page.
A pop-up window will display any cremated remains records with an existing pending task.
These records will be excluded from your list.
Should any of the cremated remains records be required to be added to your list, you may wish to review the cremated remains record and remove the existing pending task.
Once you have reviewed that list, press the Close button to close out the window.
Review the remaining remains records which appear on the list below the search block to determine which records will be included and excluded.
A tick under the Included header, in line with the cremated remains record indicates the cremated remains record will be included on your list.
To exclude a record, simply, untick the record.
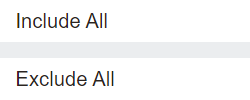
Alternatively, use the Include All or Exclude All buttons on the right-hand side of the page to tick or untick all the records in the list.
In the
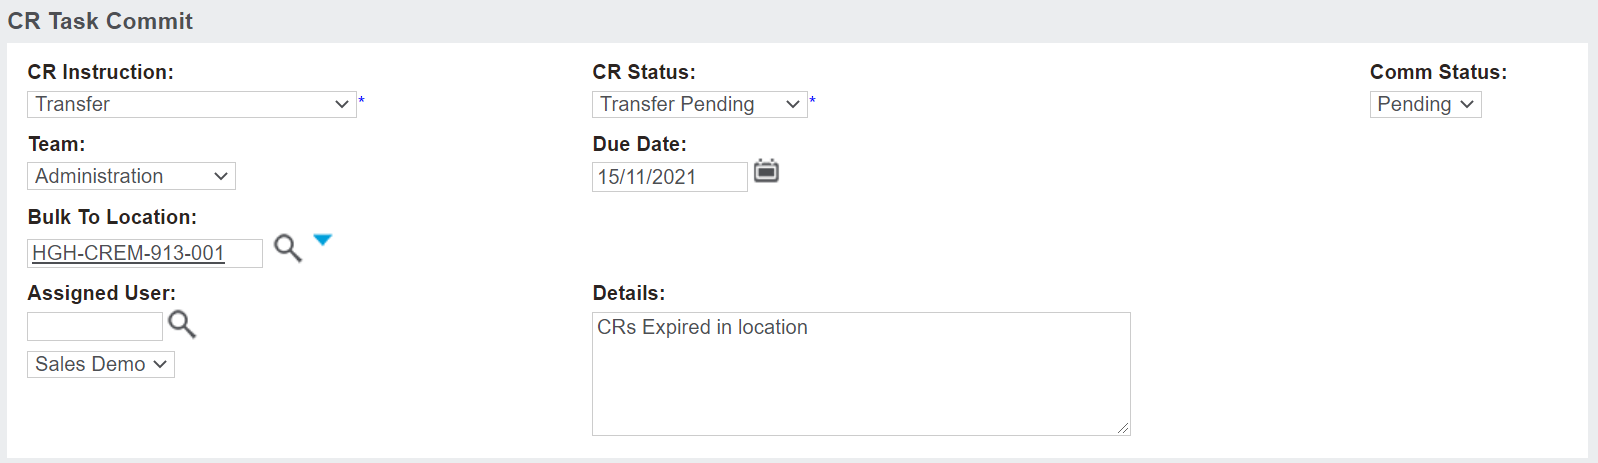
CR Task Commit section, complete the details as you would when
creating a task on a record.
Choose the appropriate CR Instruction and CR Status from the selection lists. The CR Status chosen will update the Comm Status field accordingly.
Choose the Team who will perform the task and update the Due Date, if necessary.
Add the location the cremated remains will be in once the task has been performed in the Bulk To Location field.
Complete the Assigned User and Details fields, if necessary.
Once the records have been chosen and the task details have been completed, choose the Confirm Selection button on the right-hand side of the page.
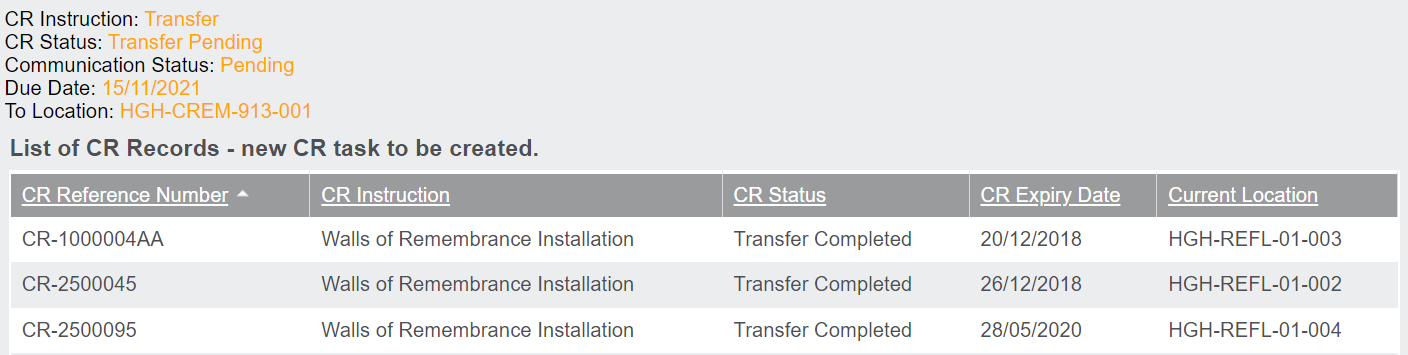
A pop-up window will appear, which confirms the details of the new task you have created and the cremated remains records you have chosen to include.
Press the Close button to close out the pop-up window.
Should the selections made be correct, press the Update CR Task button.
A pop-up window will display the cremated remains records and have a blue, In Progress Task Status.
Once completed, the Task Status of each record will turn orange with a Task Status of Process Completed displaying.
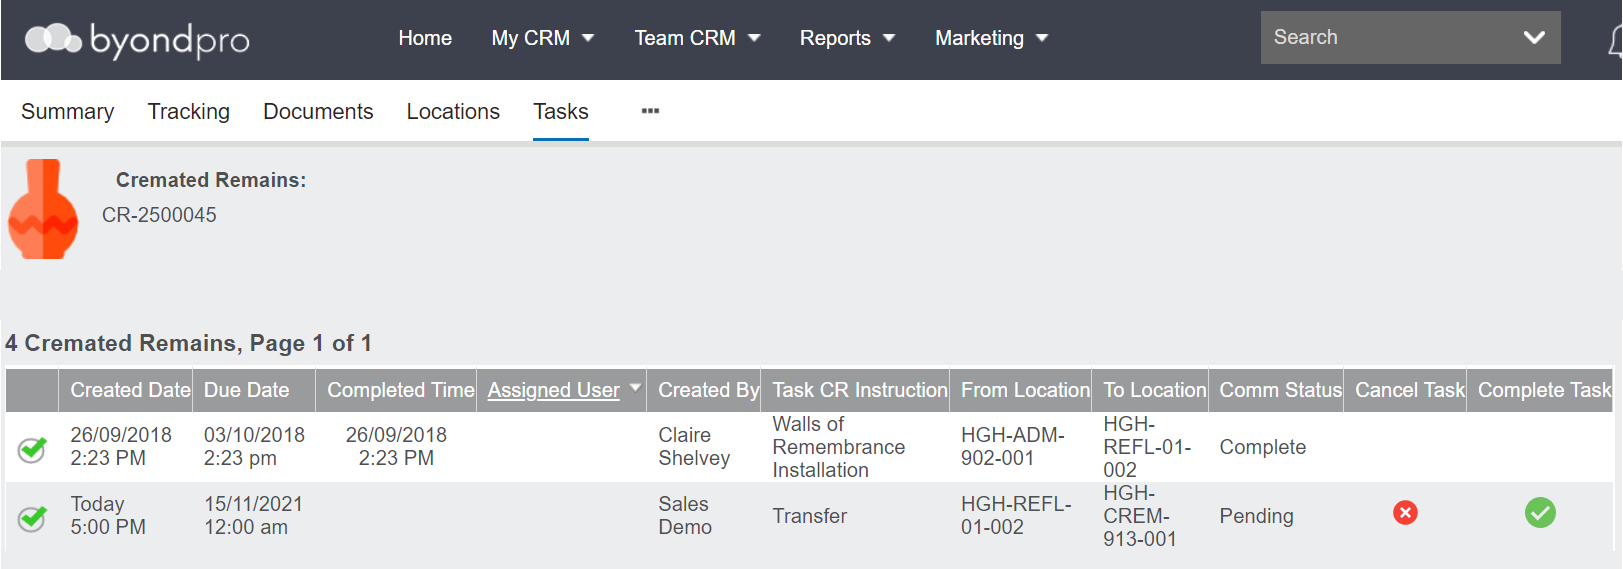
The pending task will now display on the Tasks tab of each of the Cremated Remains records.