Pressing the Add Location button opens up a pop-up window.
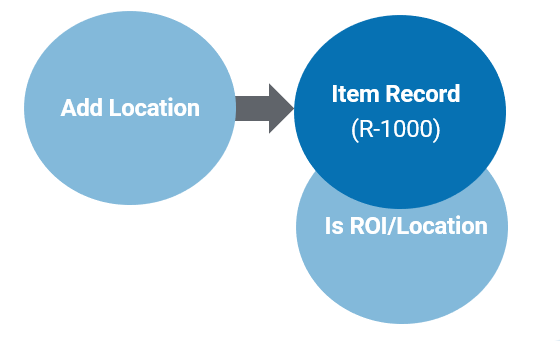
It is important that the location is linked to an item.
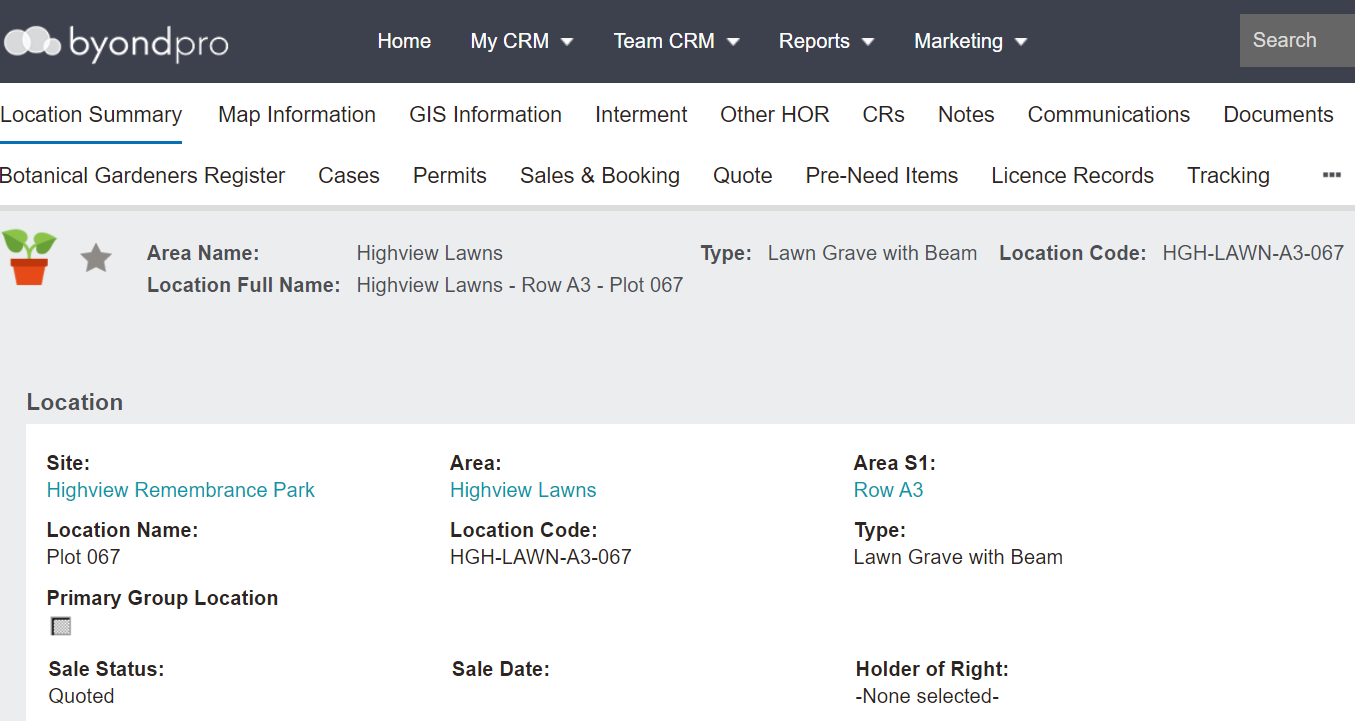
Users may find it useful to have the location code available when completing this screen.
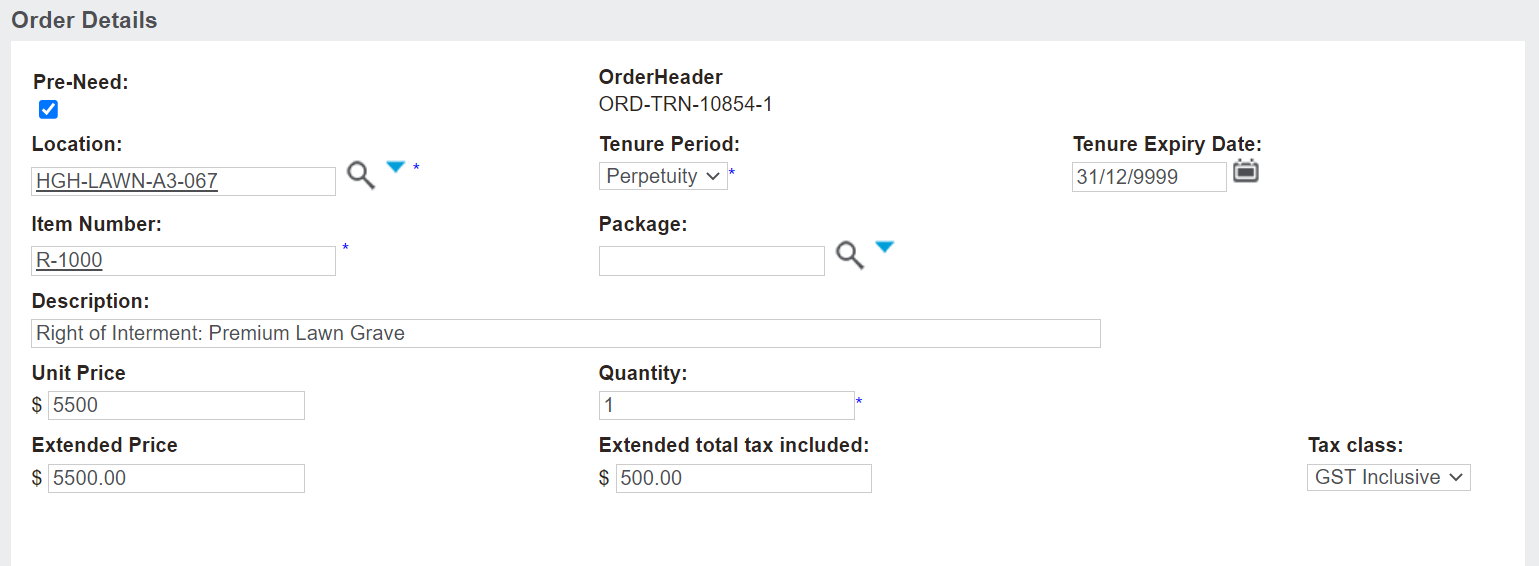
Below is a screenshot of the Order Details screen. Complete the fields as necessary.
The Pre-Need tick box flows through from the summary screen of the sales order and can be ticked on and off for individual items being purchased, if necessary, and is used to sell item /s as pre-need.
Users can look up the location code in the Location field using the blue arrow or simply copy the location code from the location screen that may be opened on another tab in the browser and paste the code in this field.
When completing a search in the location field, the selections will be restricted to locations with a sales status of Available for Sale.
The Tenure Period field will populate as 'Perpetuity' or forever.
Should the rights to the location be sold for less than forever, select the period of tenure from the drop-down selection list.
The Tenure Expiry Date field will update to reflect the tenure period chosen.
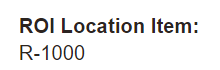
Provided the location chosen has an ROI item code linked to it, the information from the item will populate the remaining fields one screen.
The Sale Status on the location changes from available for sale to quoted as soon as it is added to the sales order.
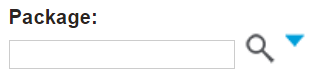
If the item that the location is linked to is also a component of a package item, the Package field will display.
For more information about adding packages, please visit the Add Packages section of this guide.
Once completed, press Save and Close on the right-hand side of the page.
Upon saving, the Sales Details section displays
-
If the item is being purchased pre-need
-
-
A description of the item
-
-
-
-
-
The Order Total will populate with the total tax included in the sales order and the total of the sales order.