Add a Site
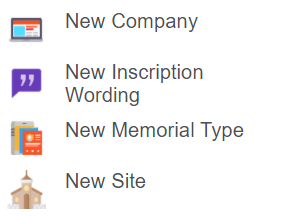
To add a new site, click on the plus symbol on the top right-hand side of the page.

Choose the New Site option from the selection list.
From the new window, type in the Site Code of the new site. For our site, we will enter in CVM.

Enter in the Name of the site.
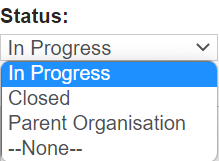
Choose the Status from the selection list.
-
A current operational site should be 'In Progress'
-
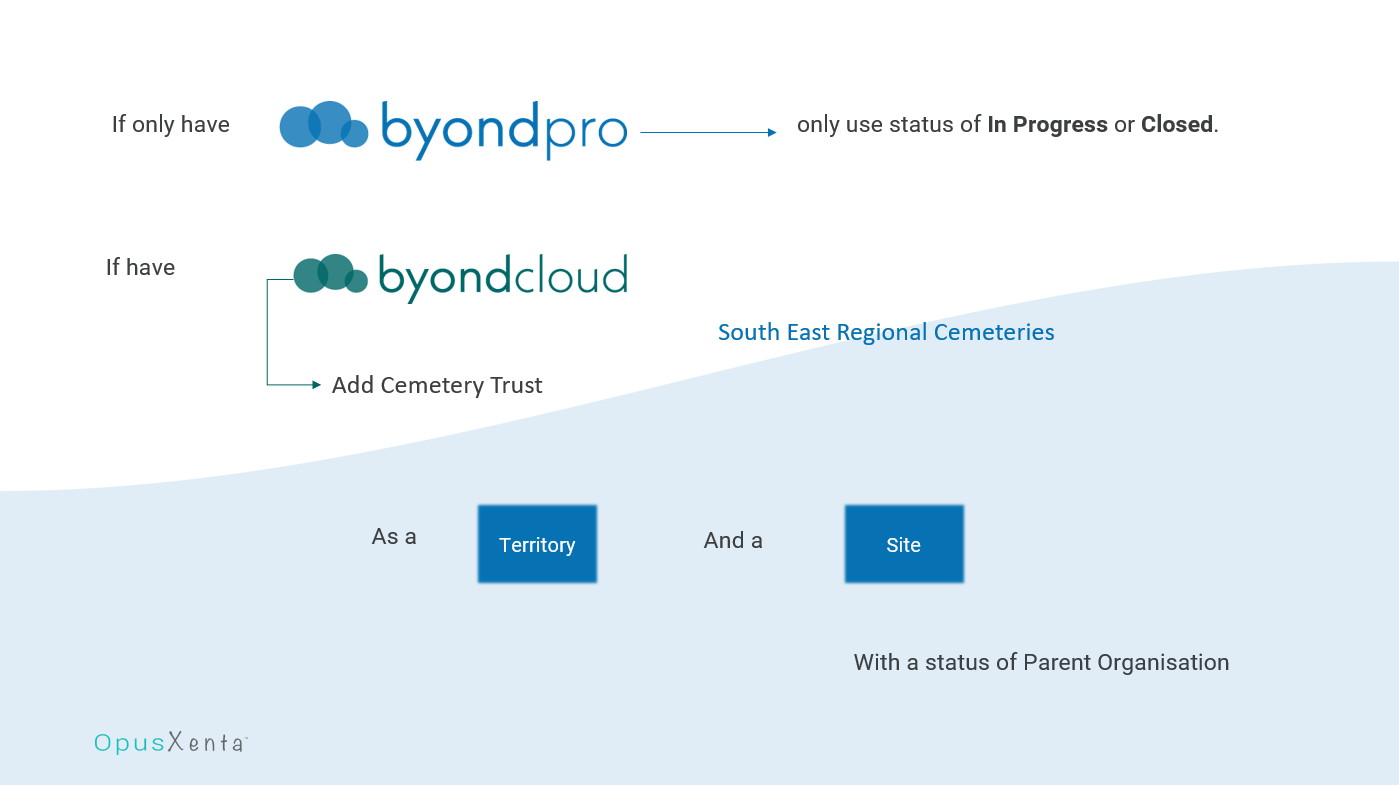
A site not currently operating should be 'Closed'The Parent Organisation status would be in use when byondpro is linked to byondcloud and would not be in use for customers only with byondpro.If you have byondcloud, the overarching Cemetery Trust would need to be added as a territory and a site, with the site record having a status of parent organisation.
The Territory field links the site and the territory and should be configured 1-for-1 with site records.
For example, the site of Clearview Cemetery & Mausolea will be linked to the Clearview Cemetery & Mausolea territory.
The site and the territory do not have to be named exactly the same, however, should refer to the same entity.
Additionally, by assigning multiple sites to the same territory, this may cause difficulties down the line, such as creating duplicate appointments on bookings.
If no new territory was created for your site before this point, we recommend creating the territory first.
Free form text is available for a Description of the particular site.
GL Code Site Segment is for the general ledger integration to the ERP system. The ProductGLCodeSiteSegment configuration controls the link back to the site segment code in the general ledger. This field is explained further in the GL Code Site Segment section.
Once completed press Save on the right-hand side of the page.
After saving your new site, should you wish to add any mapping features to the site, you can add these using the Map Information and Map Tile Details tab.