Creating Appointments
Appointments are used to capture the calendar appointments for each of the resources / teams associated to a burial booking.
To add appointments to the booking, from the Summary tab of the Sales & Booking, choose New Appointment on the right-hand side of the page.

There is also a New Appointment button on the right-hand side of the page.

The user will be presented with an Appointment screen.
Users can complete the fields in the order desired, however, would typically follow the order presented below.
The Regarding section, at the top, will pre-fill the company from the Summary screen of the booking and no changes are required to be made.
Person is a look up to person records in byondpro linked to the company and is not required, except for in the instance this communication needs to be linked to the relevant company contact.
-
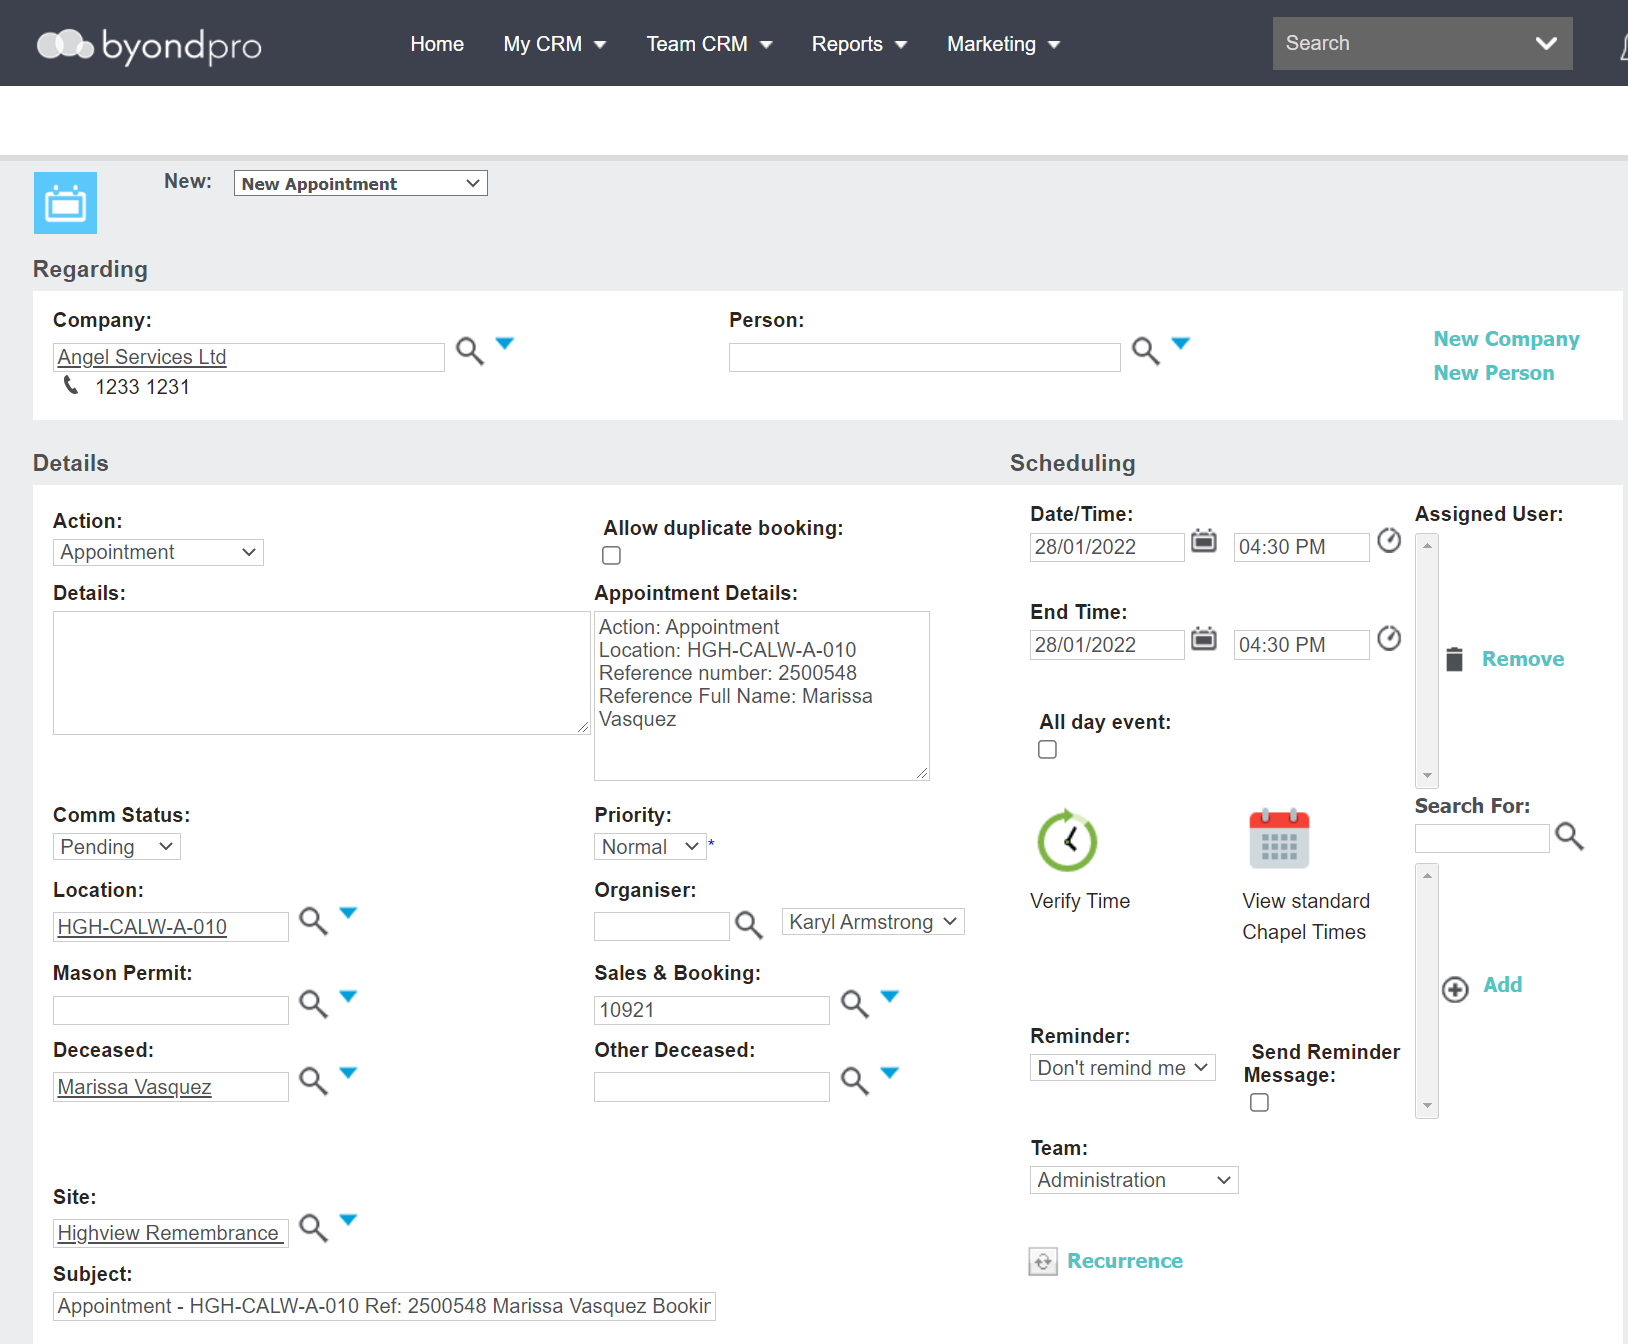
In the Action field, select from the drop-down list options.In our example, we have selected Burial Booking.
-
Add any details specific to the booking in the Details box as free form text.
-
The Appointment Details field auto populates from information captured on the summary screen.
Fields such as Location, Site, and Reference Contact also populate from the Summary screen.If the reference contact is not marked as deceased, the record will not display. Users will need to edit the appointment manually once the person record is marked as deceased.
-
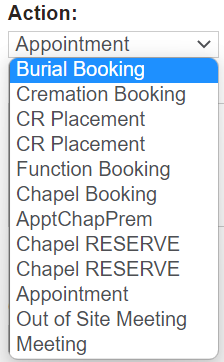
Choose the resource in the Assigned User field, if the assigned user does not auto-populate.
If no options appear in the Assigned User field, however, appear in the field below, simply click on the resource, and choose Add. The resource will be added as the assigned user to the appointment.
Users can also use the search field to locate a resource and add into the Assigned User field.
Multiple resources can be added to the Assigned User field, to check availability and compare in the meeting planner. Once the resource to be booked has been chosen, be sure to remove all other resources from the Assigned User field.
-
Use the Meeting Planner below to review available times.
A time listed in blue is the current selection. Times in grey are other saved appointments or unbookable times, and red time slots conflict with other appointments.
Hover over the grey or red time slots to see the details of the booking (s) that have been placed on the same day or time (s).
-
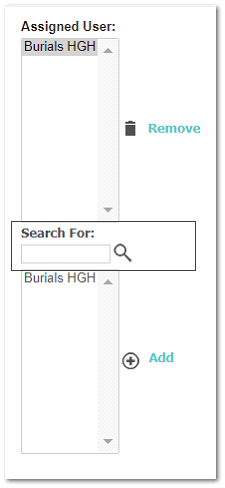
Once you have confirmed the resource and time desired for the appointment is available, the time can be locked in the date and time blocks in the scheduling fields.Before editing, the date and time in the scheduling fields display as the service date from the Summary tab and the current user time.Or simply, lock in the time by clicking on the time slot in the meeting planner below.

If creating a Chapel Booking, clicking on the Calendar icon will open up a PDF of the chapels and their standard times to choose from.

Resources may have set start and finish times.
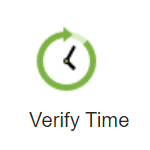
Choosing to Verify Time will move the appointment start time to the closest fixed start.
Additionally, it will move the appointment finish to the calculated length based on the calendar rules.
-
Once completed, press Save on the right-hand side of the page.

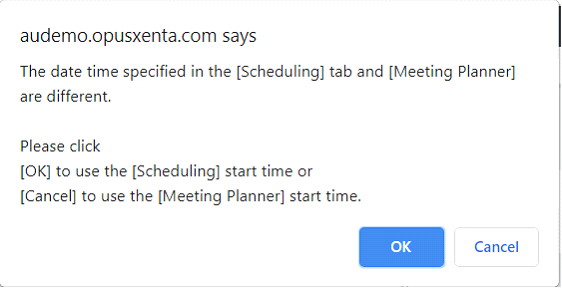
If the time chosen on the Meeting Planner and the time chosen in the Scheduling fields do not match, the following warning will display.
Clicking OK will choose the time in the Scheduling fields. Clicking Cancel will choose the time in the Meeting Planner.
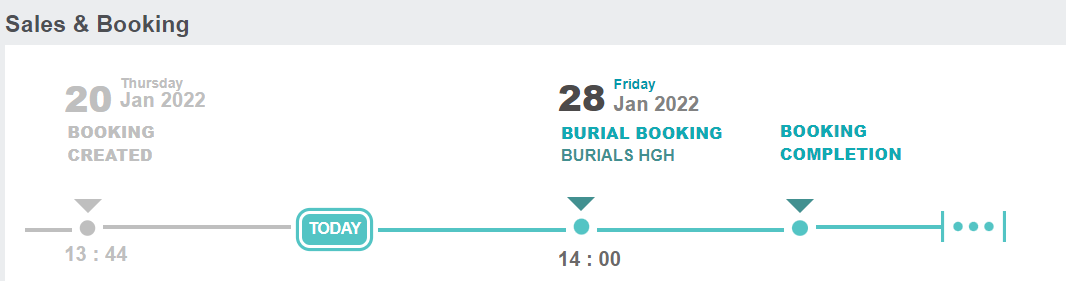
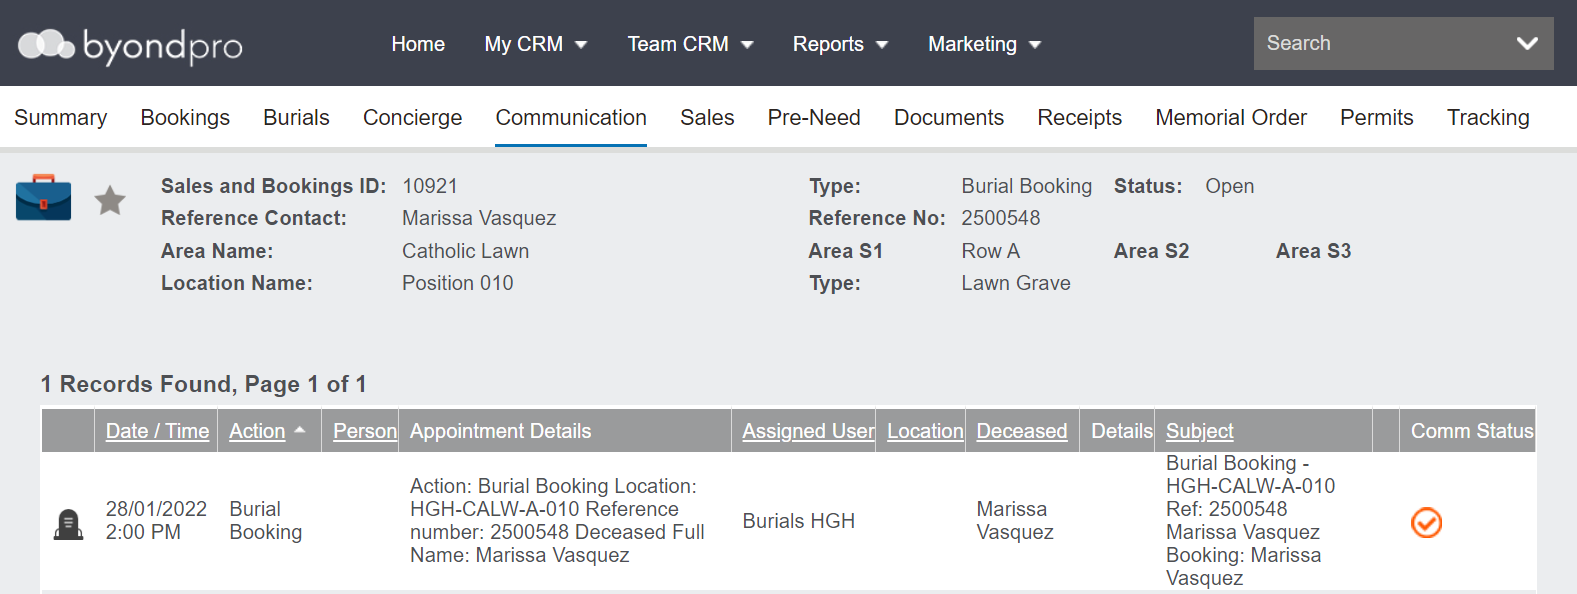
Once the appointment is saved, it will now display on the timeline of the booking and the Communication tab of the booking.
Users would complete the process again for each appointment that needs to be booked, such as chapel and function bookings.