Creating a Sales & Booking
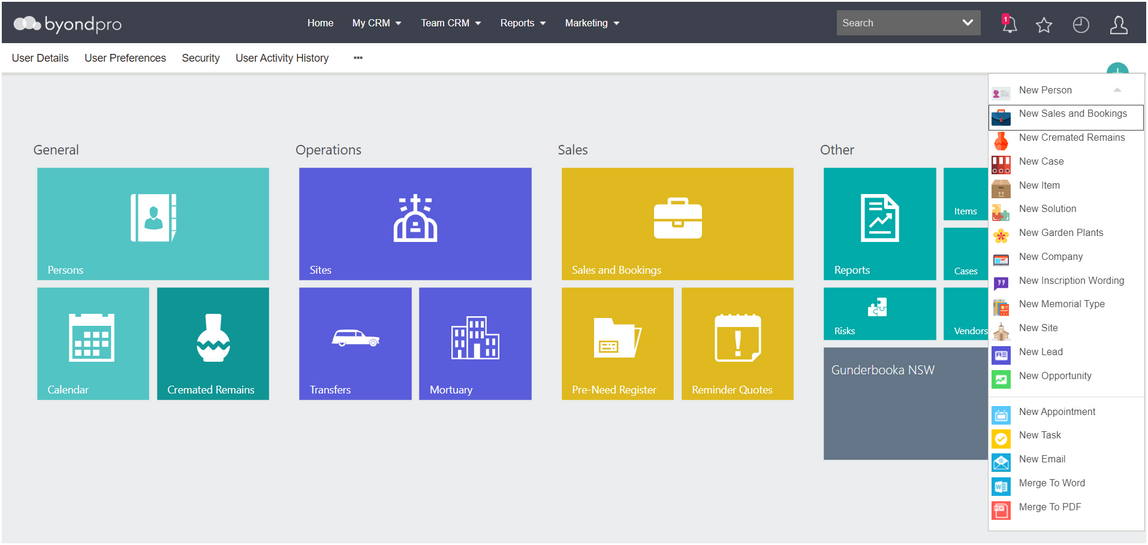
To create a Sales & Booking, click on the Plus symbol on the top right-hand side of the page.
Choose New Sales & Booking from the drop-down list.
OR
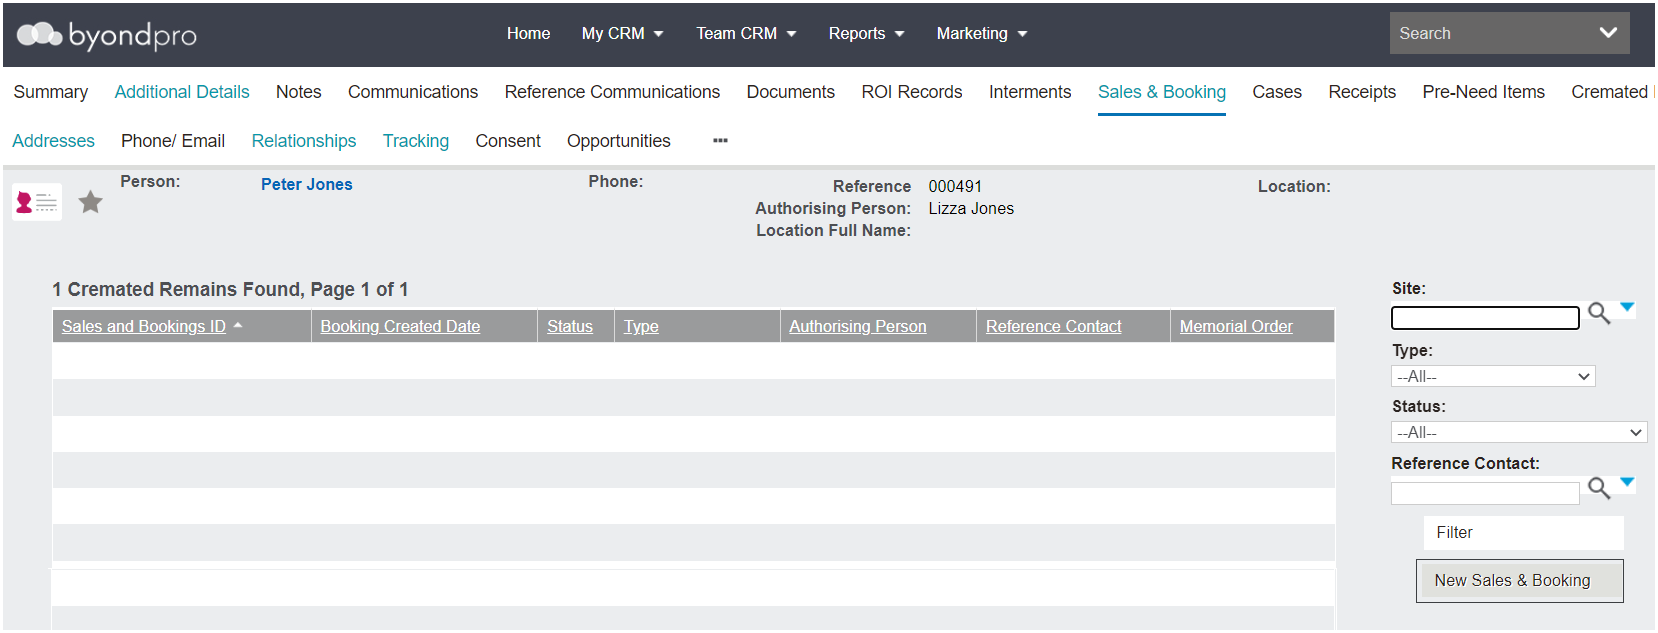
If the reference contact is already in the database, click on New Sales & Booking from the Sales & Booking tab of the person record.
This will populate the Sales & Booking Reference Contact field with the person record.
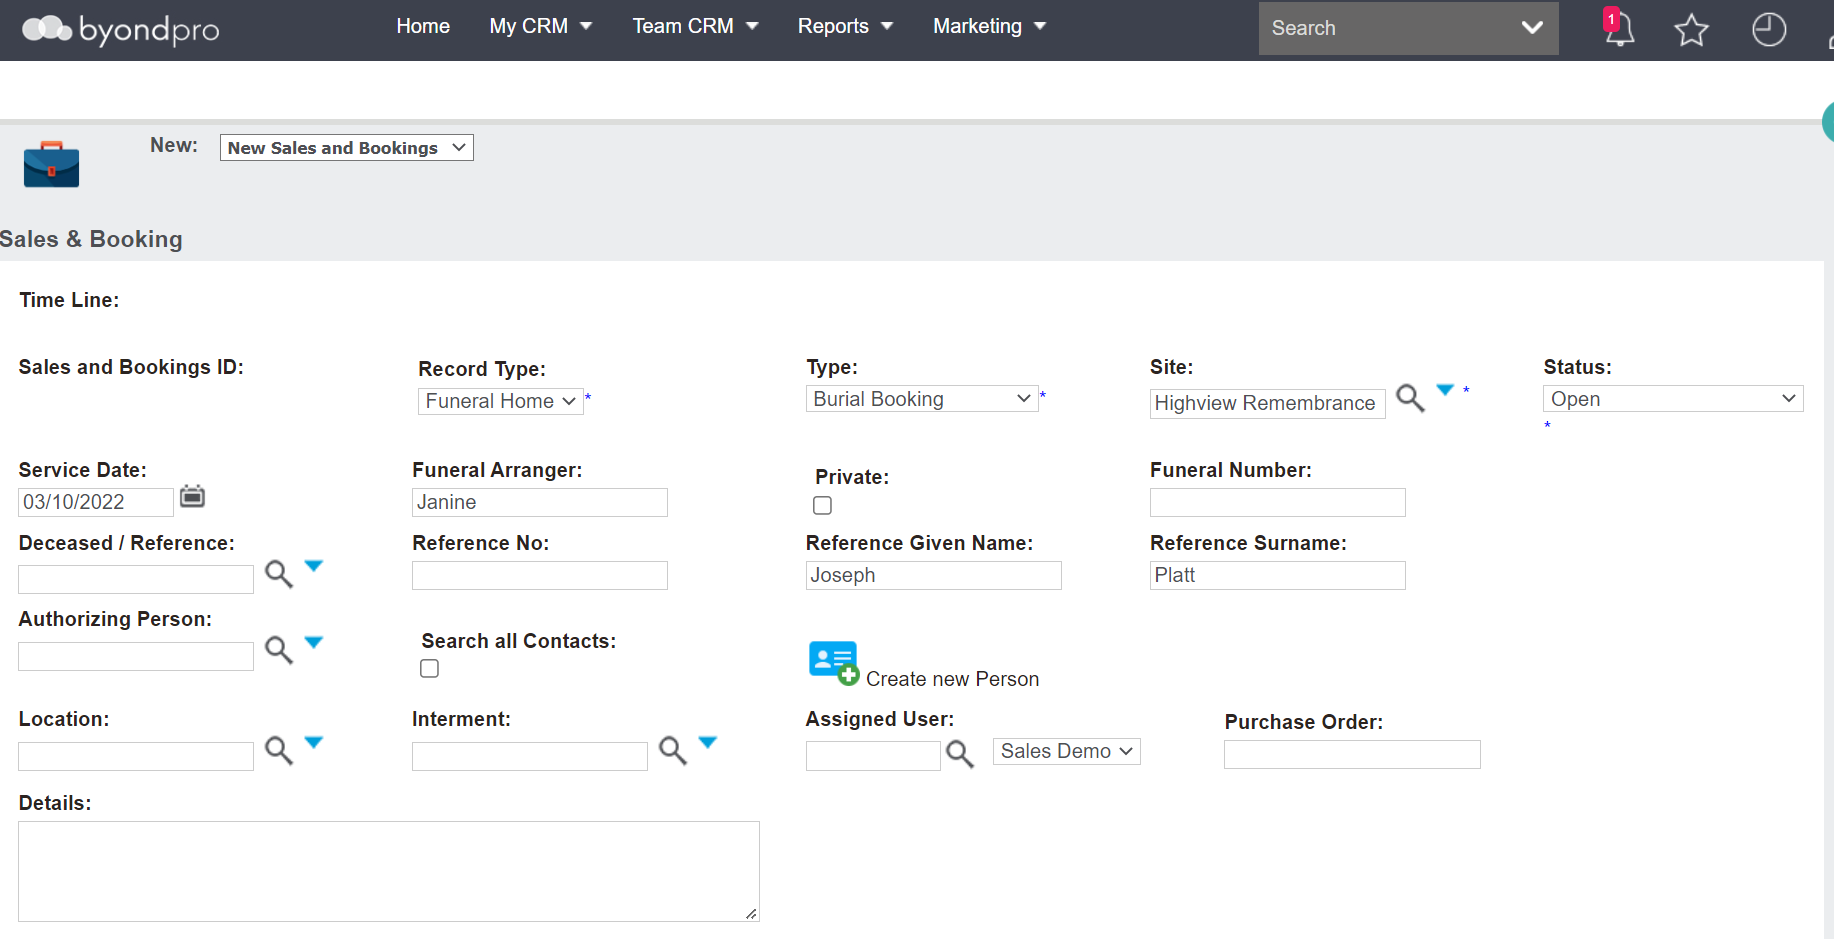
Following is an image of the Sales & Booking page. Complete the fields with as much information as possible.
The fields and what is required to complete at the start may vary based on each customers’ database, their internal processes, and the information the user has at the time of creating the booking.
In a Funeral Home booking where the user has access to both Funeral Homes and Cemetery Management, select 'Funeral Home' in the Record Type field.
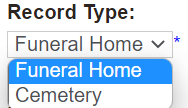
The Record Type field will already be completed for a user with access only to Funeral Homes.
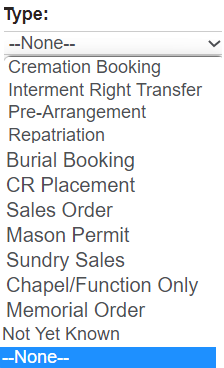
In the Type field, select what kind of booking it will be.
If you are unsure at this time, select the option 'Not Yet Known.'
This selection will trigger additional screens or fields to complete and once the type is known, can be updated using the Change Type button.
The Site field will be the branch of the Funeral Home.
The Status will auto-fill as open and throughout the process, users will change the status as necessary based on their internal processes.
The Service Date field is a required field and is the date of the service, if known.
Additionally, users can add the name of the person arranging the funeral in the Funeral Arranger field.
Reference Contact & Authorising Person
-
If the Reference Contact and Authorising Person are known at this time and already added into byondpro, these records can be added to the booking now.
Once the person record is added to the reference contact field, users can add the authorising person. However, only records linked via a relationship will display when the magnifying glass is selected.
If records are not linked, tick the Search all Contacts box to expand the search across the whole database.

-
If the records are not added into the database at the time of creating a booking and the user has the information to create the records now, the records can be added by choosing the Create New Person button.

-
If the reference contact is not in byondpro and the user does not have the required information to add these records at this time, simply type the name of the reference contact in the Reference Given Name and Reference Surname fields, as we have done.

Remaining details can then be added to the booking as they are received.
Location
The Location field appears only if the user has access to the Cemetery Management portion of byondpro and would be the location the reference contact is to be interred in for a burial.
-
If the Reference Contact or Number is selected and the reference contact is already linked to a location (i.e., the rights to a location were purchased, pre-need), it will prefill from person / interment records.
-
If the user has found the location prior to creating the booking and has the location open on another tab, they can copy the location code from the location record and paste the code in this field. Remember to lock in the location by choosing the magnifying glass.
-
If the user would like to find a location at the time of creating a booking, they can use the Search Select fields to find a location at this stage.
Once completed, choose Save on the top right-hand side of the page.