Upload Documents
From the mason permit record, click on the Documents tab, which will display a list of documents that have been uploaded

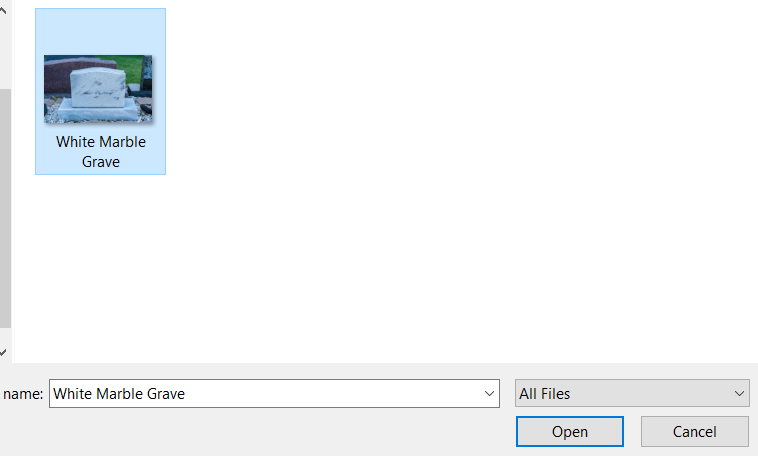
To add a new document, click on the Add File button.
This will open the file browser for you to select a document from your computer.
Alternatively, you can click and drag a file onto the Drop files here to attach them button.
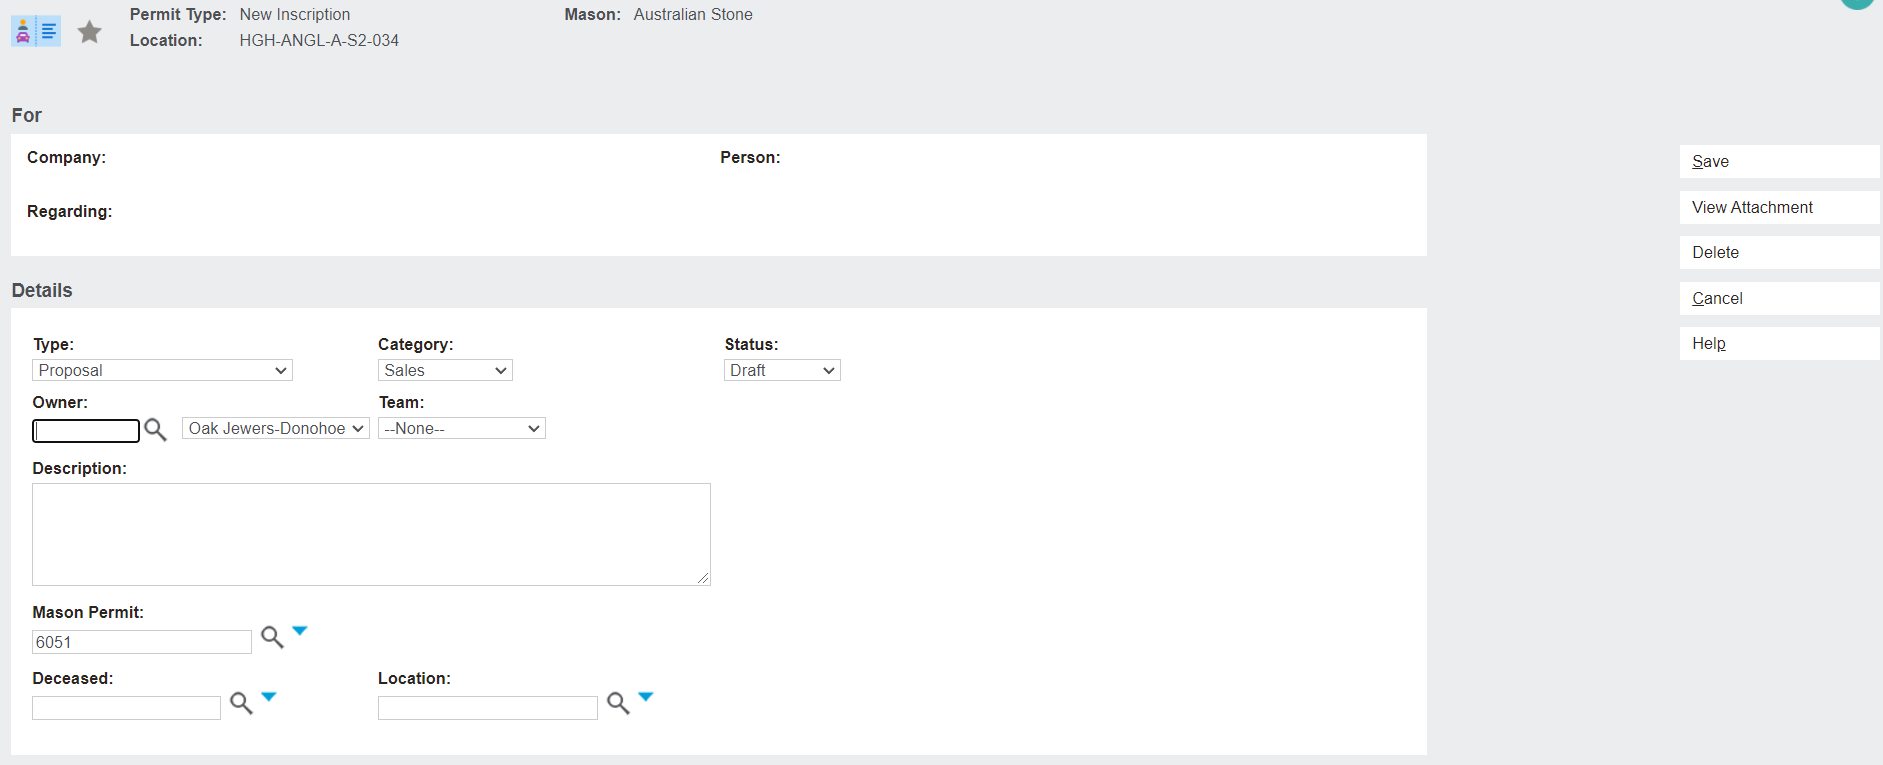
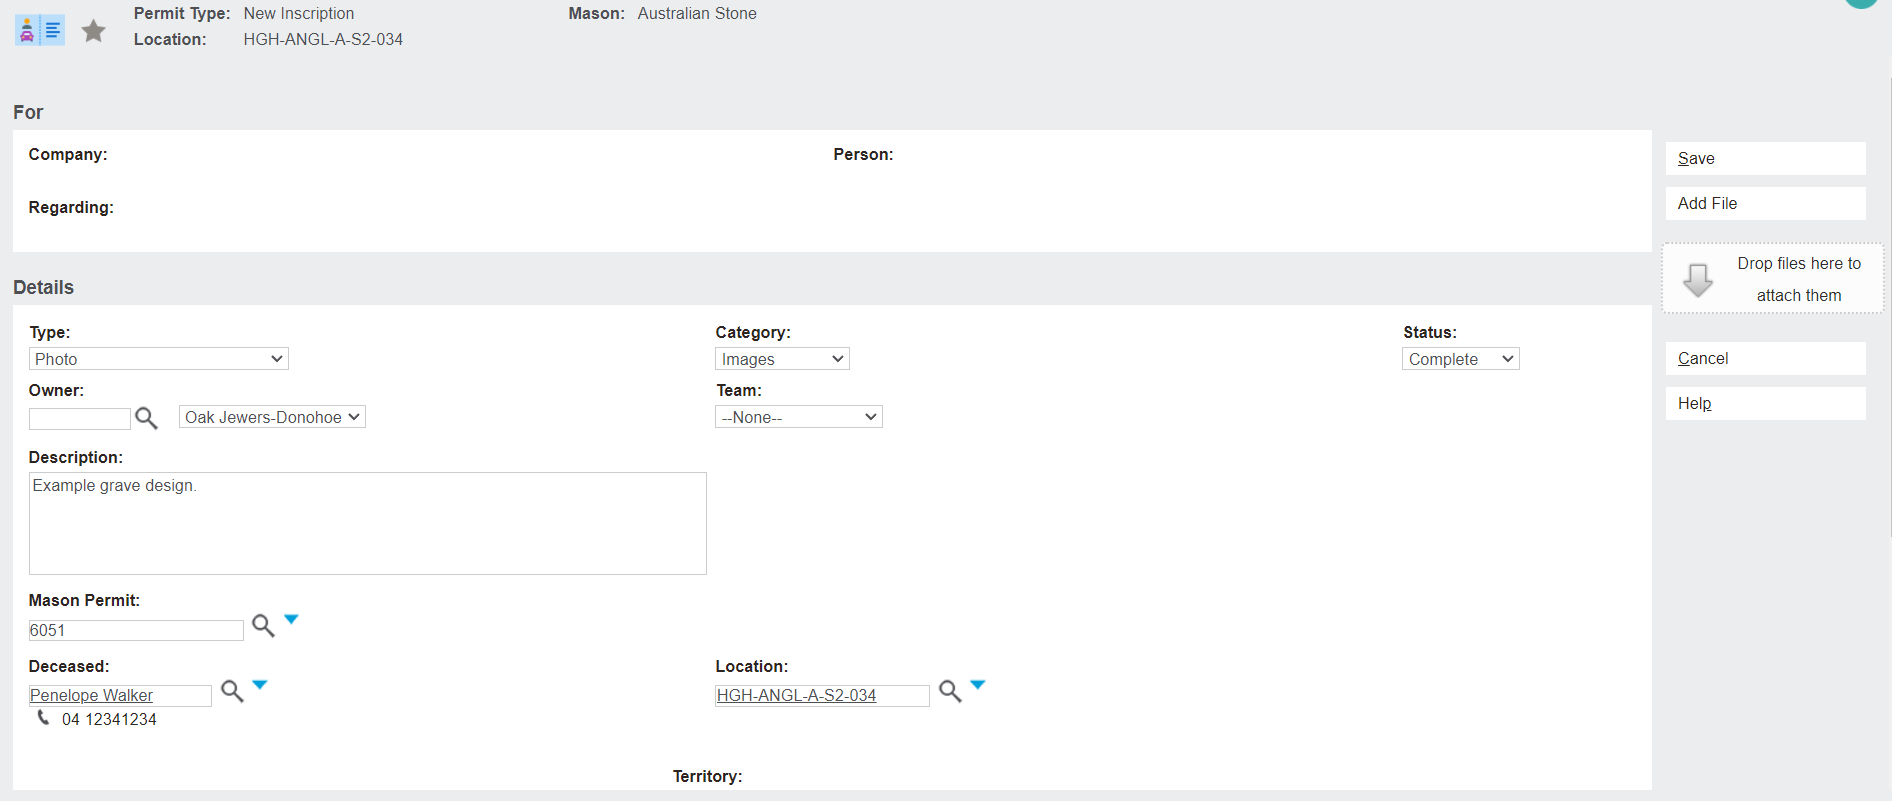
Once a file has been selected, details about the file will need to be completed.
These include:
-
Type: A drop-down selection of the type of document being uploaded. For example, if the mason supplies the cemetery with a proposal for works to be completed, it would be added as Type: Proposal.
-
Category: What kind of content the document includes, e.g., Finance, Sales, Marketing, Images.
-
Status: The status of the document can include whether it is a complete document, a draft, in-progress, pending, final, or superseded.
-
Owner: The cemetery staff member that the document belongs to / is managed by.
-
Team: The cemetery team that the document relates to. For example, a proposal might be assigned to the Operations team so that they can review the location against the proposed works.
-
Description: A description of the document.
-
Mason Permit
-
Deceased
-
Location
-
Territory
At the bottom of the new document screen, the files that have been added to upload are displayed.

Back on the Documents tab, the newly uploaded document has populated in the list.

Clicking the paperclip button on the left-hand side of the document will open the document in a new tab.
Clicking the file name hyperlink will open a screen where the fields completed on the Add File page can be edited.