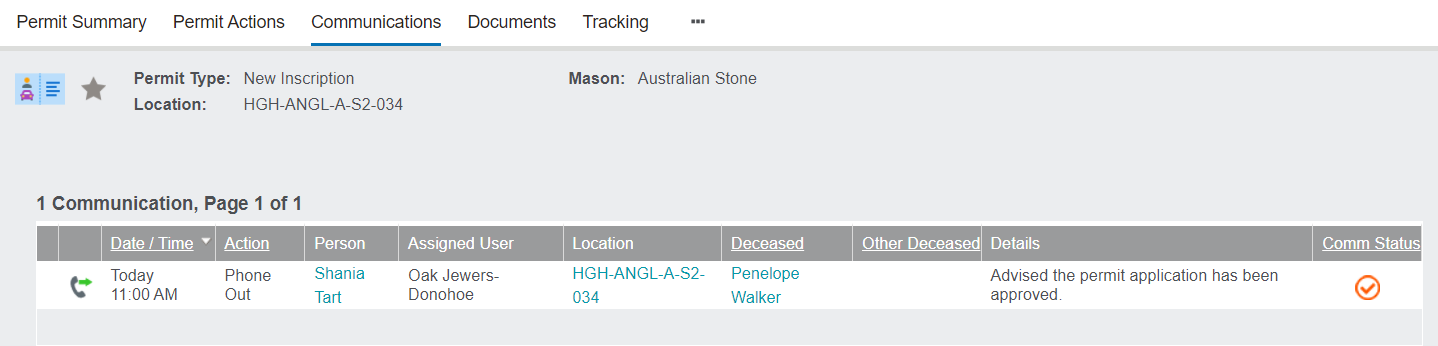
Record Communications
From the mason permit record, click on the Communications tab, which will display a list of any communications or appointments linked to the mason permit.

Click on the New Communication button on the right-hand side of the screen to open the Enter New Task screen.
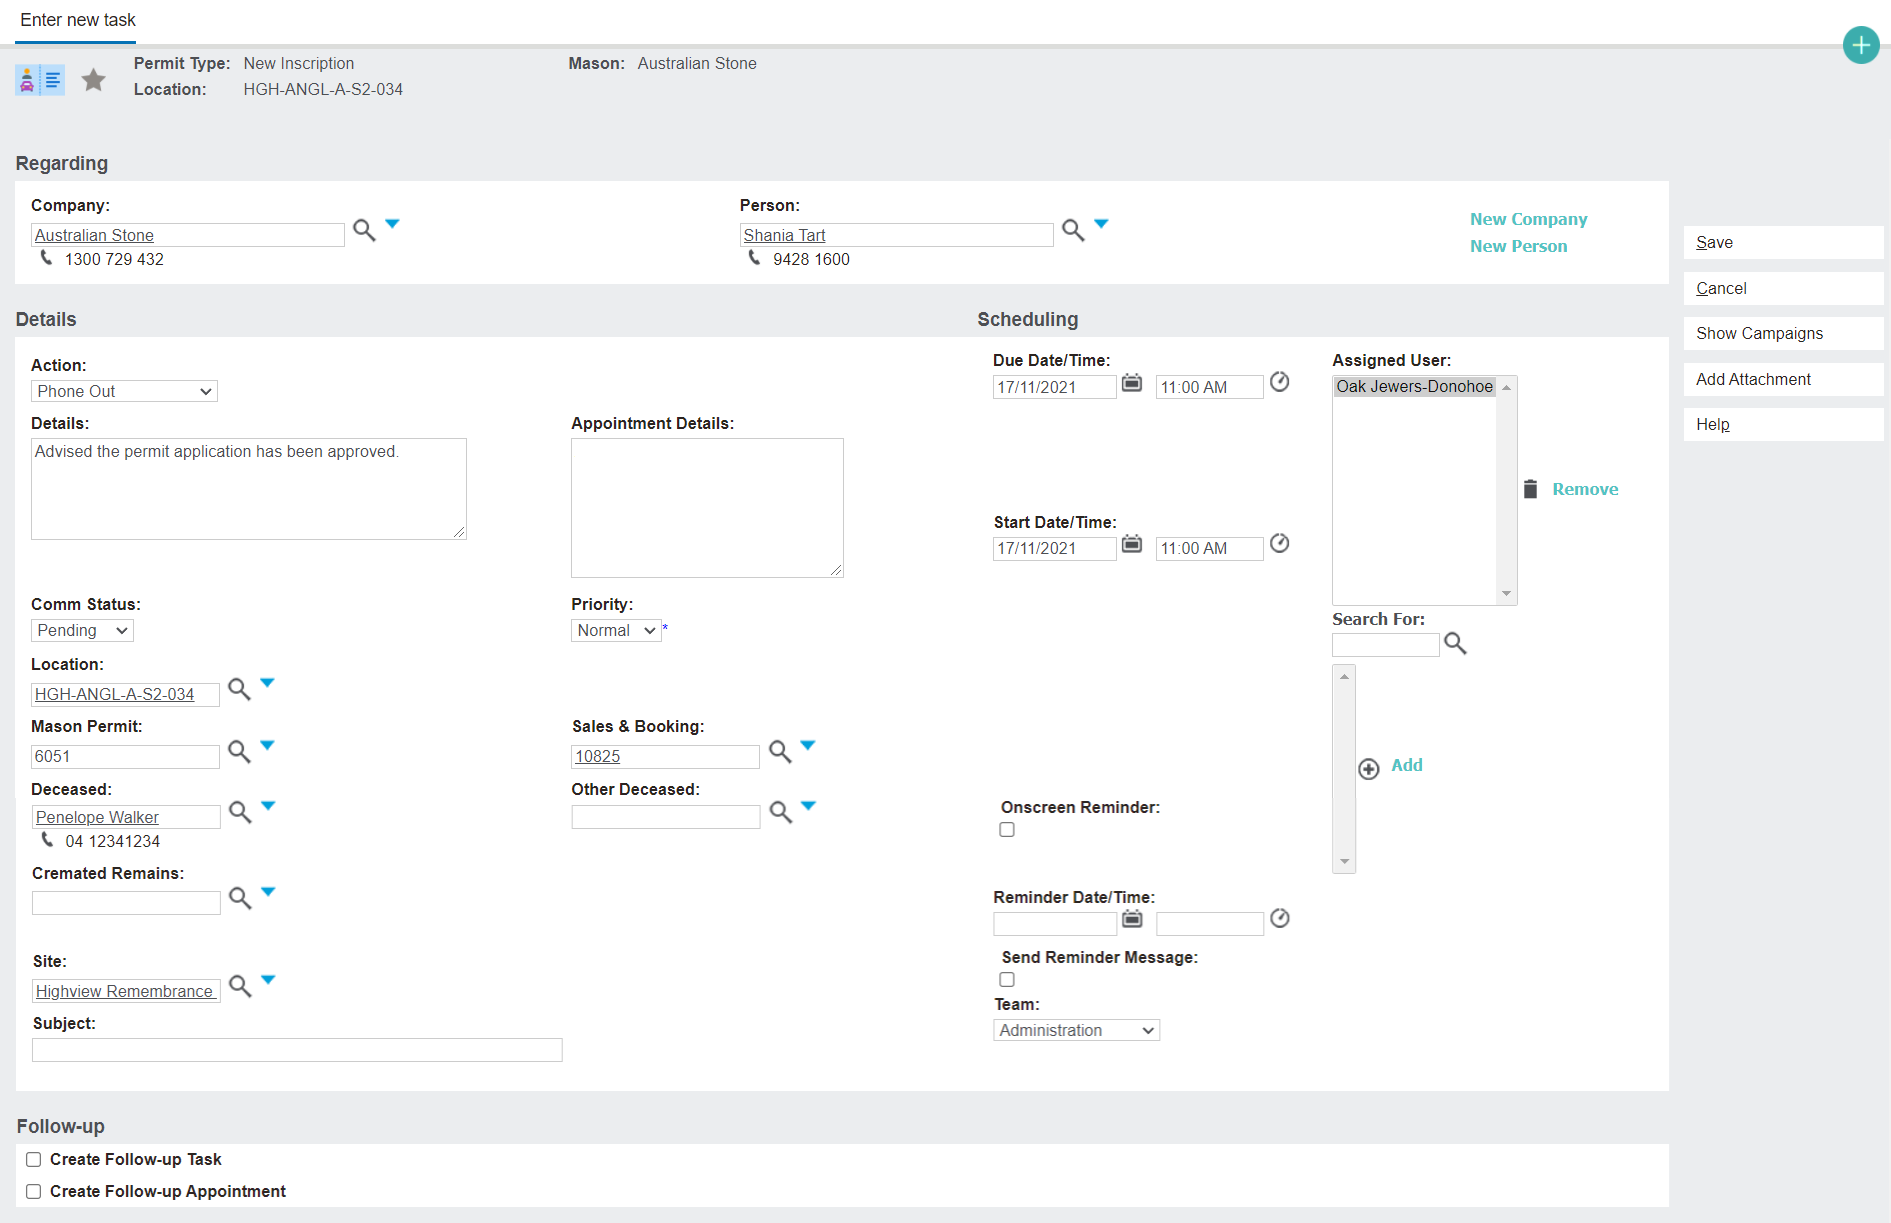
There are three blocks to fill out on this page:
Regarding
This is where the mason company and the contact person are listed.
There is also an option to Add Person or Add Company if the person / company isn't already in the byondpro system.

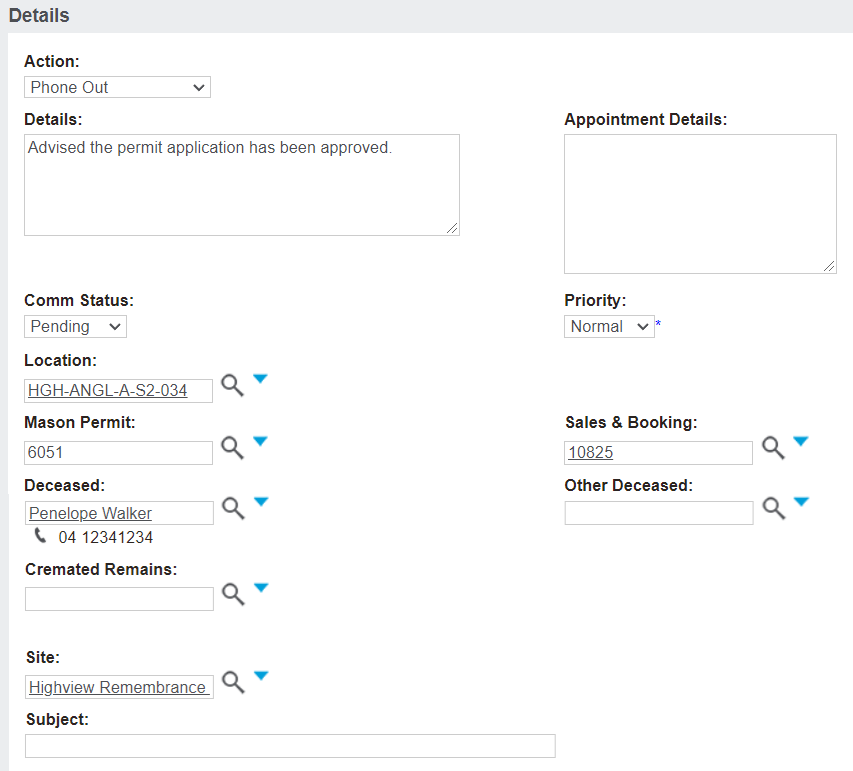
Details
The details of the communication are added here.
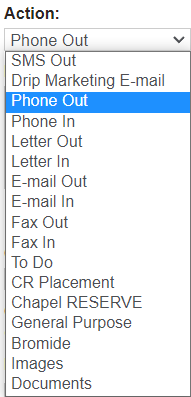
The Action drop-down describes the type of communication that was taken.
The Details field gives information about the communication, such as what was said.
The Comm Status can be set as pending, completed, or cancelled; and the Priority can be set as low, medium, high, or none.
The Location, Mason Permit, Sales & Booking, Deceased, Cremated Remains, and Site are all captured here.
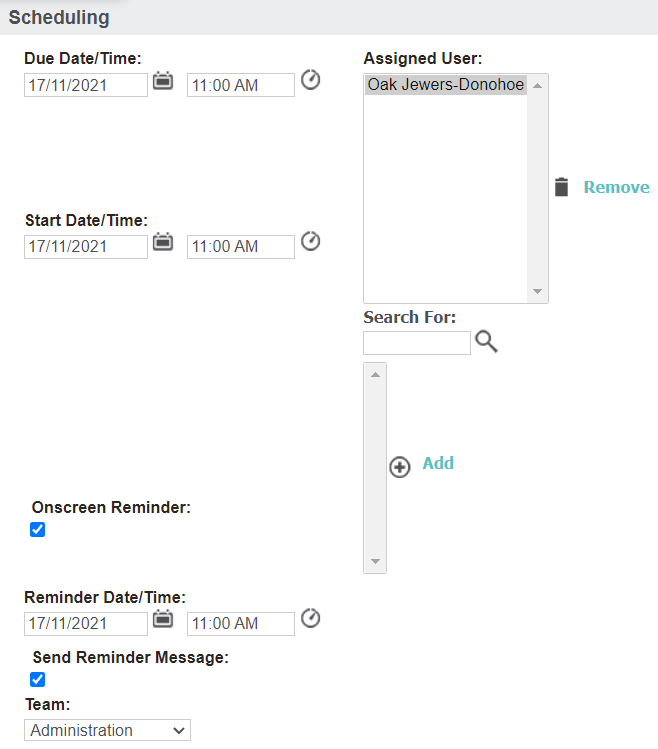
Scheduling
If a communication is to occur in the future, a Due Date/Time can be set. If it has already been completed or started, the date/time the communication started is recorded with Start Date/Time.
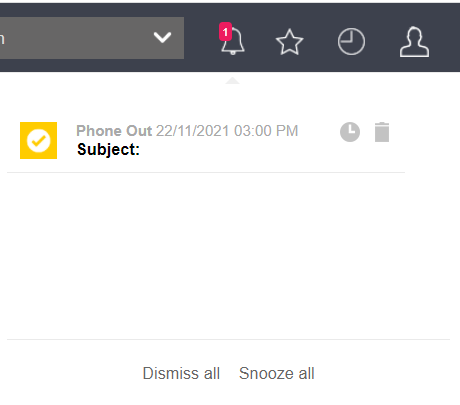
There is also an option to set up reminders.
The reminders show up as notifications on your byondpro header bar under the notification bell.
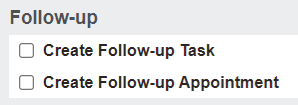
Follow-up
If any follow-up appointments or tasks need to be completed, tick the appropriate box.
Once all fields are completed, click on Save to return to the Communications tab.
If any changes to the communication are required, press the icon on the far left to open the communication in edit mode.
Add Attachment to Communication
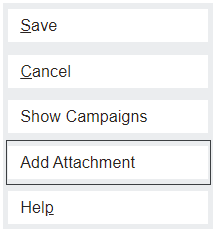
Along the side, there is also an option to Add Attachment.
This is only visible while creating or editing the communication.
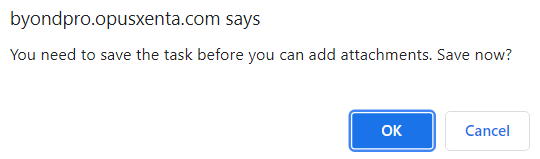
You may only add an attachment after the communication has been saved, and trying to add one beforehand will prompt you to save it.
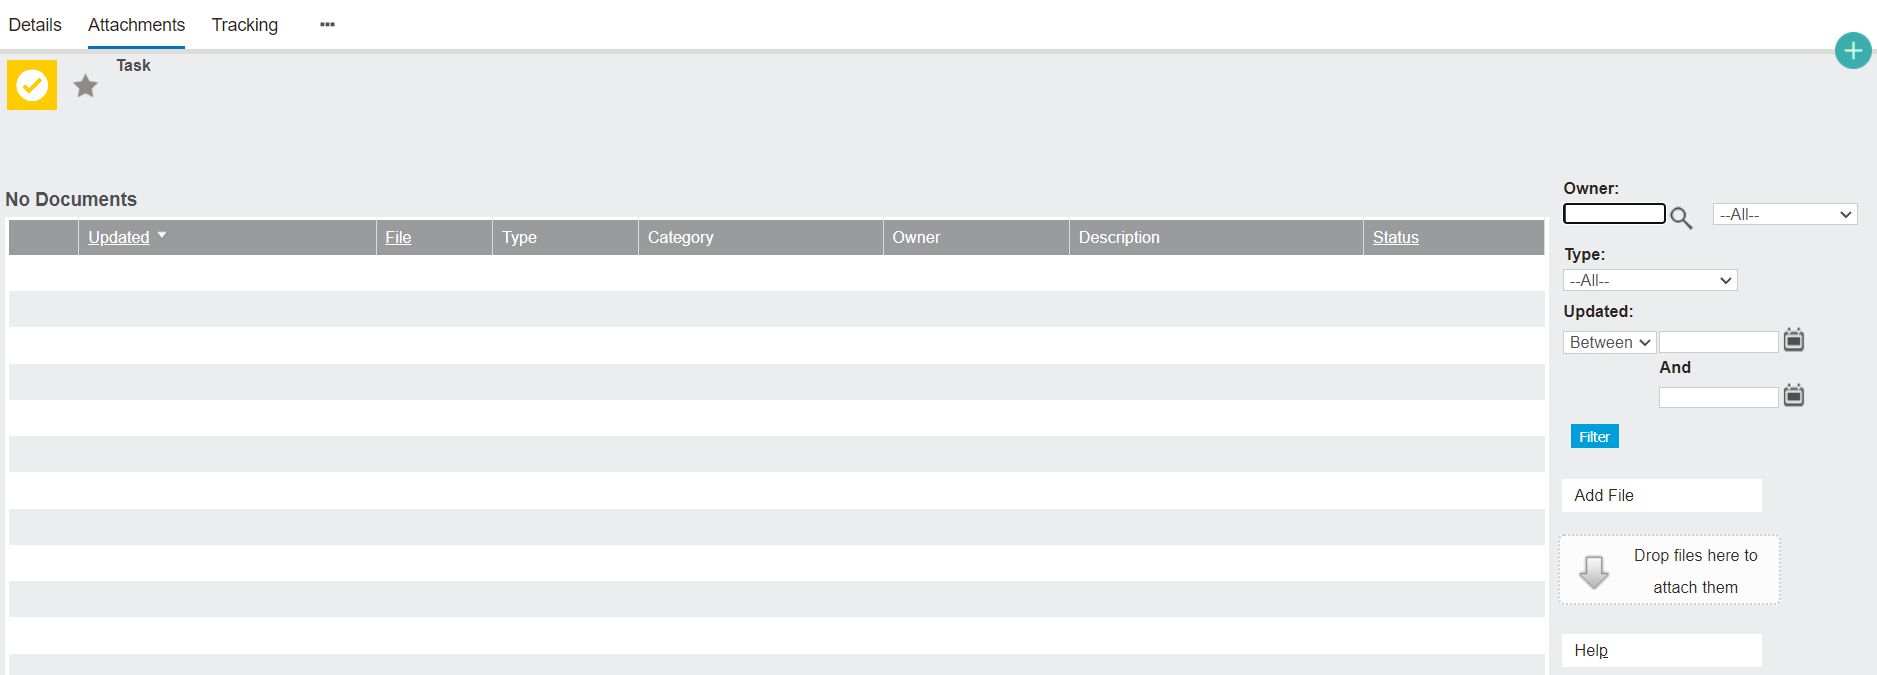
Open an existing communication from the Communications tab by clicking the icon on the far left of the communication, then click Add Attachment.
The resulting page follows the same processes as the Upload Documents topic.
Create Appointments
The process for creating a New Appointment is similar, with a couple of key differences.
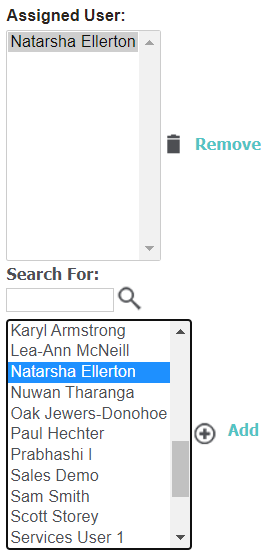
The Assigned User will be set to the person or department from the cemetery that will be undertaking the appointment with the mason (if applicable).
If this person / department is different to the logged in cemetery user that is creating the appointment, then they will need to be entered via the Search For field.
Either type the desired user into the box and click the magnifying glass to find them, or leave the box empty and click the magnifying glass to view all registered users.
Double-click the desired user or select them and click Add, and they will populate the Assigned User field.
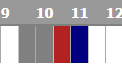
At the bottom of the New Appointment page, there is a Meeting Planner timeline that displays any meetings that the assigned user has on that day in grey, and the appointment being currently created in blue.

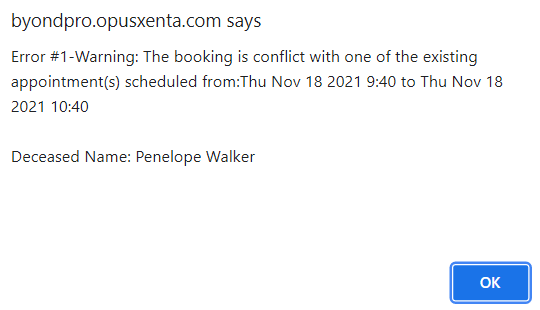
If the chosen time overlaps with an unavailable time, it will display as red in the meeting planner.
Attempting to save a conflicting appointment will result in the following error: