Receipting in byondpro
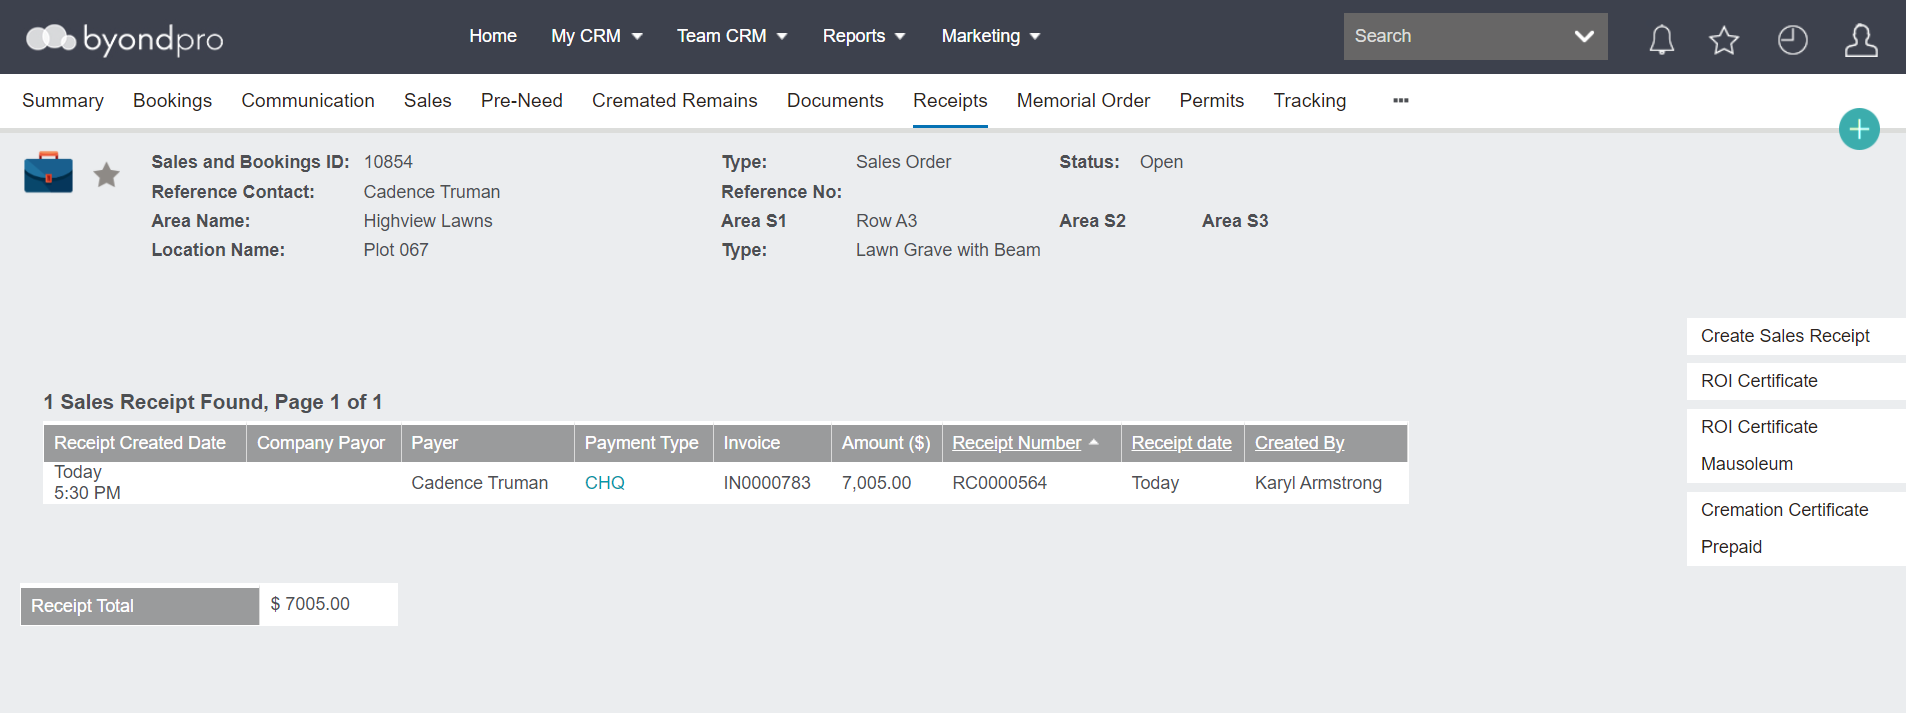
On the sales order, choose Create Sales Receipt on the top right-hand side.
This option only appears if the invoice has been created.
A pop-up window will appear.
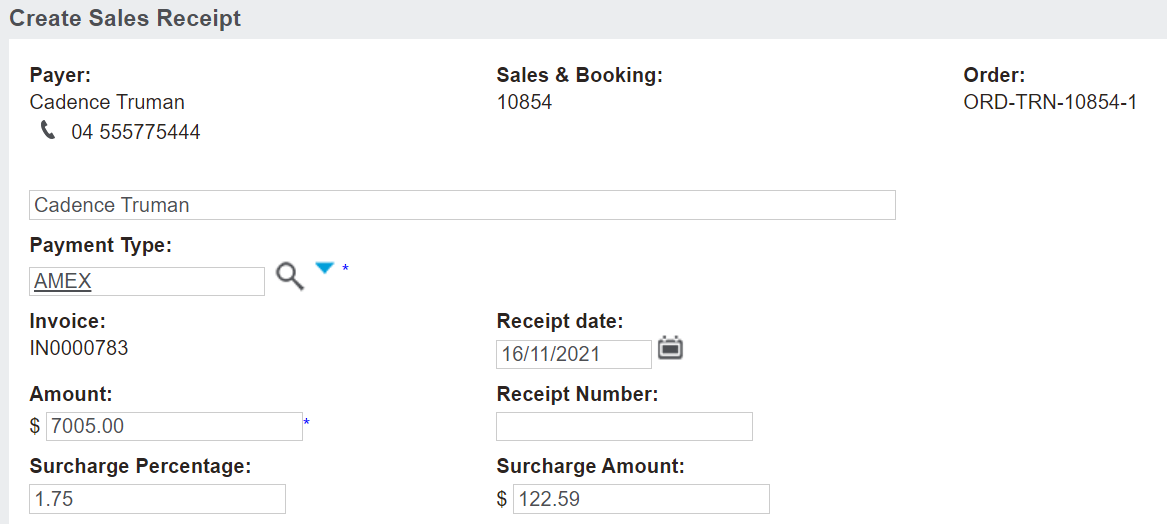
If the payment being receipted is from someone other than what displays in the Payer field, the field below can be updated to reflect the Payer’s name.
The payment will be processed against the original customer details; however, the formal receipt document will note that someone other than the reference has paid.
In the Payment Type field, choose from the available payment types.

Depending on the payment type chosen, additional fields may display.
-
For example, our cheque payment as below, is configured to display the fields of BSB and Account Number as required fields to complete to save the payment.

-
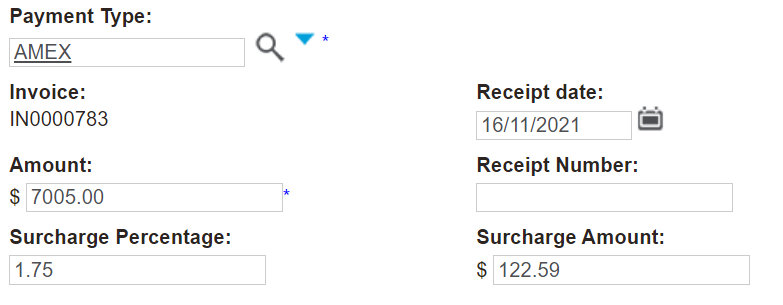
In the next example, the American Express or AMEX payment type, has a surcharge added to it.
The Surcharge Percentage field will populate with the surcharge configured in Receipt Type Setup for this particular receipt type.
The Surcharge Amount field will calculate the amount being receipted by the surcharge percentage to display the surcharge amount.
When the receipt is saved, a debit note equivalent to the value of the surcharge is generated.
The Amount field will populate with the invoice total, however, if a different amount was receipted, the amount can be edited.
For example, one family member may pay $3,760.00 of our invoice, and we would update the amount to reflect the funds received from the family member.
When a second family member pays, the remaining $3,245.00 on the invoice, a second receipt should be created to reflect the second payment.
Once completed, press Save on the right-hand side of the page.
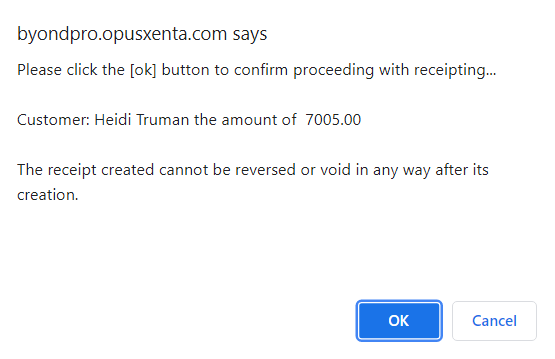
Once saved, a warning message will appear asking to confirm to proceed with the receipting and advises it cannot be reversed or voided in anyway after its creation.
Choose OK to proceed if the receipt entry is correct and you wish to proceed with processing.
The sales receipt will display.
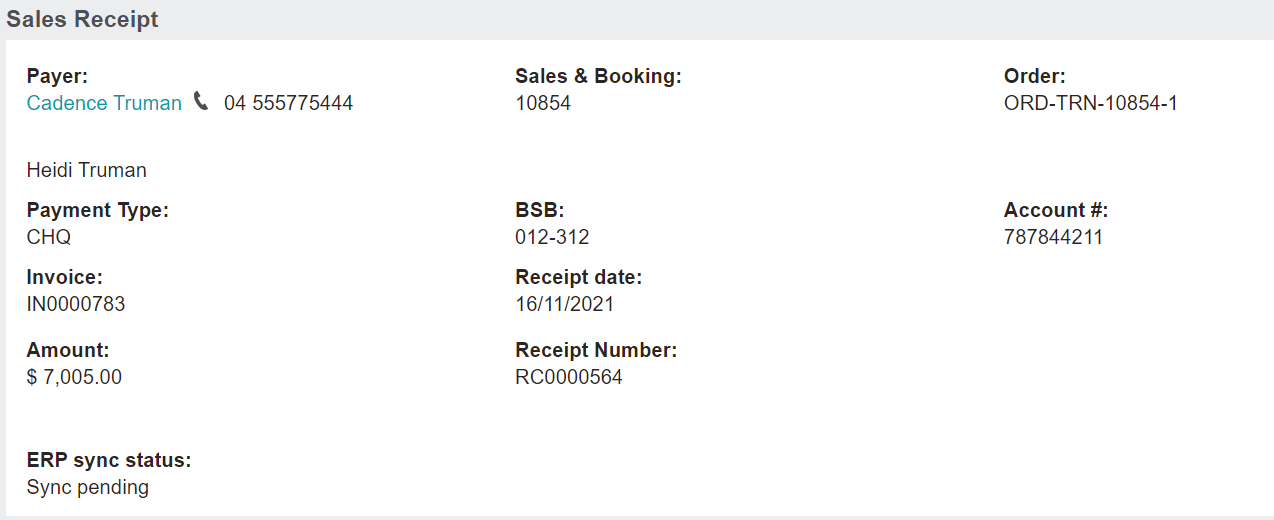
It is recommended to generate a receipt by pressing the Print Sales Receipt button.
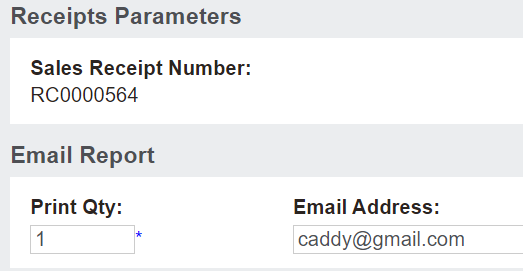
From the new window that appears, an option exists to email, export to excel or print the receipt to PDF.
The email address can be updated before emailing.
When ready, simply click on the action button of your choice.
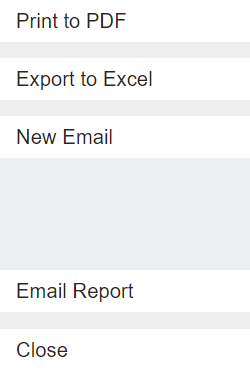
The Print to PDF button allows users to see a copy of the receipt and automatically saves it to the Documents tab of the Sales & Booking.

Additionally, the Receipts tab will display the receipt details and can be viewed in detail by choosing the payment type hyperlink.