Receipt Import From Excel
There are a few tips and tricks your OpusXenta consultant can show you before you use this function for the first time.
From the My CRM menu, select the Custom Functions option, this is where you will find the ‘Receipt Import’ icon.

When selecting the receipt import icon you will be presented with two options
-
Get Template
-
Import Receipts

Selecting the Get Template option will download the template in excel format.
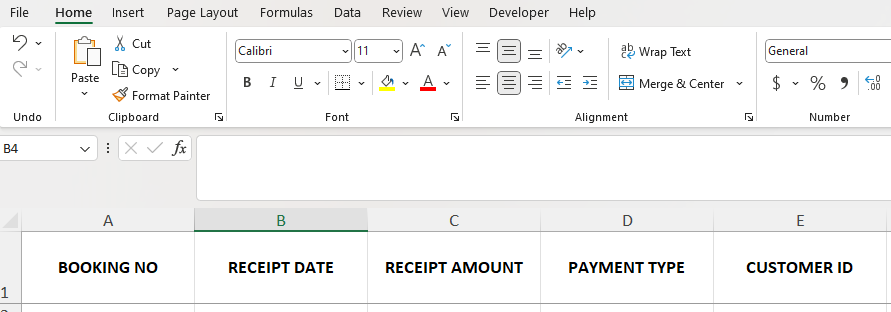
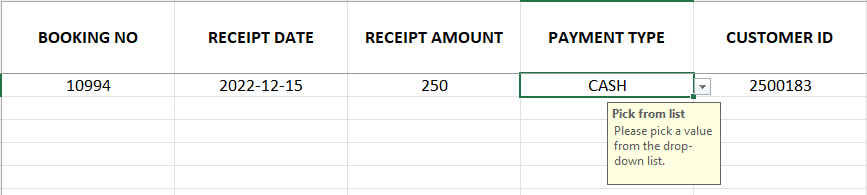
The required fields to be populated are as shown in the Excel screen shot below. It is important that the date format is set as ‘YYYY-MM-DD.
The date field is a text field that the import program will convert to a date field.
Please note that all date fields must start with the apostrophe sign ( ‘ ) this will ensure that your text format is held by Excel.
Once the template is populated, choose the Import Receipts icon, browse & select the file that you have created and choose Import Receipts.

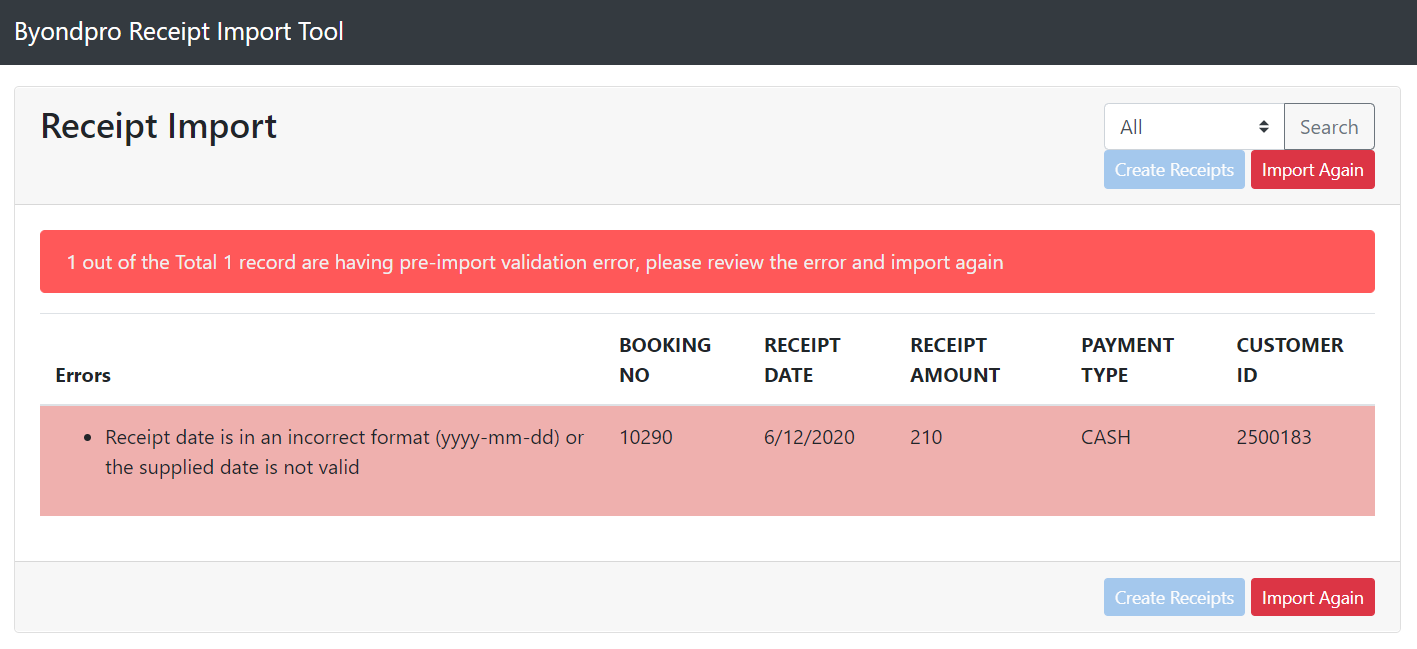
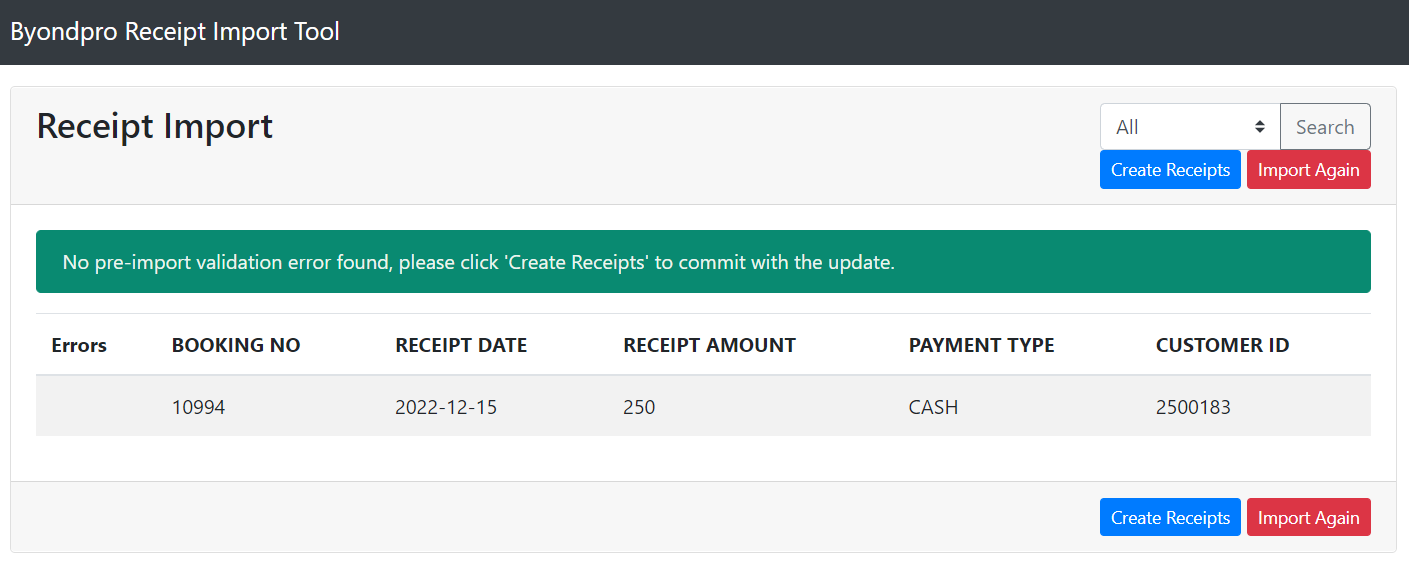
If there are any pre import validation errors, the ‘Errors’ column will notate what the errors are, and the screen banner will display in red.
Where no pre import validation errors are found, the Errors column will be blank and the screen displays with a green banner.
If you are happy with the entries as displayed, select the Create Receipts Button.
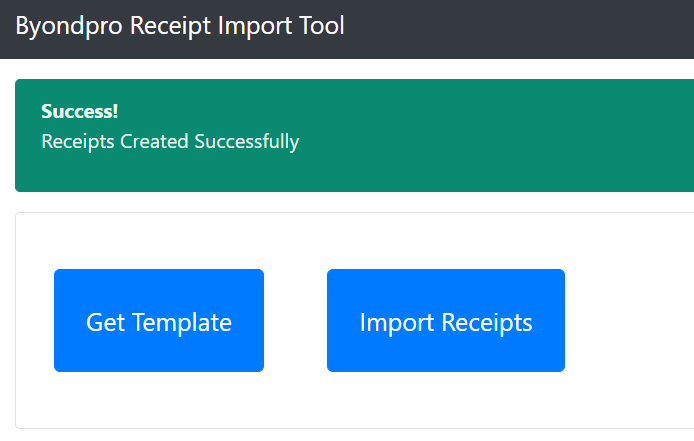
When the receipts are successfully imported, the screen below displays.
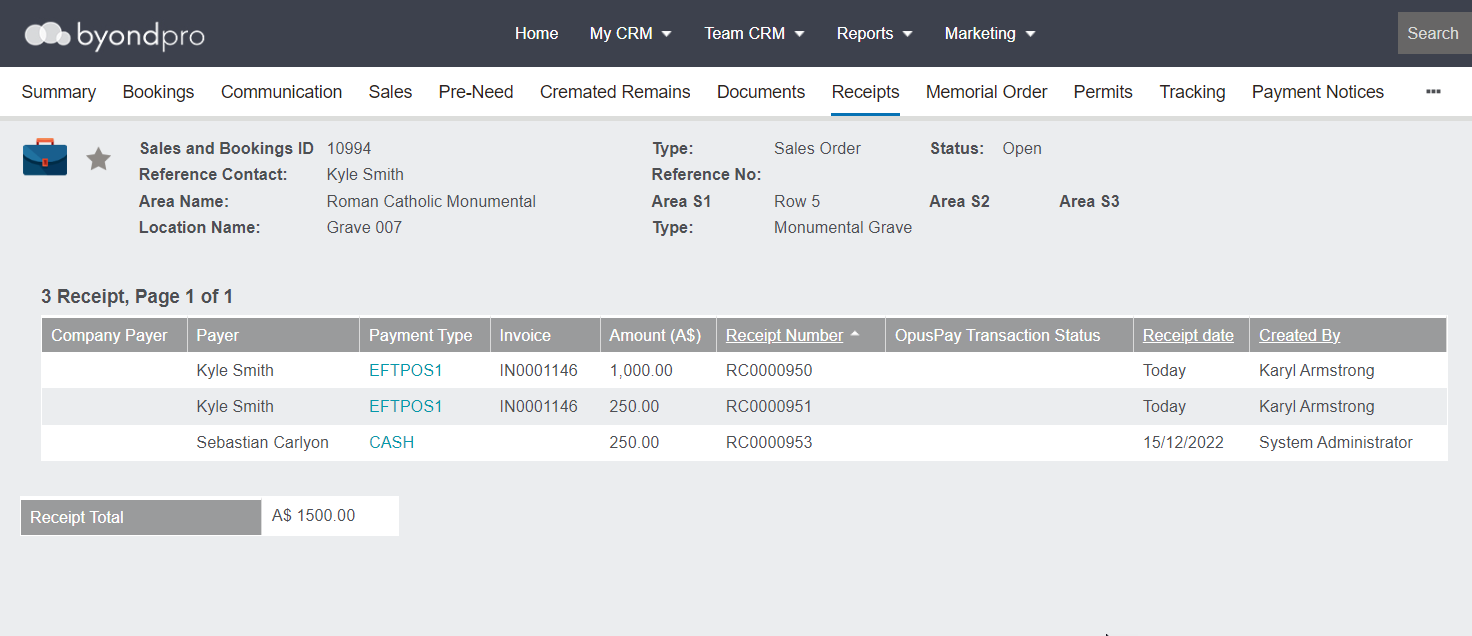
Backon the booking Receipts tab, we can now see the receipt that we just imported……