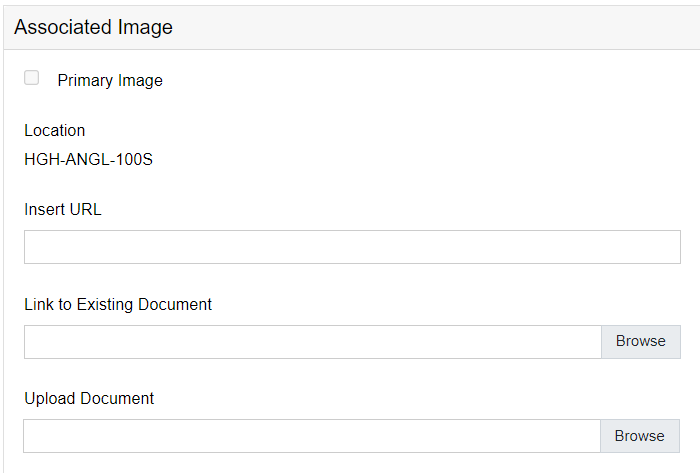
Lot Images
The Add New Image button allows for images / documents to be added to the location record in the following ways:
-
Insert URL – link to an external web URL.
-
Link to Existing Document – link to an existing document already linked to another location.Once you click on browse, a text box will appear where you can search existing documents already in the system.Once you start typing in the text box and press enter, the results will appear in the box below where you can choose the appropriate option.
-
Upload Document – Browse normally to a document/image that you can upload
This section will explain how to add the images in each way.
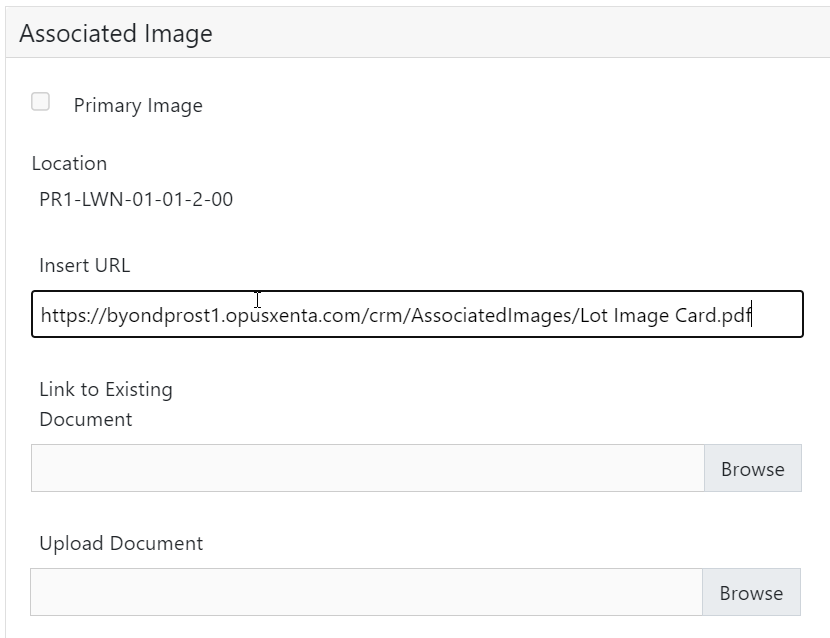
Insert URL
From the Images / Lot Images Tab, select Add New Image.
Paste the link to the document into the Insert URL field.
Choose Save on the right-hand side of the page.
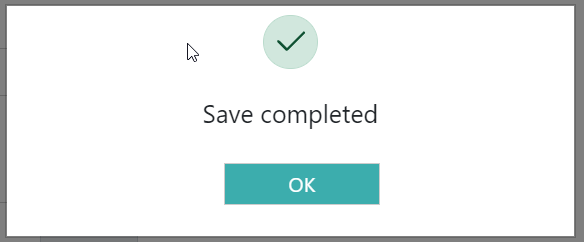
On successful save, the following message will display.
Link to Existing Document
From the Images / Lot Images Tab, select Add New Image.
Click into the Link to Existing Document field or click on browse.
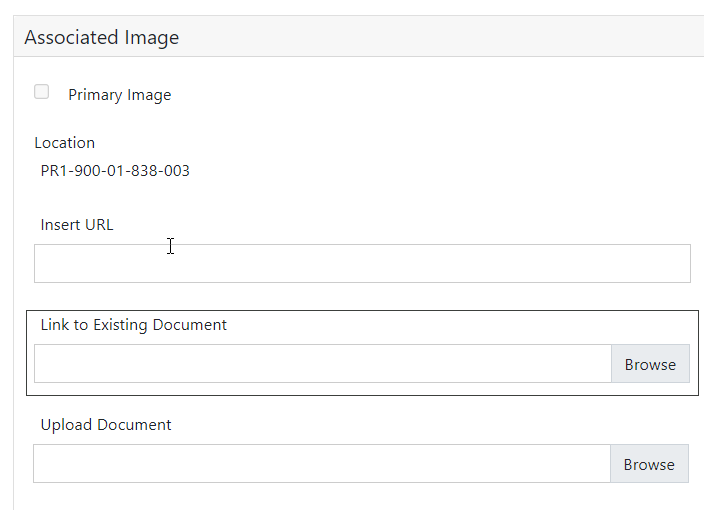
The search box below will display to browse to the document you wish to add.
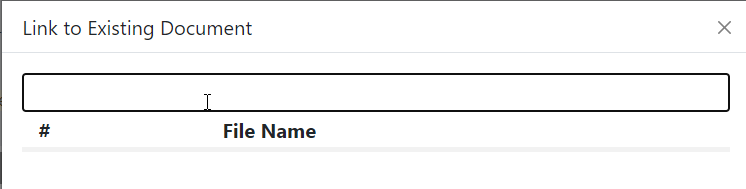
Type in some, or all, of the filename, then click on #File Name to retrieve the results.
In our example below, typing PR1-LWN returns 10 results to choose from, whereas entering Lot image PR1-LWN-01-01 yields only two results to choose from.
Choose the file you wish to add from the list and select Add.

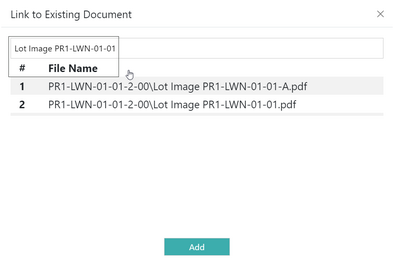
The file path drops into the link to existing document field.

Choose Save on the right-hand side of the page.
On successful save, the following message will display.
Upload Document
From the Images / Lot Images Tab, select Add New Image.
Click into the Upload Document field or click on browse.
Browse to the folder containing the document to upload, click on the file and select Open.
The file drops into the upload document field.


Choose Save on the right-hand side of the page.
On successful save, the following message will display.