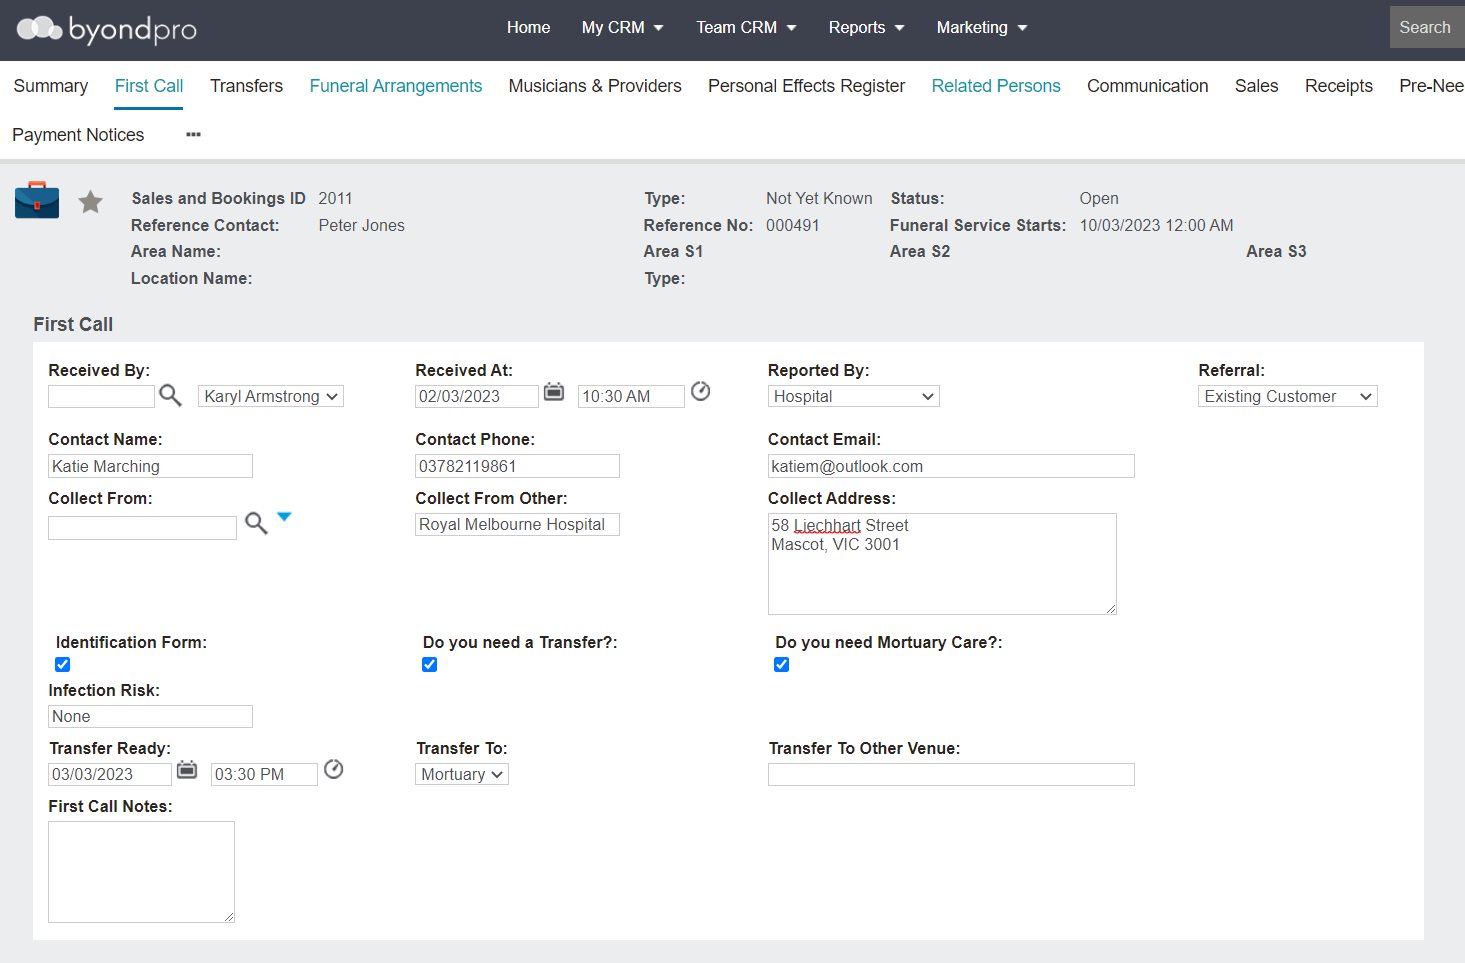
By pressing save on the Sales & Booking, you will be taken directly to the First Call screen to add in details about the first call that was received.
This screen can be completed while on the first call and may resemble your Funeral Home's First Call Sheets.
In the Received By field, locate the consultant receiving the call, which would generally be the logged in user.
Enter the Date & Time of the call in the Received At field.
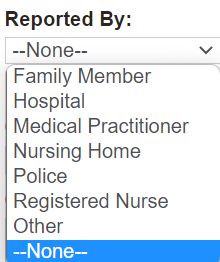
Select the entity that has reported the death from the drop-down selection list in the Reported By field.
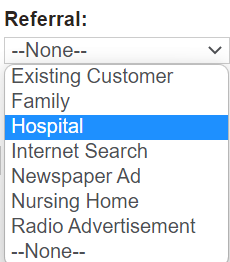
In the Referral field, select who made the referral to the Funeral Home, if applicable.
Enter the name, phone, and email of the contact for arranging the funeral in the Contact Name, Contact Phone, and Contact Email fields.
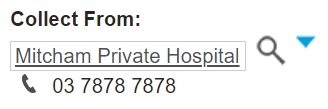
If the collection location is one which is added to your byondpro, such as a hospital that you generally collect from,
use the search select option in the
Collect From field to locate the location or company.
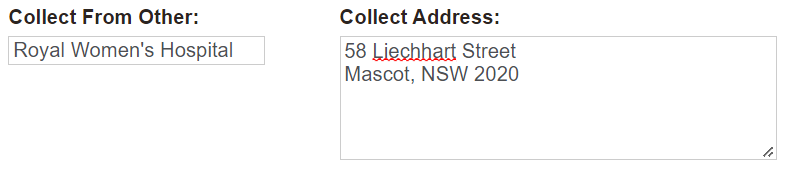
Otherwise, enter in the name and the address of the location to collect the deceased from in the Collect From Other and Collect Address fields.
If the location becomes a regular collect from location, users can add them in to the database as a vendor. Once added as a vendor, the collect location can be selected from the Collect From field rather than typing in details manually.
Tick the Identification Form tick box if there is a Statutory ID form, such as certificate of death.
If this box is not ticked initially, you can still
add any transfers from the Transfers tab.
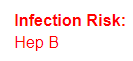
Note if there is a risk of infection in the Infection Risk field. If a risk is added, the field will appear red on any screens where the information flows through.
In the Transfer Ready field, note the date and time the deceased will be ready for pickup.
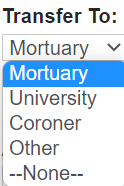
In the Transfer To field, select the location the deceased will be transferred to from the selection list.
If the deceased will be transferred to another location than available in the selection list above, enter the name of the location in the Transfer To Other Venue field.
Enter in any additional details in the First Call Notes field.
Once all details received on the call are noted, press the Save button on the right-hand side of the page.
A message will display confirming that the First Call record is created.
Press OK to the message.