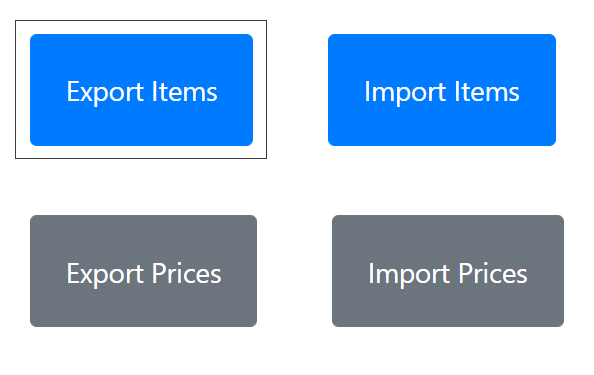
From the Item Pricing Import and Export page, click on the Export Items button and an Excel worksheet is generated straight to your “downloads” folder.
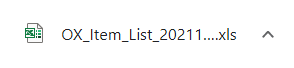
Some PCs will show this as an icon at the bottom of the screen for quick access.
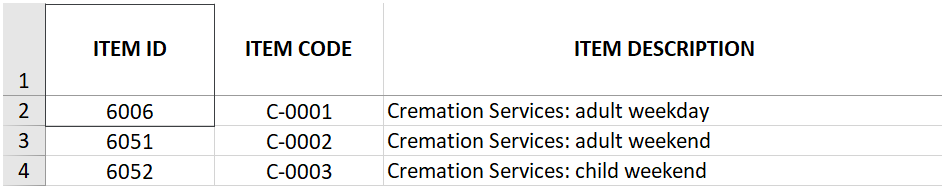
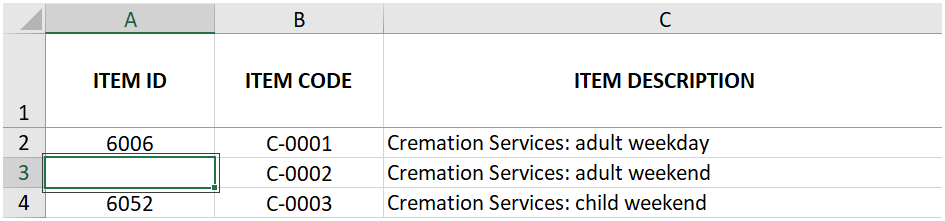
The worksheet contains one column for each of the fields that are part of the item setup.
To edit an existing item, for example, to change its description or category, leave the Item ID (column A) with the record number byondpro exported.
Make your changes in columns B to O and save the worksheet.
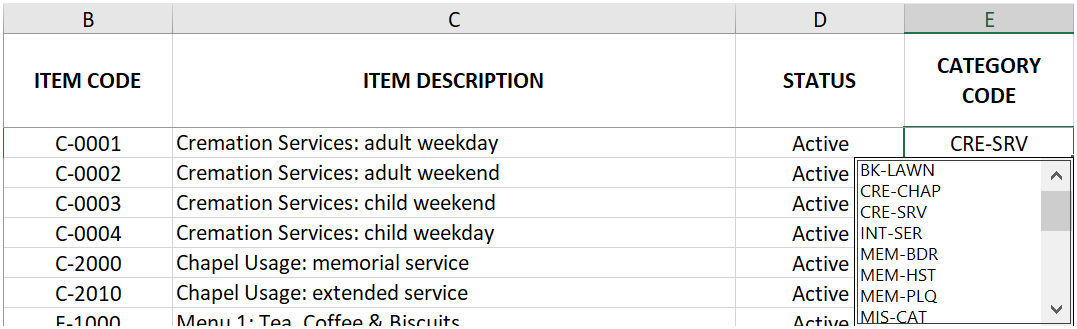
The worksheet includes drop down selection lists that contain the list values configured in your version of byondpro.
To create a new item, leave the Item ID (column A) empty and only complete columns B to O.
Import Items
Start by saving and closing your Excel worksheet.
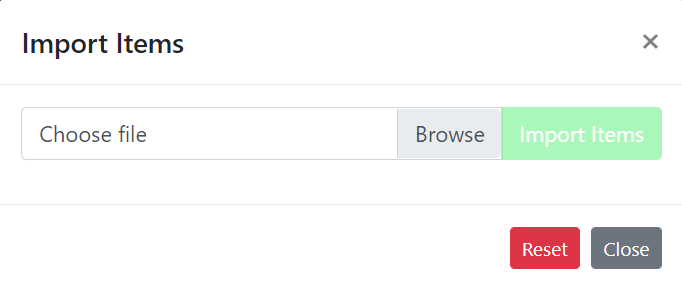
Then select Import Items from the Cemetery System Setup folder.
Browse to where your updated item worksheet is stored and select Import Items.
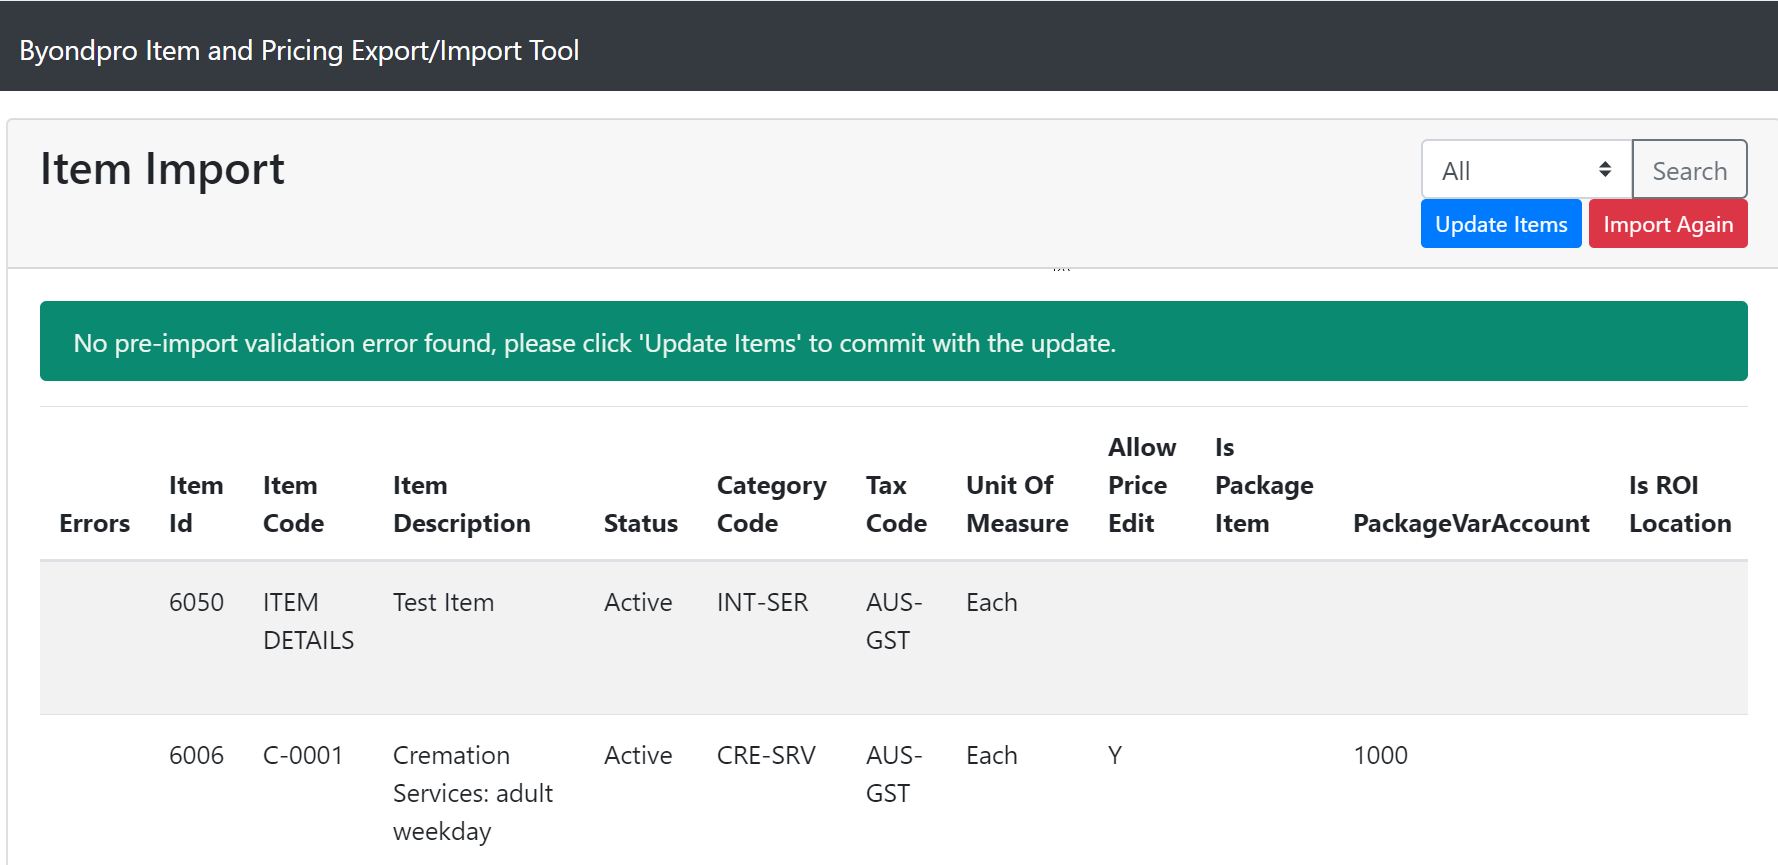
The import tool checks that all values are logical and displays a confirmation screen.
If you get a green message that no pre-import validation errors were found, select Update Items to finish the import.
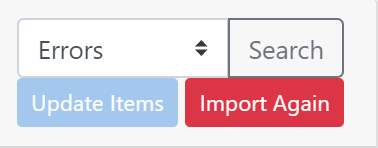
If byondpro shows a red error message that looks like this:
Search for errors using the option top right of the screen.
Check the error message, e.g. Item code already exists.
Then correct that row in your original Excel worksheet and re-save the document.
In byondpro, select Import Again, then re-select the corrected file to run the validations and import process.
A green Success! message confirms your item import file has been processed.