Create and Manage E-mail Templates
The E-mail Templates section of byondpro allows users to create and manage templates for use with the merged e-mails functions and from specific records.
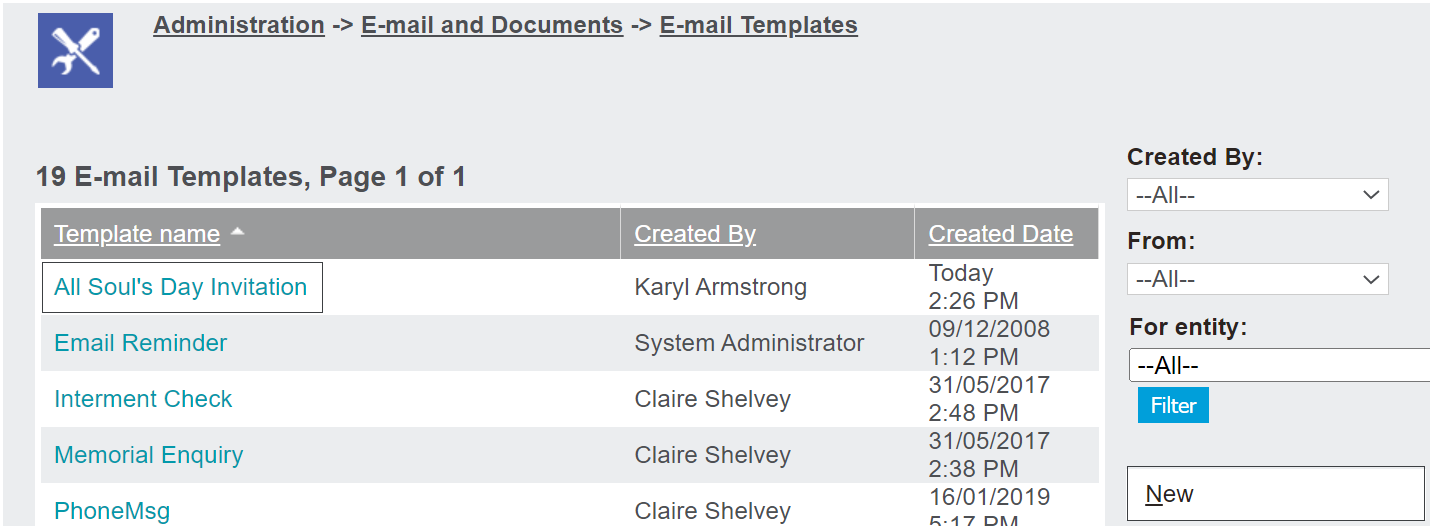
All e-mail templates will display on the page.
To access and make edits to a current e-mail template, simply click on the Template Name hyperlink.
To create a new e-mail template, simply click on the New button on the right-hand side of the page.
If editing an existing template, make the necessary changes.
If creating a new template, populate the fields and draft the e-mail.
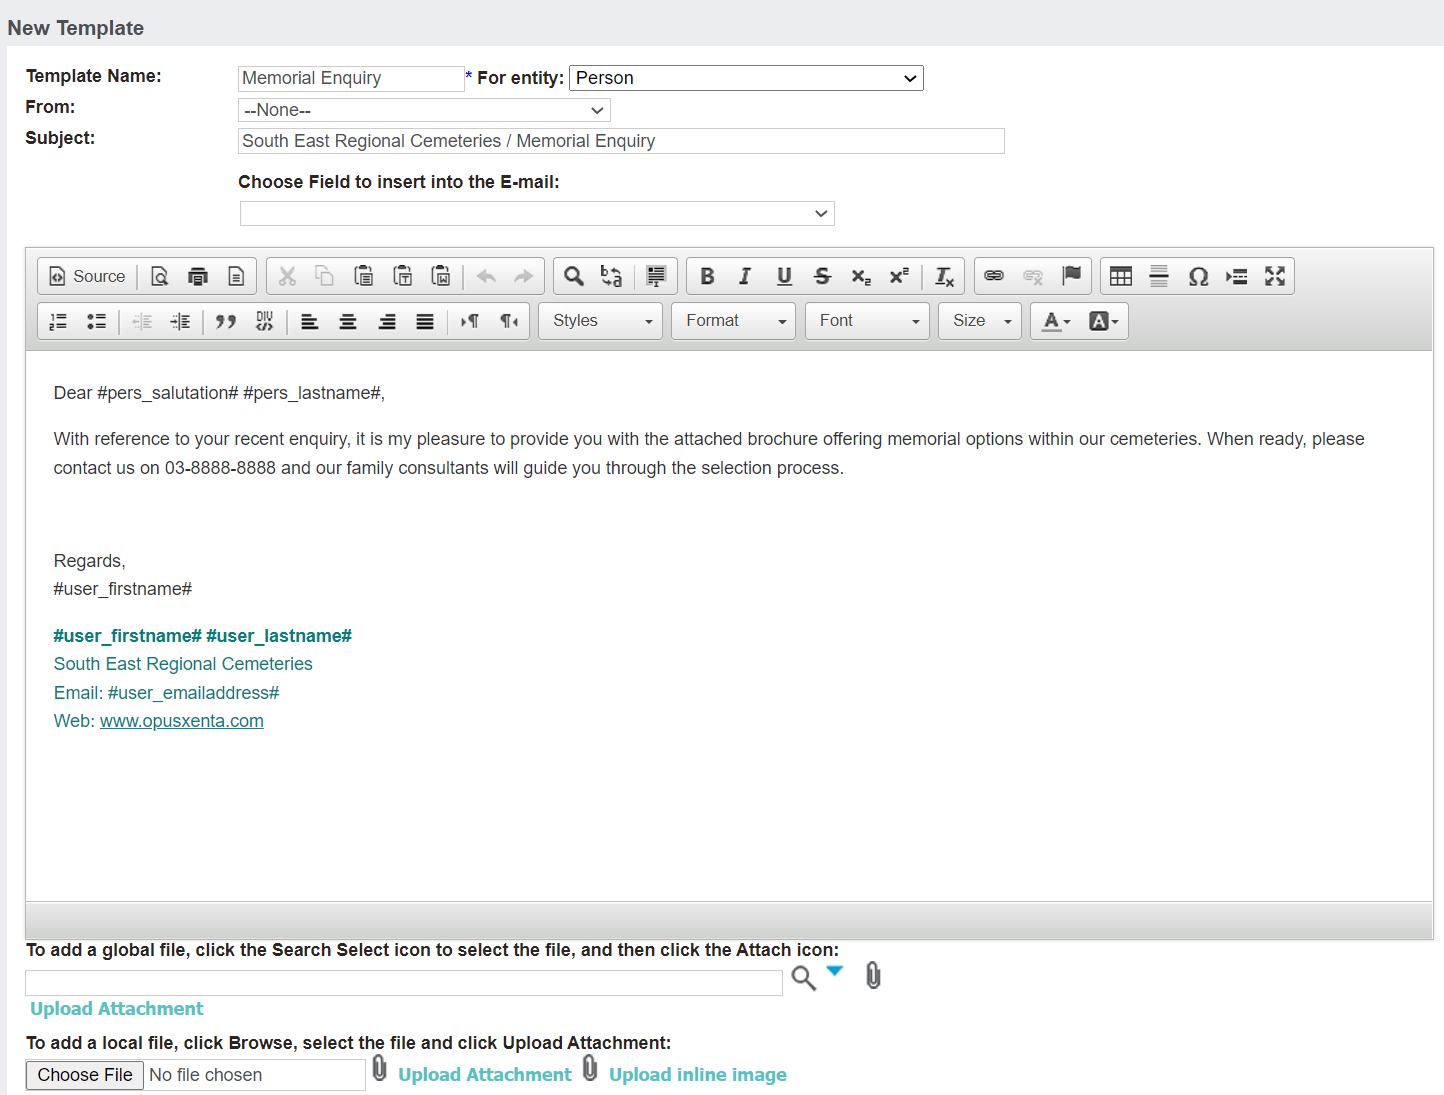
Type in the name for the template in the Template Name field.
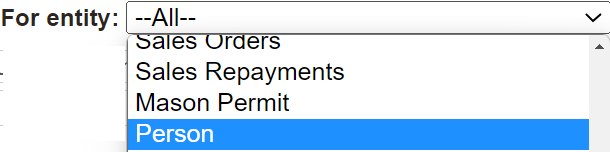
In the Entity field, select the entity or module that the e-mail template is designed for. This selection will determine the field options available to add to sections of the e-mail.
In the From field, select the user which the e-mail will be sent from. To leave the sender as open, leave the selection as 'None' and the user can select when sending the e-mail.
Type in the title of the e-mail in the Subject field.
Draft and format the e-mail in the space provided.
Options available include pasting from Word documents, adding images, links etc.

The Choose Field to insert into the E-mail will allow you to select fields from the entity to place in the e-mail field.
In our example below, Users - First Name was added to the copy of the e-mail.
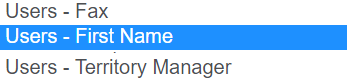
When the e-mail is sent, the #user_firstname# text is replaced with the data from the system, in this case, the logged-in user's first name.
Should you have a file to attach to the e-mail, you can upload a local file or attach a global file already in the database.

Once the e-mail template is drafted or you are finished editing an existing e-mail template, press the Save button.
Delete
To delete an e-mail template, access the template from the E-mail Templates section of byondpro.
Press the Delete button on the right-hand side of the page.

A message will ask you to confirm that you want to delete. To proceed, press OK.
