Change Multiple Location Codes
The Change Multiple Location Codes option allows users to update the type, area segment and location segment of multiple location codes.
In our scenario, multiple location records were created in Row B in the Northeast area of Pro1 cemetery when the area was being developed.
However, the first five locations in Row B of the Northeast were to be created with a suffix of N, as they are in the North section of the row.
This topic will show updating the first five locations with the N suffix and additional changes that can be made.
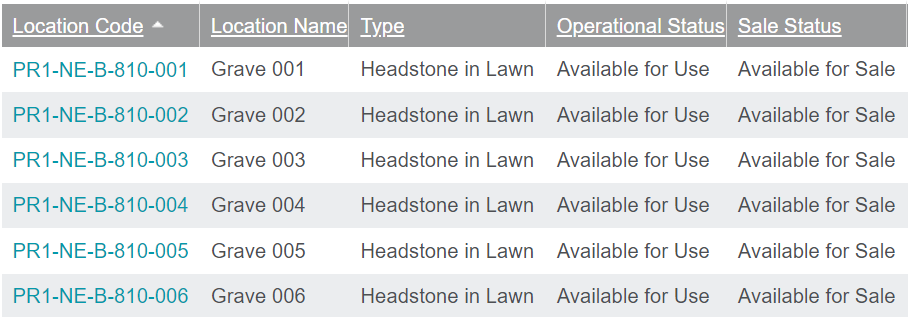
Once selecting multiple locations from the selection list, you will be able to press the Change Multiple Location Codes button on the right-hand side of the page.

Selected locations will display below the Change Multiple Location Codes area, for informational purposes.

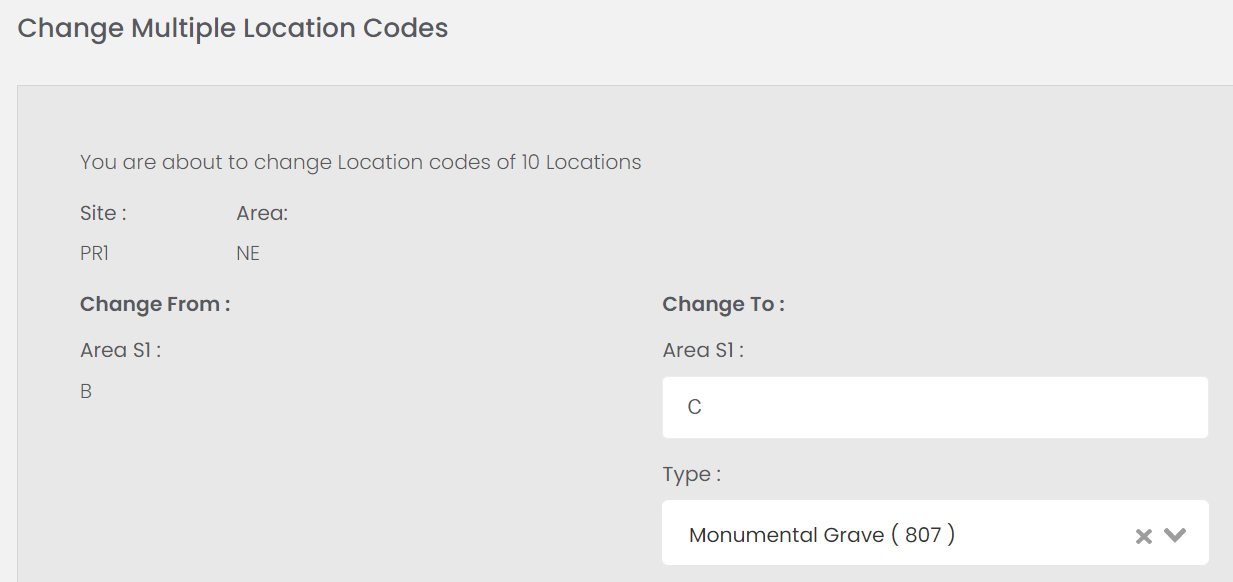
If you searched using the Site, Area, or Sub-area and 'Select All' as per our example, the screen will appear as below with an advice saying how many locations you are about to change.
Depending on the search criteria, there will be an option to change either:
-
Site / Area / Sub-Area
-
Type
-
Site / Area / Sub-Area and Type
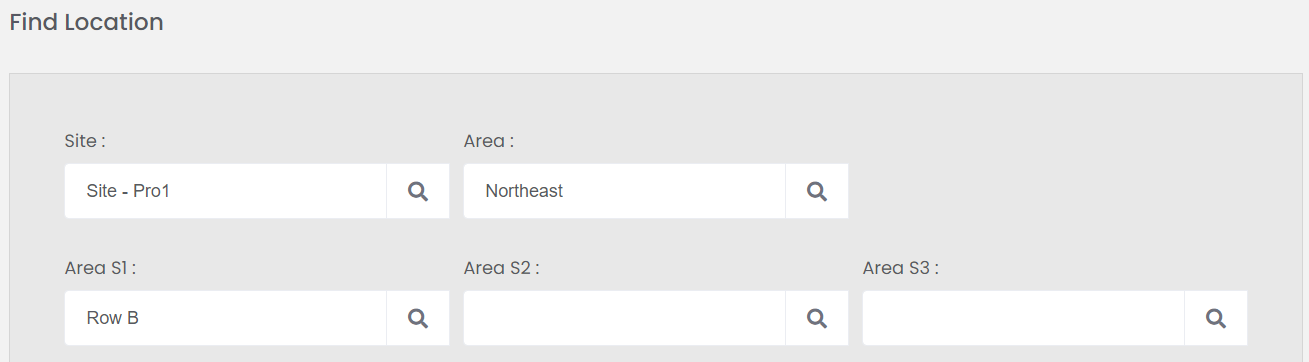
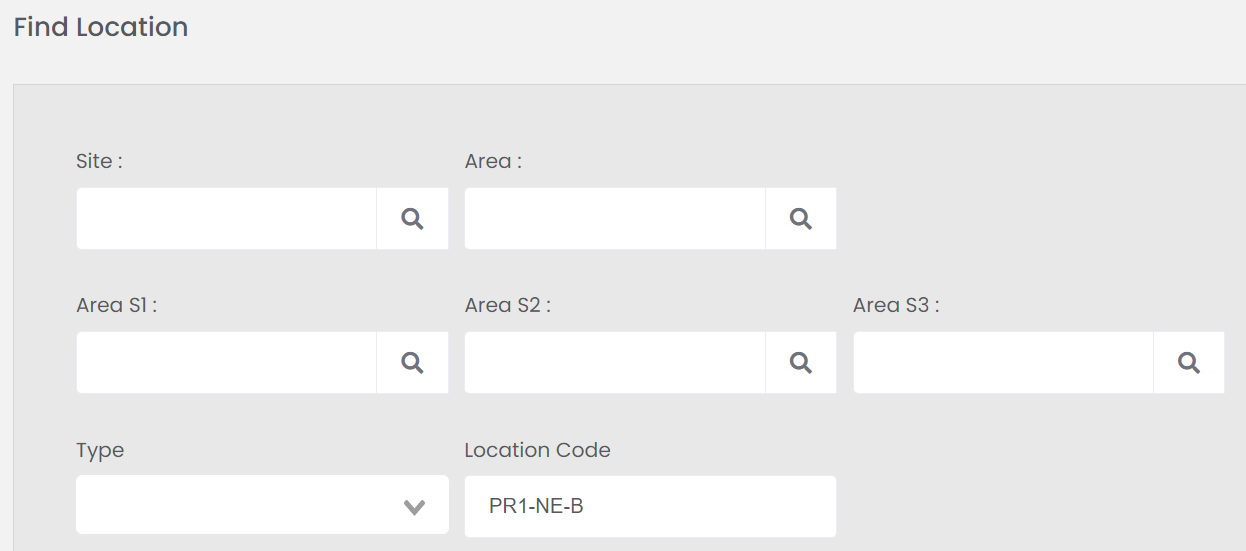
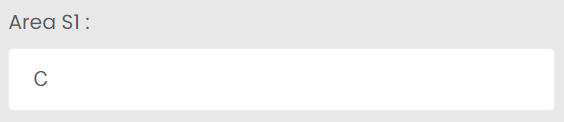
In the example below, the Site, Area, and Area S1 were used to complete the search, allowing a change to the Area S1 and Type.
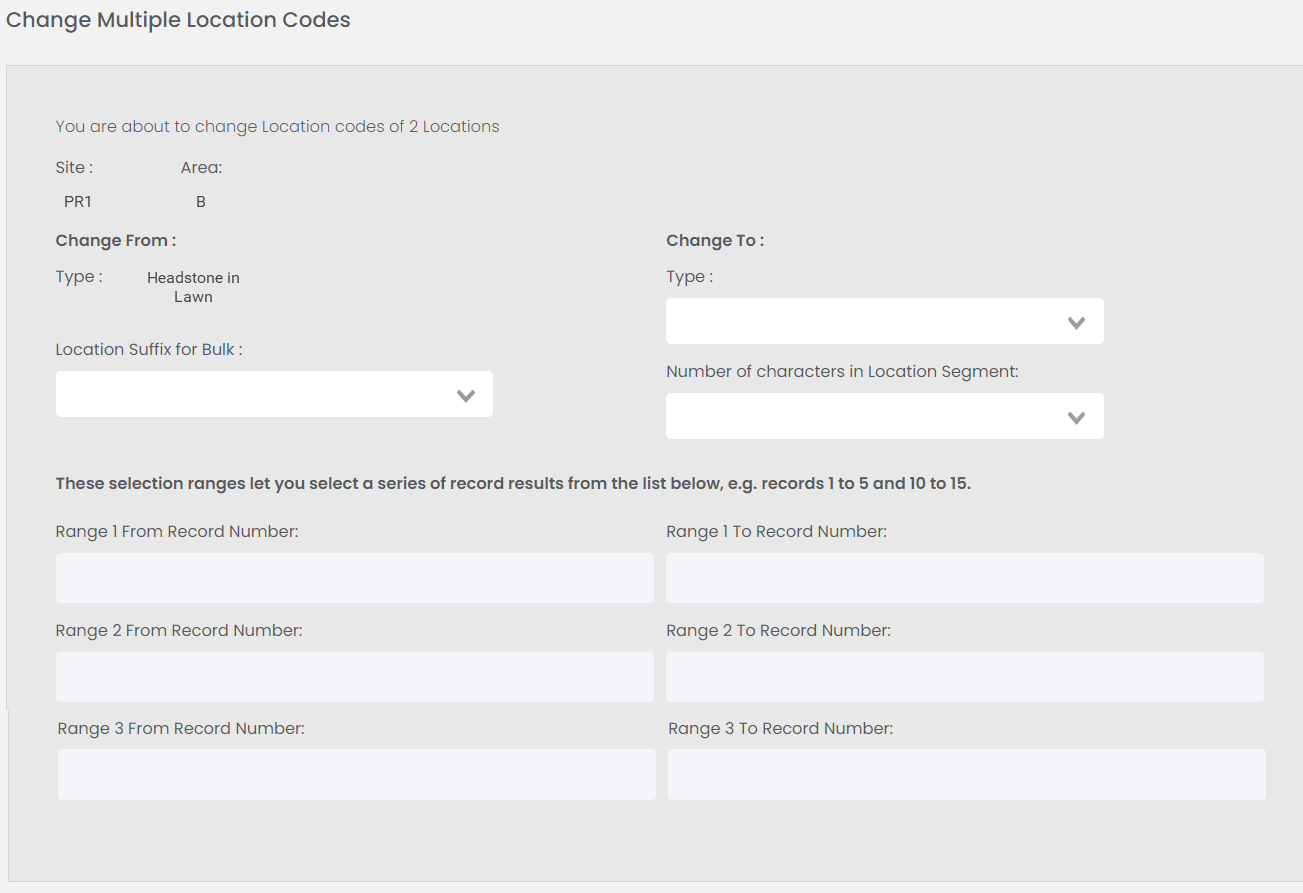
If you searched using part of the location code, the screen will appear as below with an advice saying how many locations you are about to change.
There will be an option to:
-
Change the Type
-
Add a Suffix to a range of locations
-
Change the number of characters in the location segment for a range of locations
-
Change a combination of the above
At any stage, should you wish to cancel the process, press the Cancel button on the right-hand side of the page.
This action will bring you back to the original Location Code Change Tool screen.
-
To update the site, area or sub-area, type in the code of the new Site, Area, or Sub-area in the field labelled as such.The maximum length allowed in this field is 4 characters.
-
To change the type, drop your cursor in the empty field below Type for the list of location types to appear below.Start typing in the field to narrow the list to location types starting with the letters you have typed.
Click on the desired type and it will display in the field.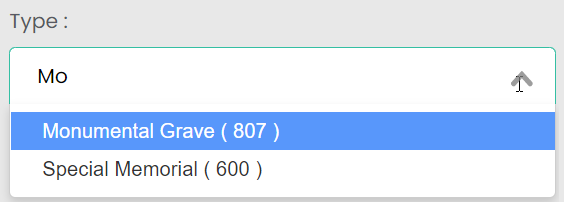
-
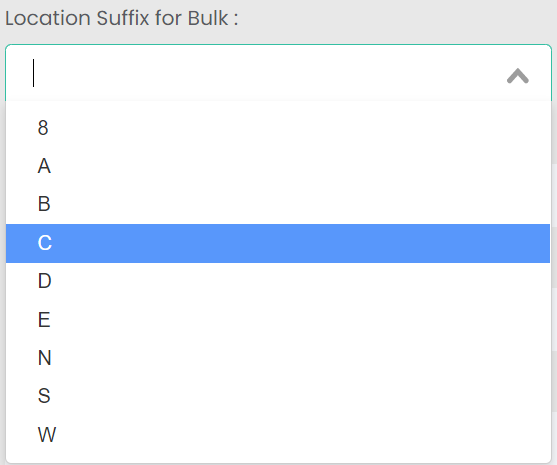
To add a suffix to the locations, click into the Location Suffix for Bulk field and a selection list of all the suffixes available in your byondpro will display.Type into the field or simply select the appropriate suffix to add to the locations.
-
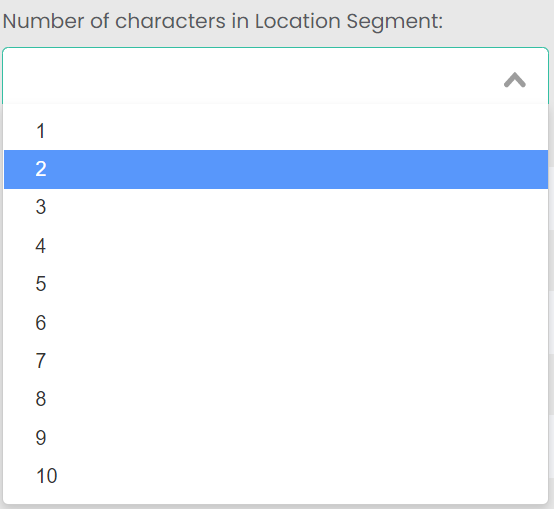
To update the number of characters in the location segment, click into the Number of characters in Location Segment field and the numbers 1 to 10 will display.Type into the field or simply select the appropriate number of characters these locations will have.
By selecting either a suffix or number of characters, the Range 1 From Record Number field is able to be edited.
By using the range feature, you will be able to pick which of the selected locations will have the suffix and / or number of characters updated. For example, on the Find screen you may have Selected All locations in the list, yet only wanted to update locations 1-5 and 10-15 from the list.
Add in the 1st location number to have the update applied.
You will then be able to add in the ending number in the Range 1 To Record Number field.
Should this change be applicable to multiple ranges of locations, you can complete Range 2 and Range 3 fields in the same manner.
In our example, we have entered the Range 1 to 5, so only the first 5 locations will be updated.

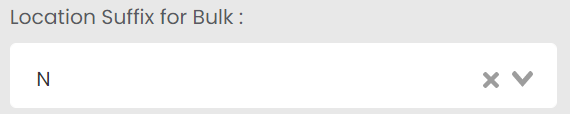
Should you make an incorrect selection in any field, simply click on the X within the field to clear the field.
Once the changes are confirmed, press the Change button on the right-hand side of the page.

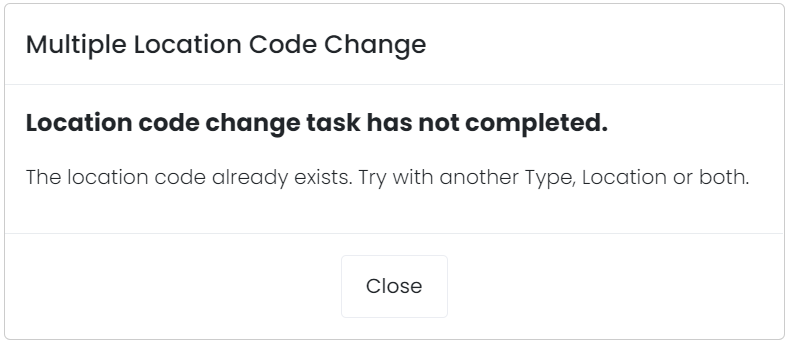
Should the new locations already exist in byondpro, an error message will display and the locations will not be updated.
You will need to close out the message and select new codes for the locations.
If the new locations do not exist, a message will display confirming the locations have been updated.
Press Close on the message.
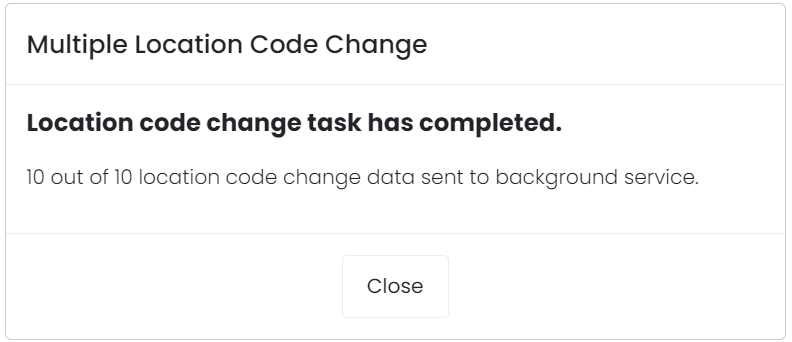
Please note, should the message not display right away, you can return to the Location Code Change tool screen at a later time.
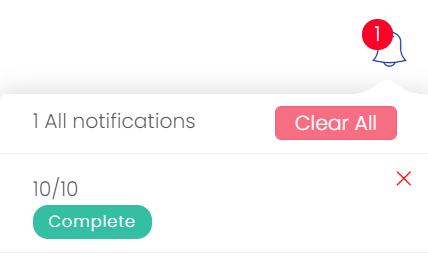
A notification will display when the process has been completed.
If you were to visit the Locations tab of the Area or Sub-Area the locations are in, the selected location codes will have been updated.
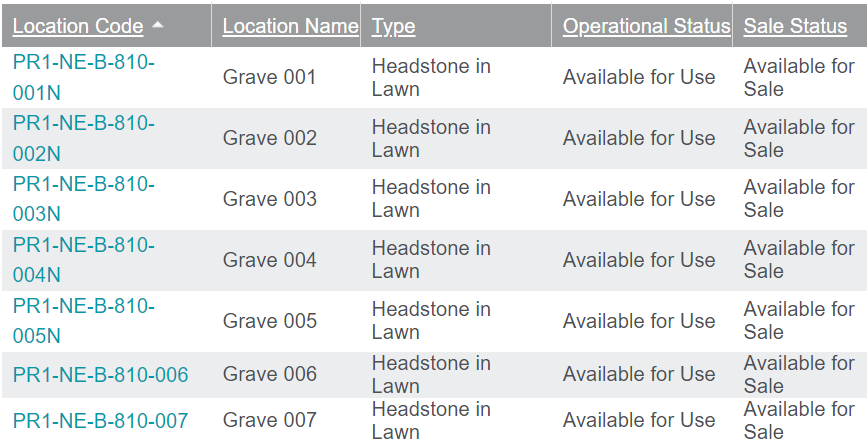
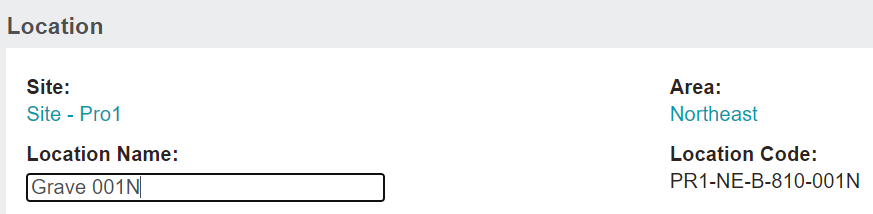
Please note that this process does not update the location names to reflect the codes.
To update the names to reflect the new codes, visit each location record.
Press Change on the right-hand side of the location record Summary.
Update the text within the Location Name field to reflect the new code and press Save.