Book the CR Placement
You can book in the appointment by choosing the New Appointment button from the Summary tab of the Sales & Booking.
The user will be presented with an Appointment screen.
Users can complete the fields in the order desired, however, would typically follow the order presented in the Creating Appointments section of this guide.
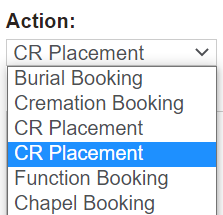
CR Placement would likely be the action added to the Action field.
The resource in the Assigned User field will likely be the burial team or if you have a dedicated team for CR Placements. In our example, it is the Burials Team at Highview.
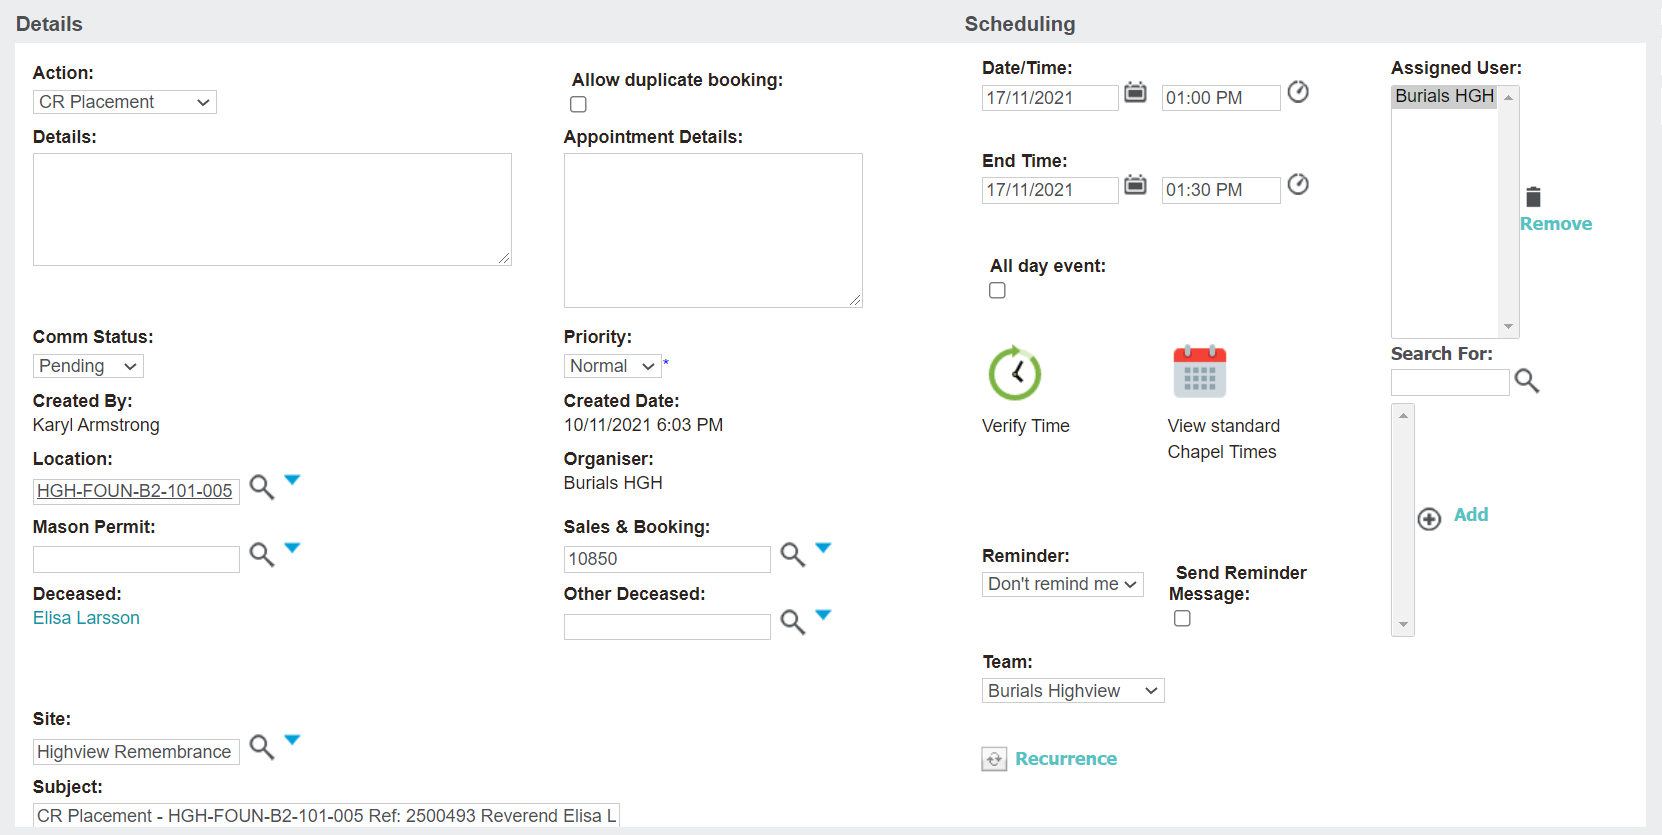
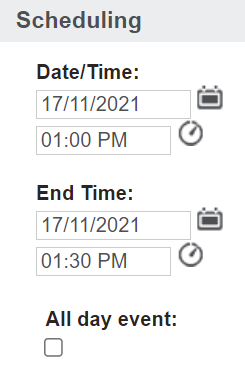
Resources may have set start and finish times, so be sure to press the Verify Time icon to confirm the time of the placement.
In our example, CR Placements have 30-minute time slots.
-
Use the Meeting Planner below to review available times.
A time listed in blue is the current selection. Times in grey are other saved appointments or unbookable times, and red time slots conflict with other appointments.
Hover over the grey or red time slots to see the details of the booking /s that have been placed on the same day or time /s.
-
Once you have confirmed the resource and time desired for the appointment is available, the time can be locked in the date and time blocks in the scheduling fields.Before editing, the date and time in the scheduling fields display as the service date from the Summary tab and the current user time.Or simply, lock in the time by clicking on the time slot in the meeting planner below.

Once completed, press Save on the right-hand side of the page.
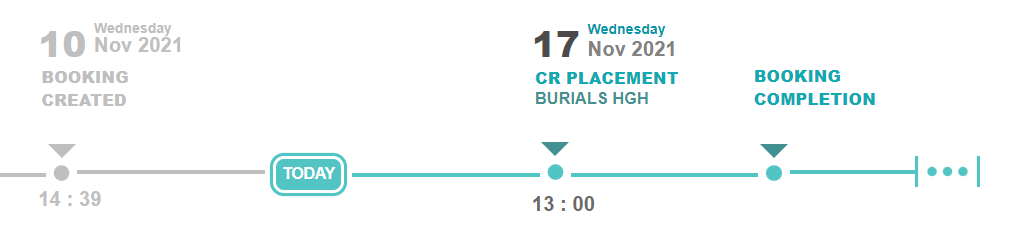
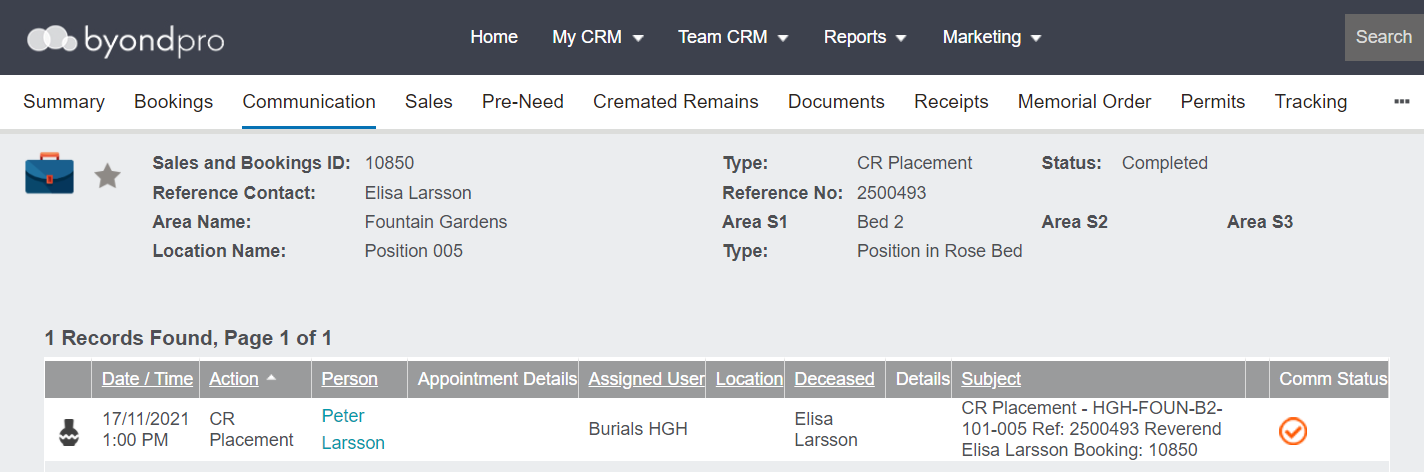
Once the appointment is saved, it will now display on the timeline of the booking and the Communication tab of the booking.
Users would complete the process again for each appointment that needs to be booked.