Adding Location & Items
As outlined in the Adding Locations, Items & Packages section of this guide, users can choose the Add Item button to sell an item or the Add Location button on the right-hand side of the page to sell a location.
Remember, items, packages and locations that have been added to a sales order that need to be edited or deleted can be done so by following the steps in the Editing Items section of this guide.
Add Location
Adding a location may not be required for a cremation booking if the sales team had not sold any position at this time.
This might be the case in instances that the cremated remains are to be collected by the funeral director or family member, rather than being interred.
Additionally, it may be that the location has already been purchased and only authorization to inter the remains there would be required. The location would need to be referenced in the booking and interment of this type would be handled by tasks on CR records and potentially a CR placement Sales & Booking.
In our example, we will not add a location to the sales order.
However, should you need to add a location to the sales order, pressing the Add Location button opens up a pop-up window, as outlined in the Adding Location section of this guide.
Remember, to be able to sell a location, the location needs to be linked to an item.
Users may find it useful to have the location code available when completing this screen, perhaps by having the location record open on another tab in their browser.
Once completed, press Save and Close on the right-hand side of the page.
Add Item /s
Pressing the Add Item button opens up a pop-up window as reviewed in the Adding Item /s section of this guide.
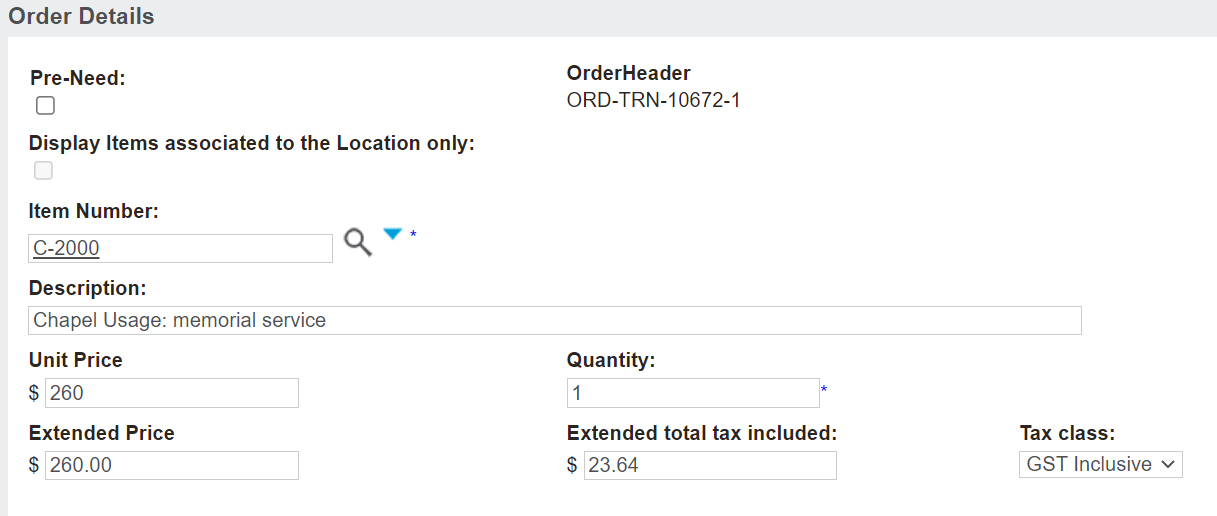
Locate the item in the Item Number field.
Once the item is chosen, the remaining fields will populate.
Press Save and New on the right-hand side of the page if there are other items to add to the sales order and complete the process again.
If this is the final item to add to the sales order, press Save and Close on the right-hand side of the page.
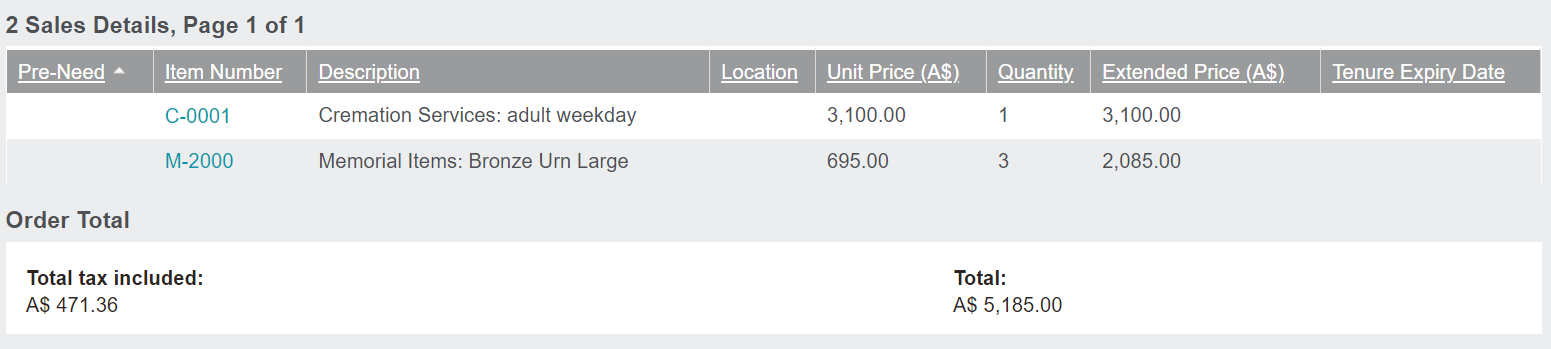
The sales order will now have updated to reflect the item /s added.
Add Package
To add a package, you can select the Add Location button.
Add the location into the location field and the information from the item will populate the remaining fields on screen.

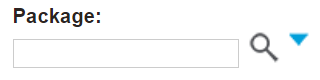
If the item that the location is linked to is also a component of a package item, the Package field will display.
Alternatively, to add a package without a location, select the Add Item button.
Add an item which is a package component in the Item Number field and the information from the item will populate the remaining fields on screen.

If the item is also a component of a package item, the Package field will display.
As outlined in the Adding Packages section of this guide, choose the appropriate package for the sale.
Remember, clicking on the View Package Items button on the right-hand side of the page will allow users to see the items in the package.

Press Save and New on the right-hand side of the page if there are other items to add to the sales order and complete the process again.
Once completed, press Save and Close on the right-hand side of the page.
The package item will now display on the sales order.
