Add a New Transfer
You may want to record additional transfers required on the Transfers tab.
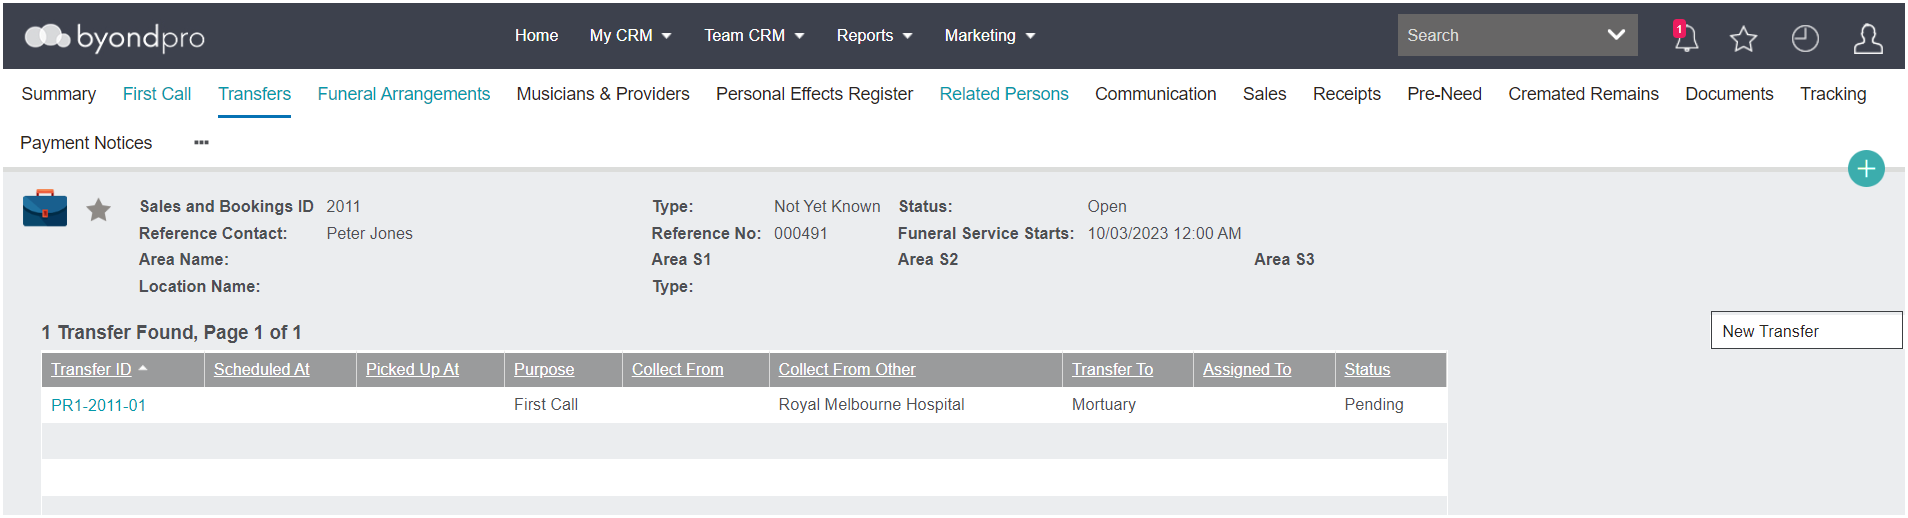
To add a new transfer, press the New Transfer button on the right-hand side of the Transfers tab.
Complete the desired fields on the new pop-up window which displays.
In the Purpose field, select the purpose of the transfer.
If completed in the First Call tab, the Infection Risk field will flow through to the transfer and can be edited.
Select the Status of the transfer from the selection list. This status can be updated as time progresses.
Enter the name and phone number of the contact for the transfer in the Contact Name and Contact Phone fields.
If the collection location is one which is added to your byondpro, such as a hospital that you generally collect from, use the search select option in the Collect From field to locate the location or company.
Otherwise, enter in the name and the address of the location to collect the deceased from in the Collect From Other and Collect Address fields.
If the location becomes a regular collect from location, users can add them in to the database as a vendor. Once added as a vendor, the collect location can be selected from the Collect From field rather than typing in details manually.
In the Transfer To field, select the location the deceased will be transferred to from the selection list.
If transferring to a separate location, enter the details in the Transfer to Other Venue field.
In the Transfer Ready field, note the date and time the deceased will be ready for pickup.
Select who will be completing the transfer in the Assigned To field and when the transfer has been scheduled for in the Scheduled At field.
Tick the Family in Attendance tick box, if applicable.
Enter the height and weight, if known, in the Approx Height and Approx Weight fields.
Tick the Driveway Access Clear tick box, if applicable.
Once the transfer has been completed, select the dates and times in the Picked Up At and Delivered At fields.
Enter in any details about the belongings with the deceased in the Transfer Belongings field.
Note if legal forms, such as the Identification Form, Death Certificate, Embalming Authorisation, etc, were received, signed, or issued in the transfer process.
Any documentation that needs to be kept on file can be scanned and placed against the Documents tab of the Sales & Booking and / or Person records.
Include any important details about the legal forms in the Forms Details section.
Once all known details are entered, press the Save button on the right-hand side of the page.